Jeti Integration
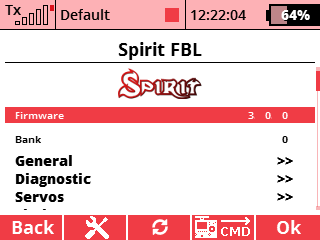
From version 1.1.0 you can use the JETI integration! This mean you can fully configure Spirit units with JETI transmitters in real-time without need of a computer.
1 Requirements
To make it work you will need:
- Jeti Duplex transmitter: DS/DS 14 or 16 or 24
- Jeti Duplex receiver with a free EX port.
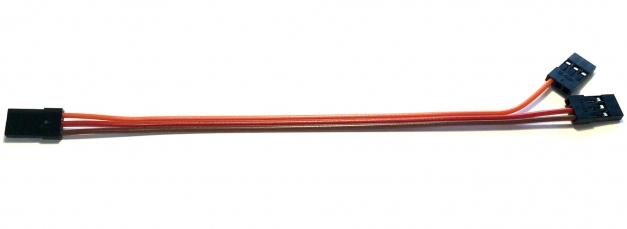
- Jeti Integration cable available in our stores
- Configuration file for the transmitter available in our web
2 Wiring
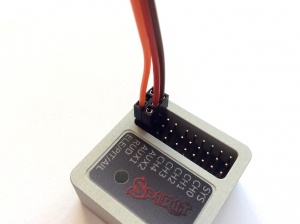
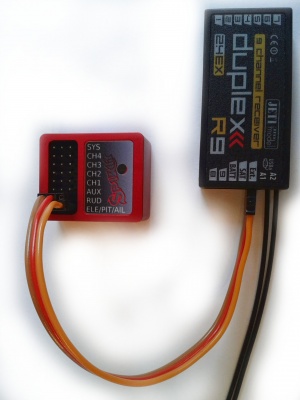
The Jeti cable is able to transfer everything including channel data and telemetry. This mean that you will not need to connect anything else except this cable.
On the receiver side the servo cable must be connected to the EX Bus port.
For new REX receivers the port label is EX1 or EX2.
For older EX receiver the port label is always EXT.
If you are using EX receivers with attached telemetry sensor to the EXT port in this case you have two options:
- To use UDI connection (SRXL/SUMD receiver type) - in this case you will loose the Jeti Integration.
- To buy a REX receiver which allows the - you can use a telemetry sensors and the Jeti integration together.
3 Transmitter preparation
Now download the Configuration file, which has BIN extension. The file name is "Spirit.bin". This file should be copied to the "Devices" directory on the SD-Card of your transmitter. Without it, the device will be unknown because the integration menu is defined by this.
You can copy it by connecting the micro USB cable to the transmitter similarly as to an USB flash drive. When cable is attached to the transmitter you have to confirm the USB connection. Then simply drag and drop it to the Devices directory as you are used to.
It is very important to use the same version of the BIN file as your current firmware in the unit. If the versions are not matching then an incompatibility issues could occur.
4 Spirit Settings
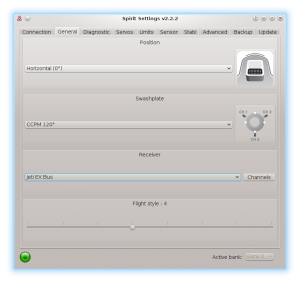
Now you are ready to power up the unit. If your Power supply is not connected yet, we recommend to connect it to the AUX1, AUX2 and/or CH0 port. Before you can utilize the Jeti Integration and EX Bus connection, it is important to set the EX Bus receiver type in the General tab of the software. Please start the Spirit Settings and change the receiver type as displayed on the photo. Then save the settings (e.g. by CTRL+S) or the Backup tab/Unit - Save and restart the unit.
5 Integration Menu
When unit is initialized you are able to enter the Jeti Integration menu. Press the MENU button on the transmitter.
Then select the Model menu by a rotary knob.

And then enter the Device Manager menu.
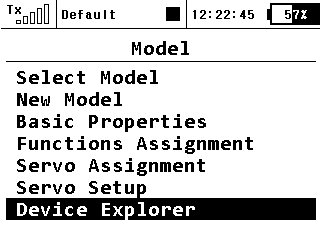
There, if the wiring and receiver type is correct, you will see the Spirit entry.
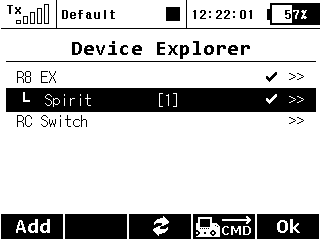
If you have everything right, but the unit is still not visible, then the only problem can be that the EX Bus port of your receiver is configured to a different protocol.
In this case, enter the configuration menu of your receiver in the Device Manager - the entry has name of your receiver.
Change the EXT/EX port for the EXT. In case of REX receivers you can use both EX1 or EX2 ports.

