Difference between revisions of "SpiritRS Binding/en"
From Spirit System Manual
(Importing a new version from external source) |
(Importing a new version from external source) |
||
| Line 30: | Line 30: | ||
| style="width: 33%;"| [[SpiritRS Wiring|← Wiring]] | | style="width: 33%;"| [[SpiritRS Wiring|← Wiring]] | ||
| style="width: 33%;text-align:center;"| [[#up|↑Up↑]] | | style="width: 33%;text-align:center;"| [[#up|↑Up↑]] | ||
| − | | style="text-align:right;" | [[SpiritRS Setup| | + | | style="text-align:right;" | [[SpiritRS Setup|Configuring from Radio →]] |
|} | |} | ||
---- | ---- | ||
</div> | </div> | ||
Revision as of 22:08, 3 June 2020
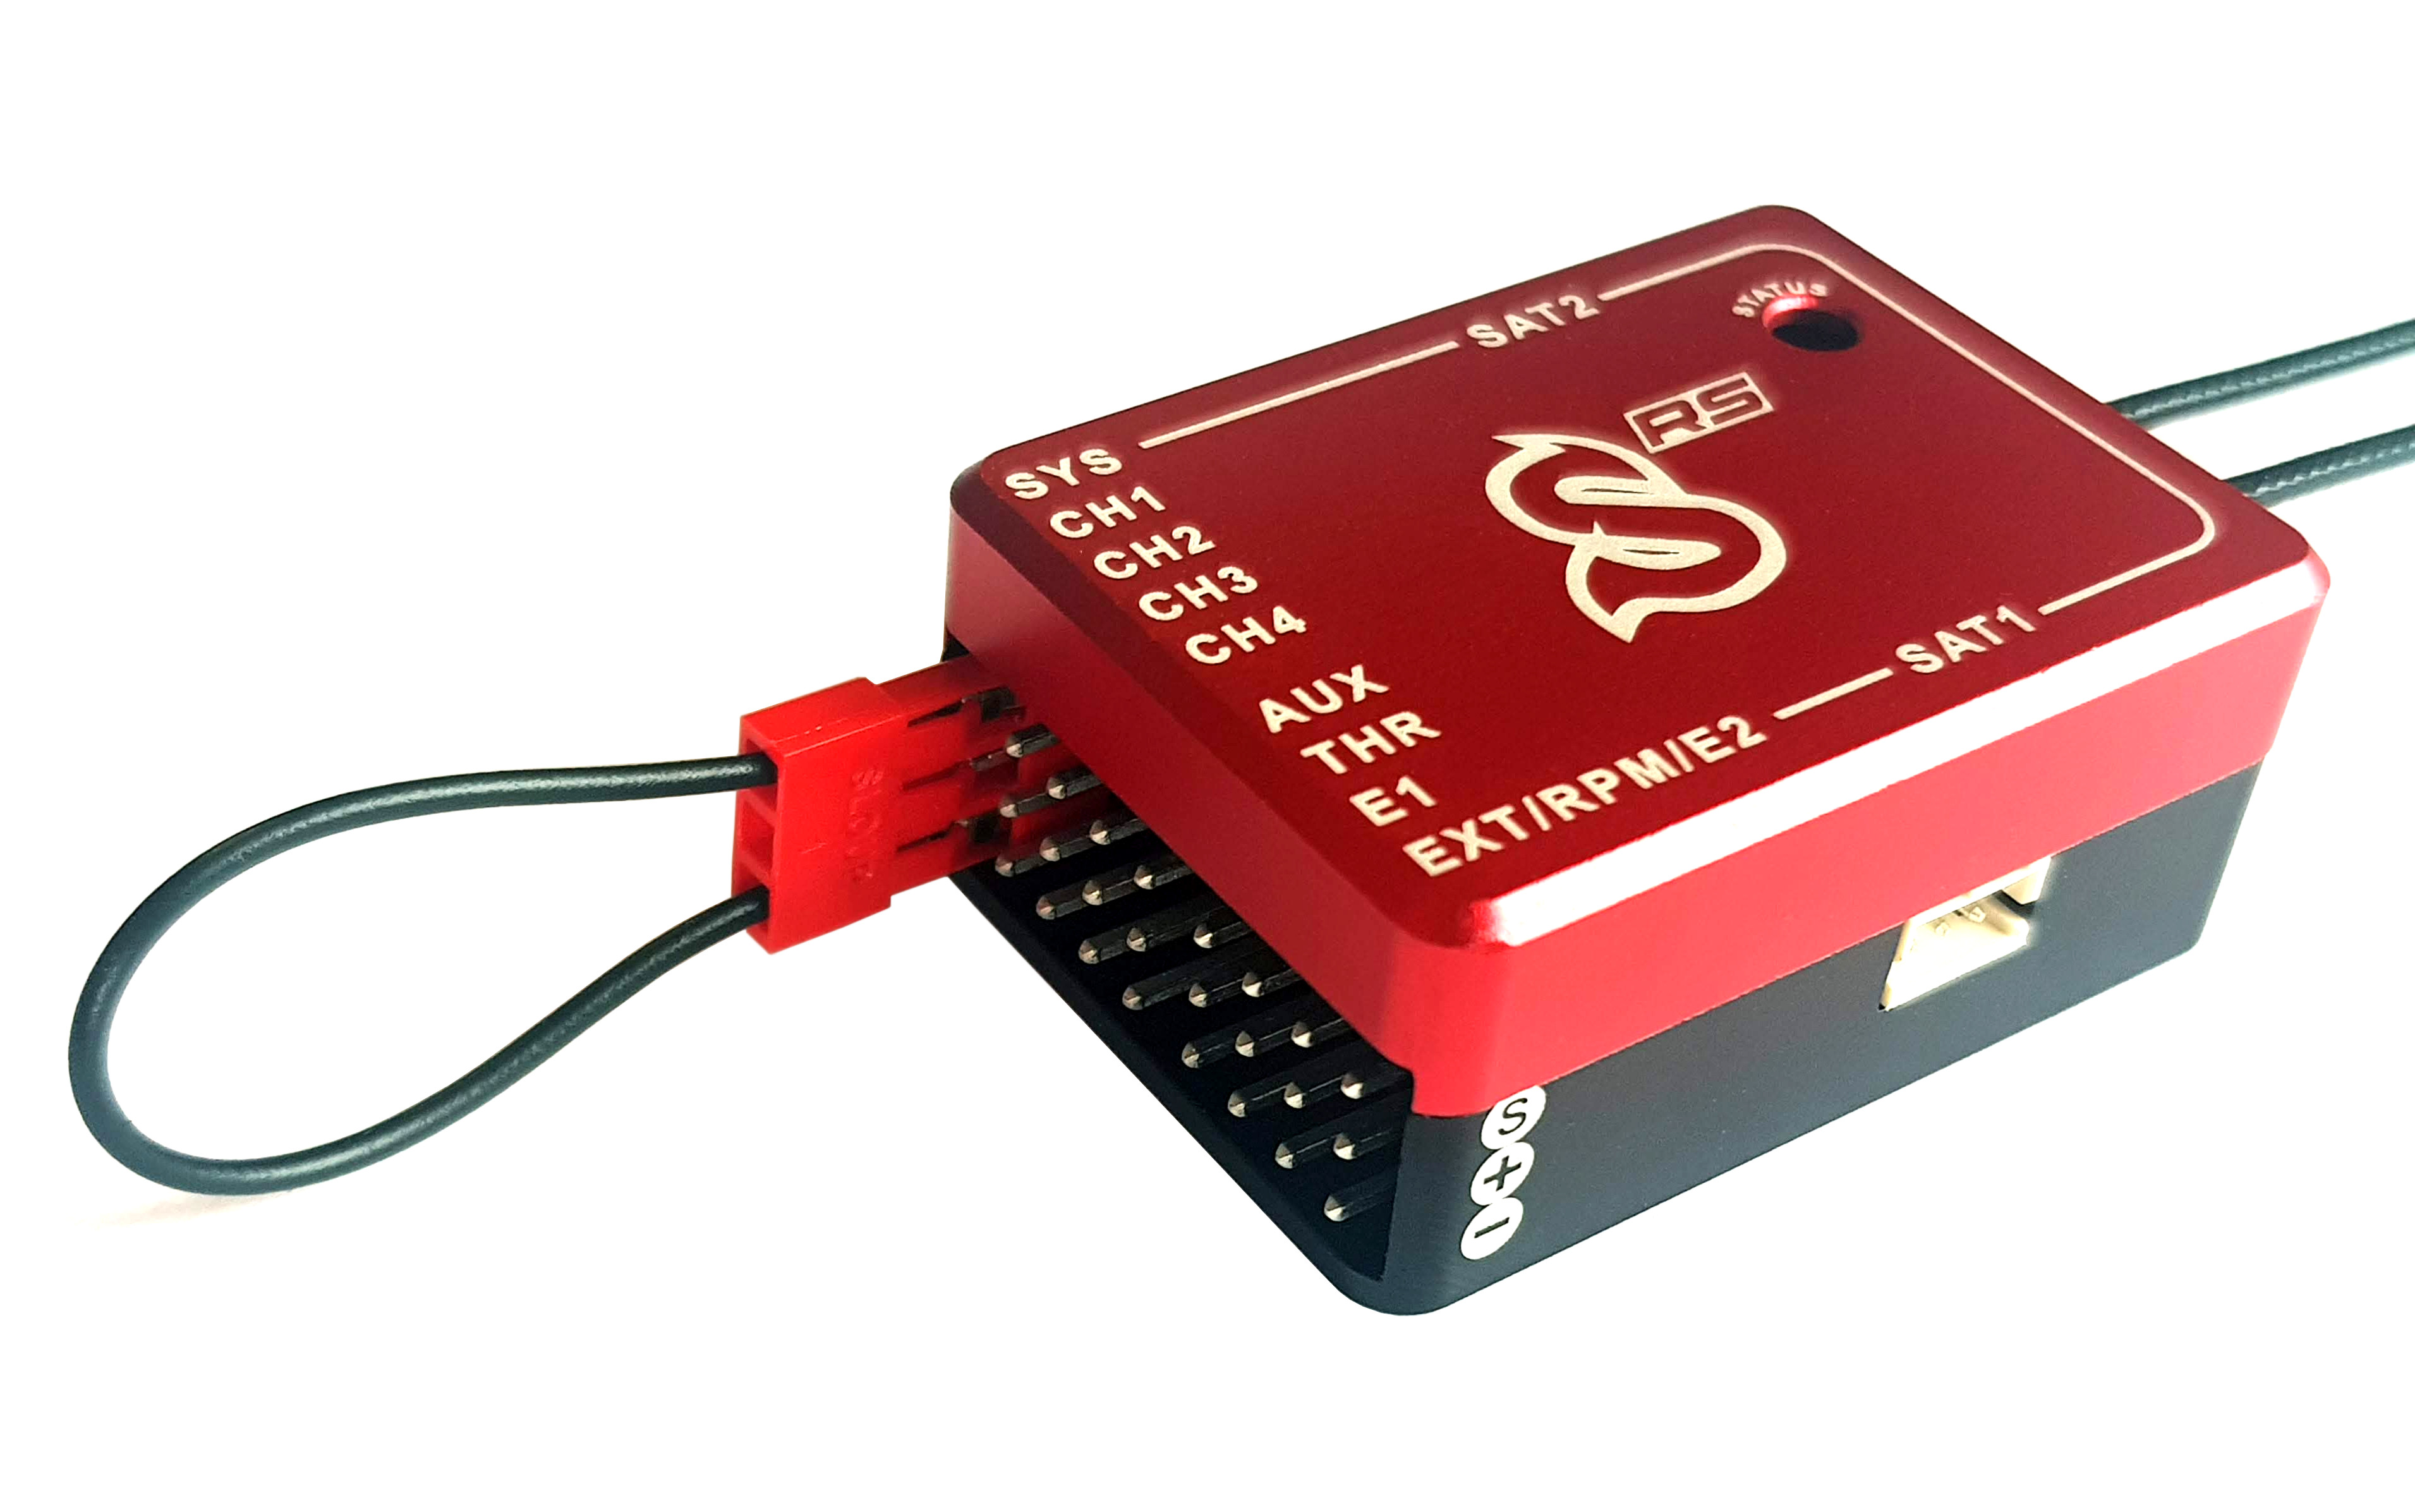
In order to Bind Spirit RS with your radio use supplied Bind plug.
1 Binding Procedure
- Insert Bind plug in the SYS port and connect Power supply to the Spirit unit. (For example ESC/BEC at the THR port)
- Spirit unit will start to blink with the Status LED periodically.
- Then power up your radio.
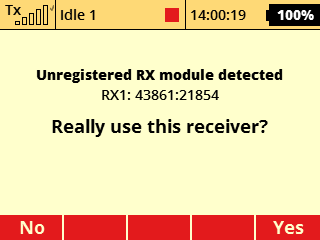
- Radio will ask if you wish to use the receiver. Confirm by pressing Yes button.
1.1 Not recognized by radio
In case you already bound a receiver or Spirit RS with selected Model profile, you might need to start Binding process again.
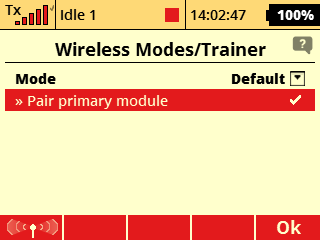
Go to Model/Heli Tuning and press middle button under display. Then select Pair primary module.
Subsequently you can Turn Off and Turn On your radio. During powering new receiver should be recognized. Once correctly bound with Spirit RS you should see full Tx signal in the top left corner at the display.


