Difference between revisions of "SpiritRS Wiring/es"
(Created page with "Dependiendo de su modelo en particular y en su tipo de plato, los servos se conectarán de una manera u de otra. El cableado se explica en las siguientes secciones y de manera...") |
(Created page with "Elevator delante") |
||
| Line 19: | Line 19: | ||
El cableado se explica en las siguientes secciones y de manera adicional en el Asistente de Ajuste. | El cableado se explica en las siguientes secciones y de manera adicional en el Asistente de Ajuste. | ||
| − | === Elevator | + | === Elevator delante === |
Elevator has servo control push rod at the front part of the model - swashplate push rod at the front. | Elevator has servo control push rod at the front part of the model - swashplate push rod at the front. | ||
Revision as of 18:44, 13 October 2020
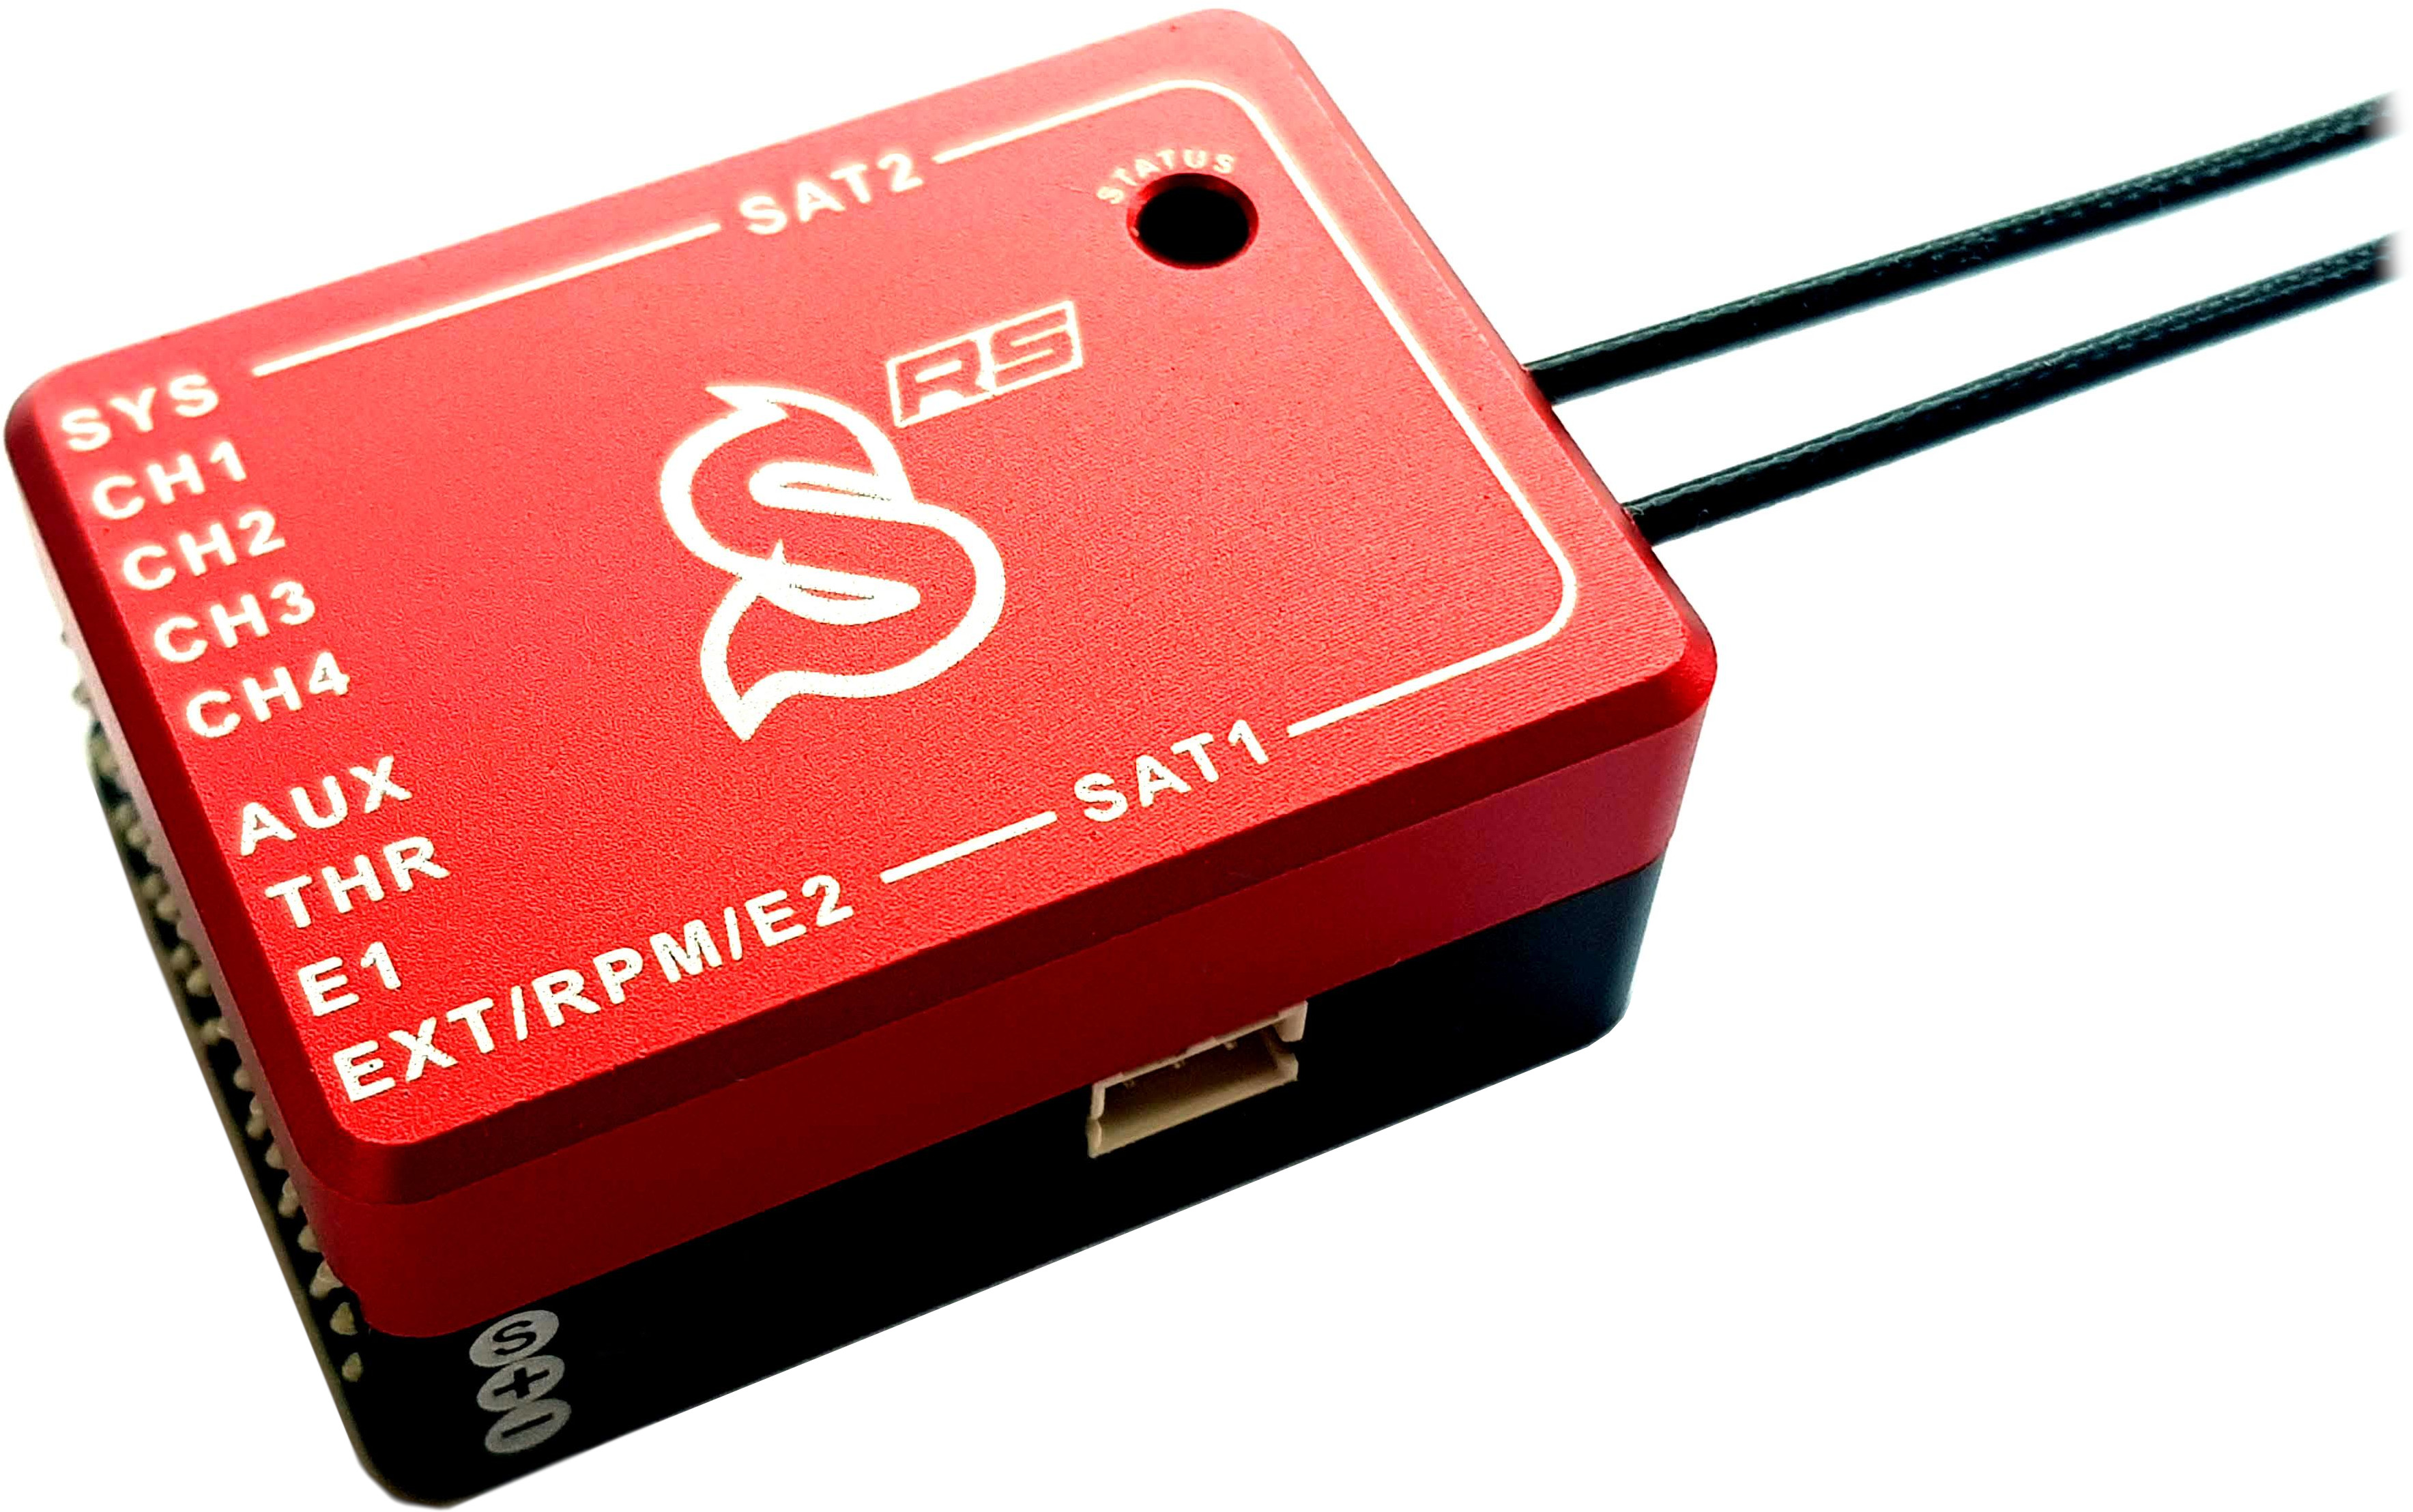
La unidad Spirit RS con el firmware más reciente tiene soporte para modelos con 3 servos en plato, 1 en cola y 1 de motor. Cuenta también con puertos de telemetría DUPLEX independientes, lo que hace posible conectar dos sensores JETI. De manera adicional puede opcionalmente conectar un receptor de salvaguarda.
Además puede utilizar telemetría de variador.
1 Cableado de los Servos
Siga los diagramas de conexión para conectar los servos a su Spirit RS. Si alguno de sus servos no funciona con un centrado en 1520μs, por favor, no conecte tal servo hasta que finalice el Asistente de Ajuste.
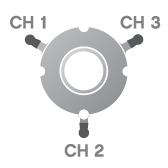
- CH1 y CH3 - Servo Aileron/Pitch
- CH2 - Servo Elevator
- CH4 - Servo Tail
Dependiendo de su modelo en particular y en su tipo de plato, los servos se conectarán de una manera u de otra. El cableado se explica en las siguientes secciones y de manera adicional en el Asistente de Ajuste.
1.1 Elevator delante
Elevator has servo control push rod at the front part of the model - swashplate push rod at the front.
- CH1 - connected to the right servo (Pitch)
- CH3 - connected to the left servo (Aileron)
1.2 Elevator at the rear
Elevator has servo control push rod at the rear - swashplate push rod at the rear.
- CH1 - connected to the left servo (Aileron)
- CH3 - connected to the right servo (Pitch)
2 Power Supply
Power Supply is critical part of the model. For this reason it is highly recommended to use suitable BEC or battery that can handle used servos. Once wiring and setup is completed it is highly advised to perform the BEC test. If the test will not pass it is clear the power supply is inadequate and failure will occur.
BEC, Battery or Backup power supply should be connected always at THR, E1 and AUX ports.
- THR - used for Throttle output and primary ESC/BEC cable for electric helicopters. For a combustion helicopters THR port is used for Throttle Servo.
- E1 - used for Secondary BEC cable for electric helicopters (recommended for class 500+). For a combustion helicopters E1 port is used for a Battery lead.
- AUX - used for Optional Power Guard system or an additional battery lead. Can output also channel data for controlling a landing gear, lights, etc.


