Difference between revisions of "Spirit Settings under Windows"
| Line 21: | Line 21: | ||
[[File:windows-7.png|500px]] | [[File:windows-7.png|500px]] | ||
| + | |||
5. Install the driver. | 5. Install the driver. | ||
[[File:windows-8.png|500px]] | [[File:windows-8.png|500px]] | ||
| + | |||
4. Finish the installation. | 4. Finish the installation. | ||
Revision as of 12:51, 17 April 2018
1 Installation
1. Download the Spirit Settings software from from http://spirit-system.com web page. At the web page click the Download (upper side) and then click the Windows logo. This will start downloading the software.
2. Open the Downloads directory in your computer and execute the Spirit Settings installer.
3. Proceed through the installation process.
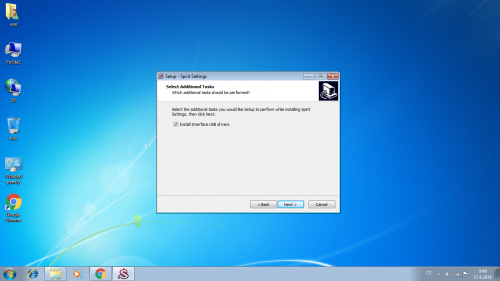
4. Tick the USB interface driver option (required just for the first time)
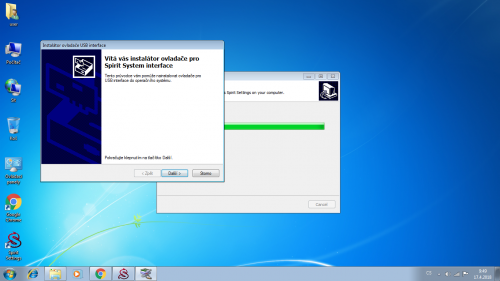
5. Install the driver.
4. Finish the installation.
2 Usage
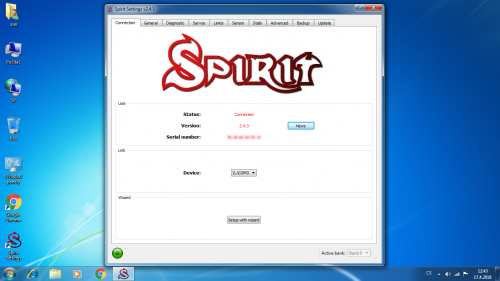
Whenever you need, start the app by clicking the Spirit Settings icon from your desktop. The USB interface must be plugged in your computer before starting. If everything is OK, you will see a Device in the Connection tab.
If launching for the first time, you will be prompted whether to start the Setup Wizard. In case you have never configured your Spirit unit earlier, click Yes and proceed according the instructions.
3 Troubleshooting
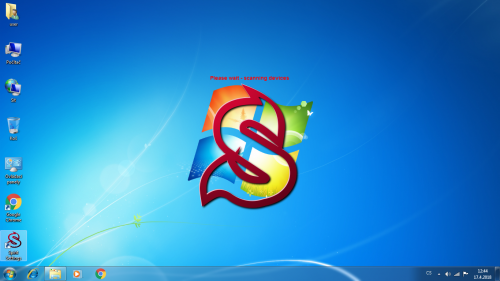
If you can see Scanning devices message with no change over more than 10 seconds reboot your computer and turn off the Bluetooth module (if enabled on your computer). Then start the Spirit Settings again - this time it should continue correctly.


