Difference between revisions of "Hott Integration"
(→Receiver configuration) |
(→Receiver configuration) |
||
| Line 28: | Line 28: | ||
Go to the ''Function (F)/Telemetry/Setting & Data View'' where you have to change option ''SENSOR at CHx'' to YES. | Go to the ''Function (F)/Telemetry/Setting & Data View'' where you have to change option ''SENSOR at CHx'' to YES. | ||
| − | [[File: | + | [[File:sumd-rx.jpg]] |
== Entering the menu == | == Entering the menu == | ||
To enter the Menu you have to enter ''Function (F)/Telemetry/Setting & Data View''. | To enter the Menu you have to enter ''Function (F)/Telemetry/Setting & Data View''. | ||
Revision as of 14:37, 24 January 2017
From version 2.3 the Spirit units support full integration with the Graupner HoTT transmitters. This mean that you can configure the Spirit units completely from your radio wihtout need of a computer.
The integration can work with all HoTT receivers and radios except MZ-4 and MZ-8.
1 Wiring
To allow the integration you have to connect additional cable to your current setup. This cable will connect the Telemetry port of the receiver with the SYS port of the unit. So there should be two connections between unit and receiver for:
- Channel transmission (PWM, PPM or SUMD)
- Telemetry data
Use the Hott Integration cable available in our eshop. Connect it according the following steps:
- End where all wires are present in the servo connector should be connected to the receiver on the Telemetry port marked with T label.
- End with only orange and brown wires is connected to the SYS port.
It is very important to pay attention during the connection!
If connected wrongly, it will damage the unit permanently. The cable end where Orange wire is in the middle pin must be always connected to the unit.
Servo connector in the Graupner Hott receivers is connected so that the signal wire is at the bottom.
2 Receiver configuration
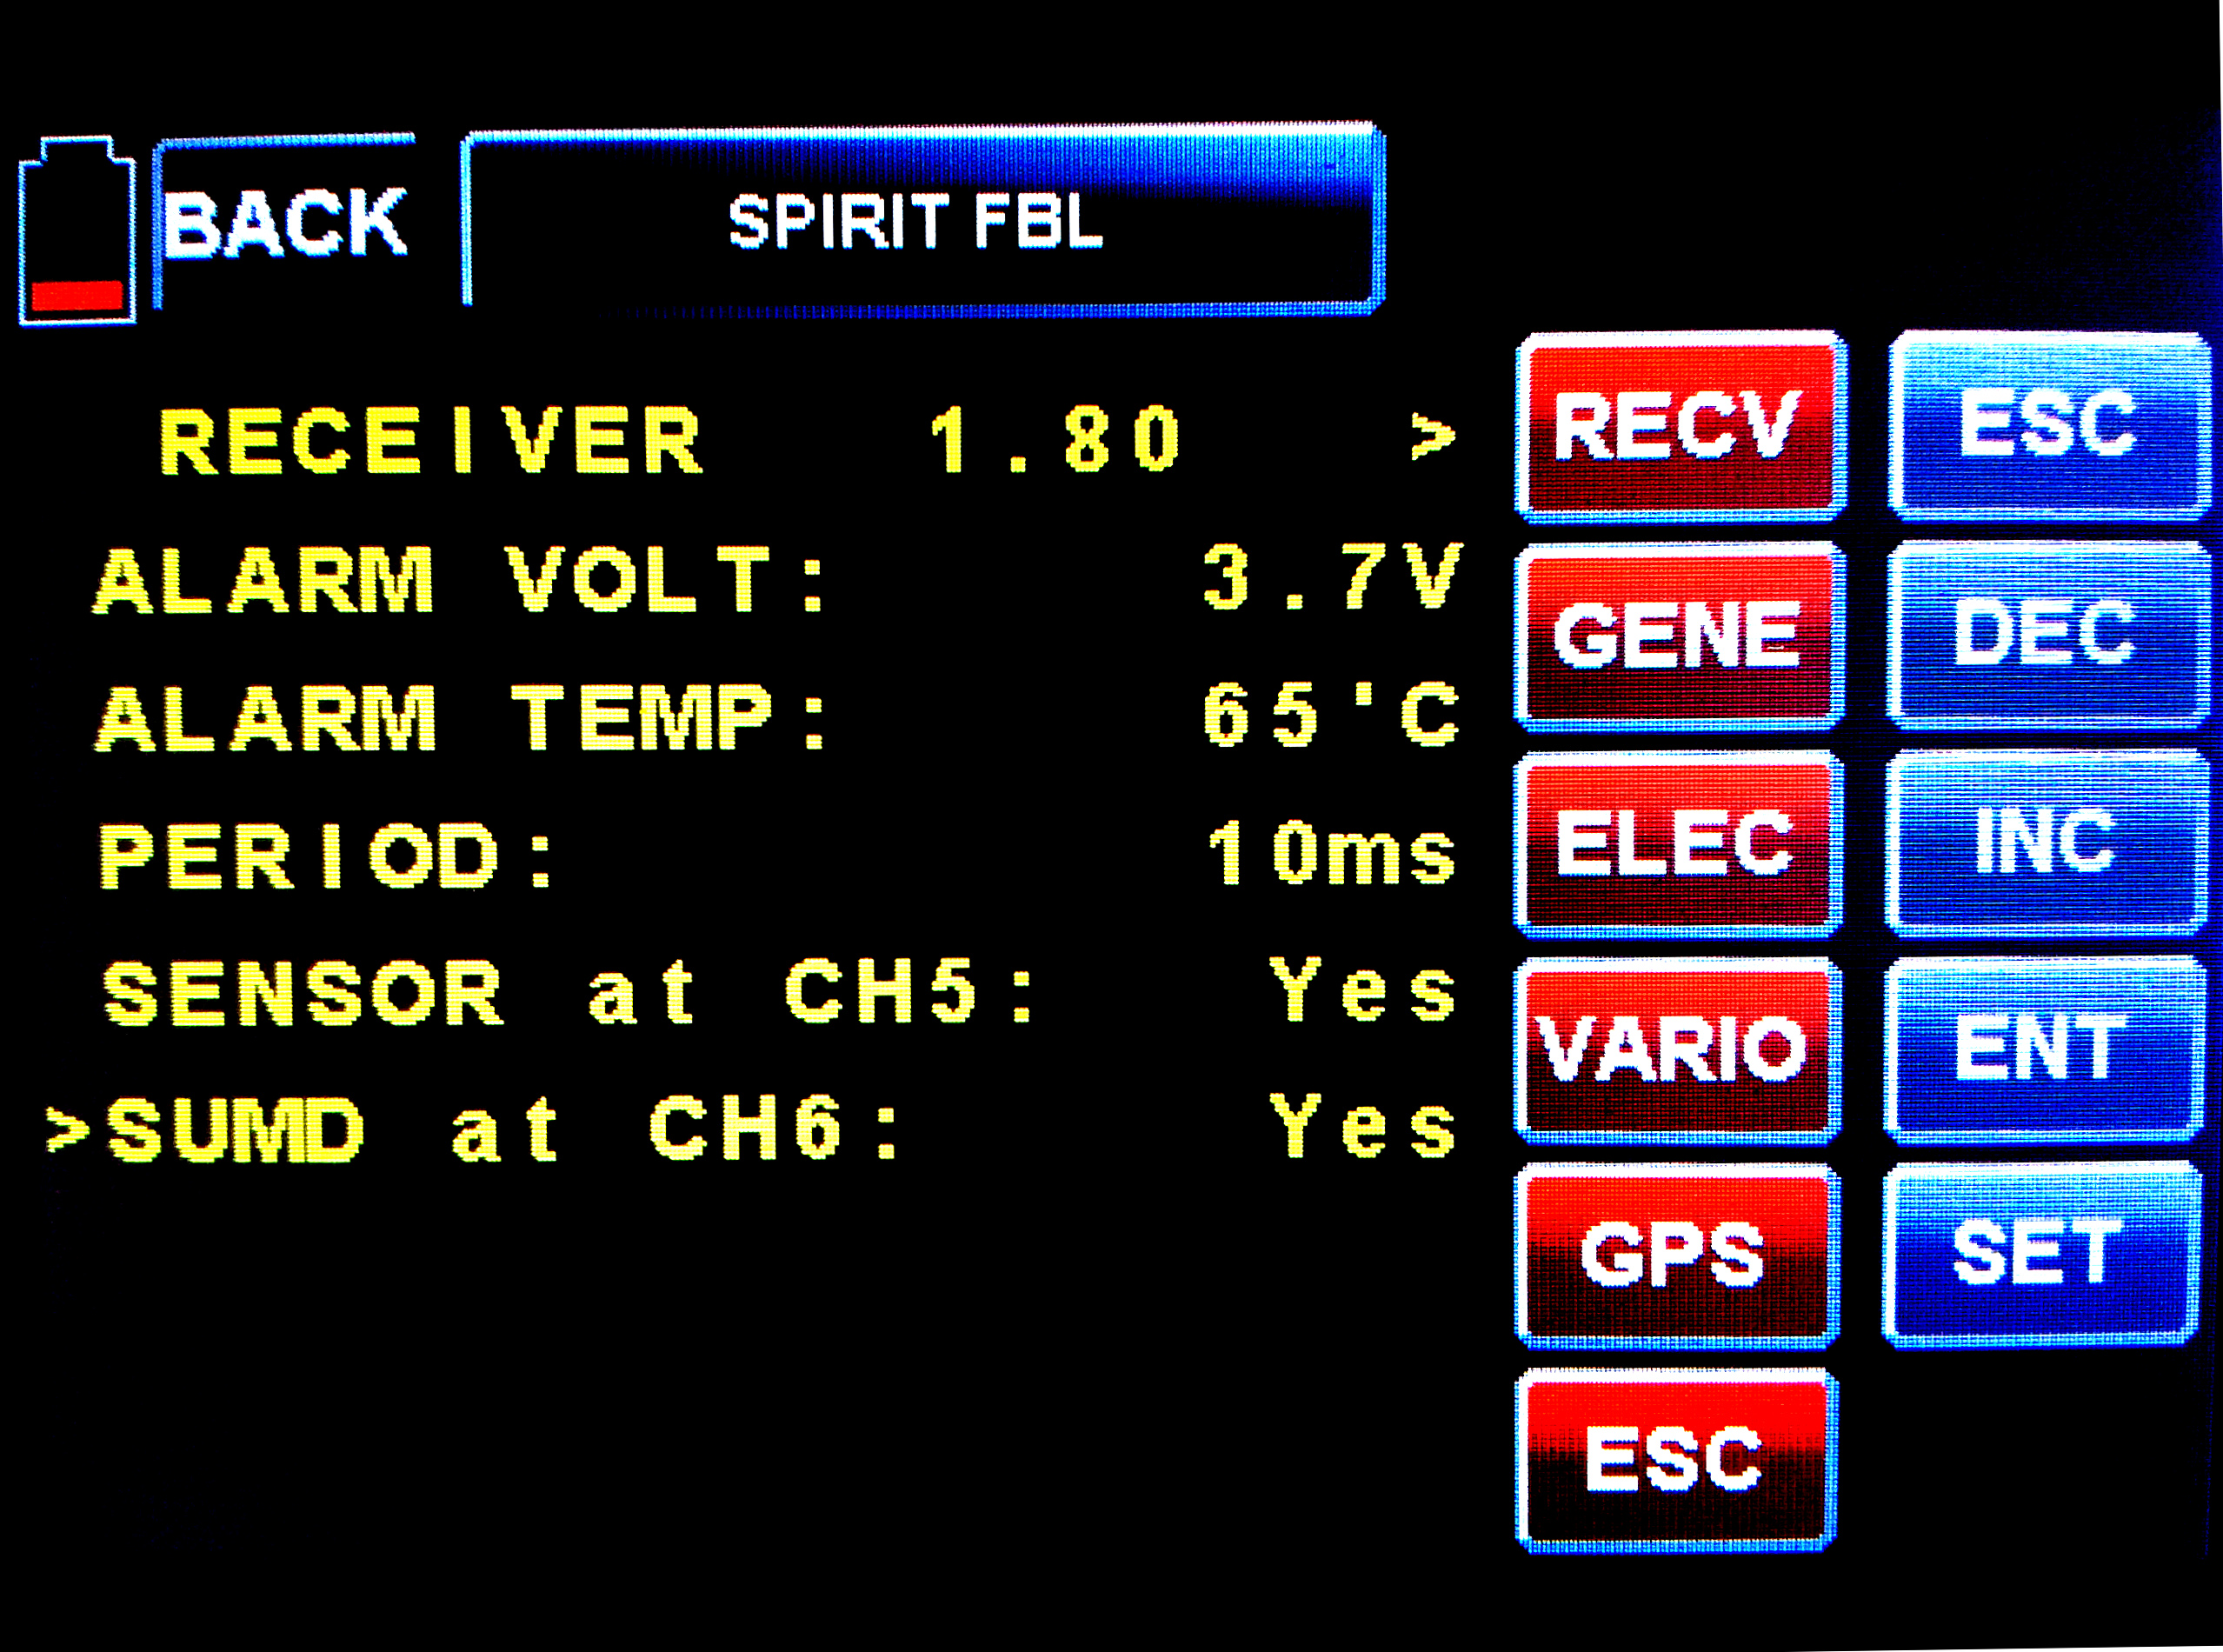
Make sure that your Receiver has enabled Telemetry output. This port is deactivated in the Factory defaults.
Go to the Function (F)/Telemetry/Setting & Data View where you have to change option SENSOR at CHx to YES.
To enter the Menu you have to enter Function (F)/Telemetry/Setting & Data View.

