Jeti Integrace
Od verze 1.1.0 je k dispozici Jeti integraci! To znamená, že je možné jednotku plně konfigurovat přímo z Jeti vysílače bez použití počítače.
Contents
1 Požadavky
Pro správnou funkci budete potřebovat:
- Soupravu Jeti Duplex DS/DS 14, 16 nebo 24
- Přijímač Jeti Duplex s volným EX portem.
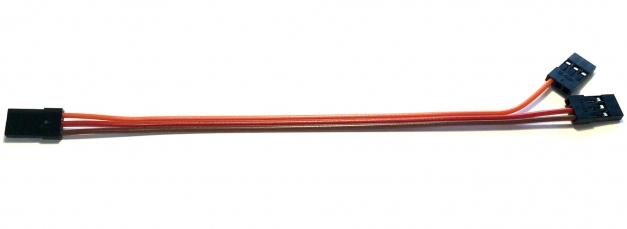
- Propojku pro integraci je možné zakoupit v našem obchodě.
- Soubor s nastavením pro vysílač.
2 Zapojení
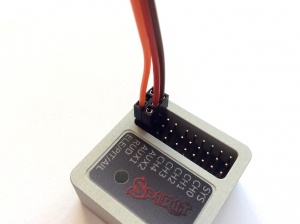
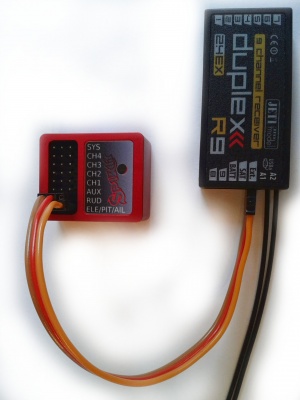
Jeti propojka je schopna přenést veškerá data pro kanály a telemetrii. To znamená, že kromě propojky samotné již není zapotřebí další kabel.
Na straně přijímače je nutné zapojit servo kabel do portu EX Bus.
- U nových REX přijímačů je označen EX1 nebo EX2 (s EXT nebude funkční).
- Starší EX přijímače značí port vždy jako EXT.
Jestliže používáte EX přijímače s připojeným telemetrickým čidlem k EXT portu, pak máte dvě možnosti:
- Použít připojení přes UDI (přijímač typu SRXL/SUMD) - v tomto případě příjdete o Jeti integraci.
- Zakoupit REX přijímač, na kterém je možné zapojit telemetrická čidla i Jeti integraci současně.
3 Transmitter preparation
Now download the Configuration file, which has BIN extension. The file name is "Spirit.bin". This file should be copied to the "Devices" directory on the SD-Card of your transmitter. Without it you will see the error message when the Spirit device is opened.
You can copy it by connecting the micro USB cable to the transmitter similarly as to an USB flash drive. When cable is attached to the transmitter you have to confirm the USB connection. Then simply drag and drop it to the Devices directory as you are used to.
It is very important to use the same version of the BIN file as your current firmware in the unit. If the versions are not matching then an incompatibility issues could occur.
4 Spirit Settings
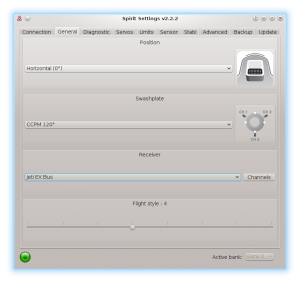
Now you are ready to power up the unit. If your Power supply is not connected yet, we recommend to connect it to the AUX1, AUX2 and/or CH0 port. Before you can utilize the Jeti Integration and EX Bus connection, it is important to set the EX Bus receiver type in the General tab of the software. Please start the Spirit Settings and change the receiver type as displayed on the photo. Then save the settings (e.g. by CTRL+S) or the Backup tab/Unit - Save and restart the unit.
5 Integration Menu
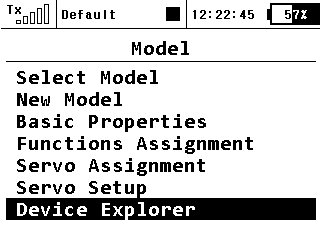
When unit is initialized you are able to enter the Jeti Integration menu. Press the MENU button on the transmitter.
Then select the Model menu by a rotary knob.
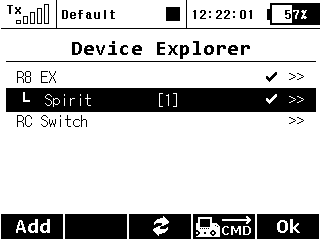
And then enter the Device Explorer menu.
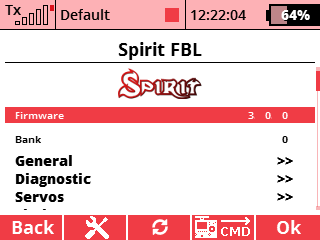
There, if the wiring and receiver type is correct, you will see the Spirit entry.
5.1 Stil can't see the Spirit?
If you have everything right, but the unit is still not visible, then the only problem can be that the EX Bus port of your receiver is configured to a different protocol.
In this case, enter the configuration menu of your receiver in the Device Explorer - the entry has name of your receiver. Change the Serial Link to the EX Bus. In case of the REX receivers you can assign EX1 or EX2 port..
6 Usage
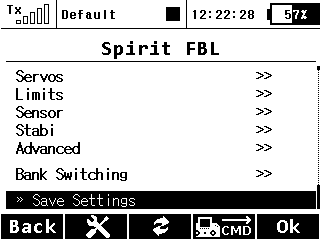
Whenever you want to configure a parameter, go to the Model/Device Explorer/Spirit. There the Menu Layout is nearly identical with the PC software to have easy navigation.
It is working in the same way as when the PC software is connected. This mean that when Jeti Integration menu is opened, you can change even the basic parameters that could affect the helicopter significantly.
When using the Bank Switching or Real-Time tuning features the menu will take full control of it. The unit will not react to a Switch position changes. For the Bank Switching there is a menu Bank Switching where you can manually change the banks.
Do not forget to click the Save Settings when you want to save a changes permanently.
Enjoy the integration!
