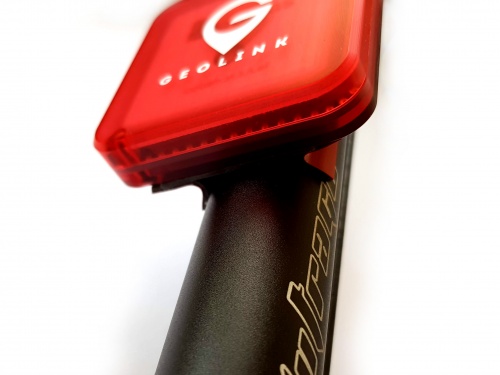
Montaje GeoLink
El montaje correcto es lo mas importante para lograr una condicion operativa optima.Si se realiza correctamente, GEOLINK no podra trabajar con gran precision, o en el peor de los casos,alguna funcionalidad podria ser incluso inutilizable
Por favor, tenga especial cuidado para realizar los siguientes pasos a fondo.
Contents
1 MOntaje en su helicoptero
A partir de ahora,el modulo debe montarse siempre horizontalmente para que el logotipo de GEOLINK este en la parte superior. Puede seleccionar entre dos tipos de posiciones:
- "El conector horizontal(0 grados)"-"conector esta apuntando al rotor principal"
- "El conector horizontal(180 grados)"-"conector esta apuntando al rotor de cola"
Antes del montaje real por favor consulte la seccion alineacion.
1.1 Donde montar
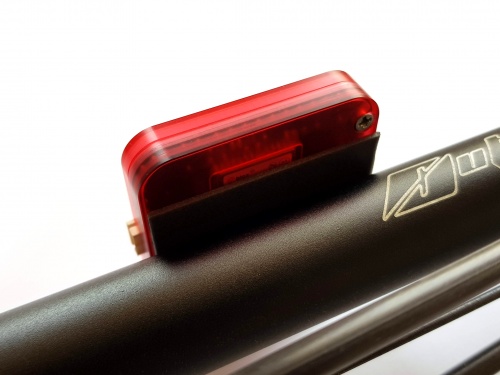
El modulo GEOLINK debe montarse idealmente en ele TUBO DE COLA. Esta suele ser la mejor posicion para lograr un rendimiento optimo. La posicion optima debe cumplir con lo siguiente:
- Estar al menos a 5CM de una parte conductora rigida, como un marco de carbono o tornillos
- Estar al menos de 8CM de cualquier dispositivo electronico(especialmente servos)
- Estar al menos de 8CM de un motor electrico.
- Estar al menos de 30CM de cualquier iman(especialmente montajes magneticos de canopis)
- Tener una clara visibilidad del cielo.
- estar perfectamente alineado horizontalmente.
Elija una posicion que no este demasiado lejos,de modo que el cable suministrado sea lo suficientemente largo.Colocar el modulo demasiado lejos en el tubo de cola podria llevar a un mal centro de gravedad del modelo.
1.2 Como montar
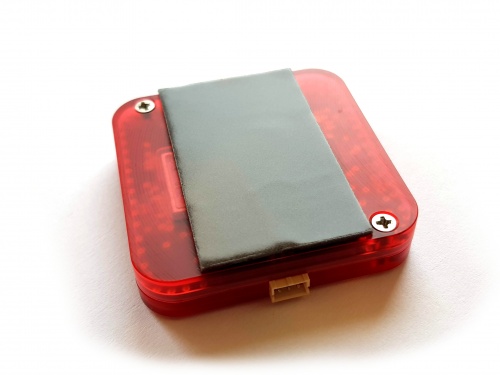
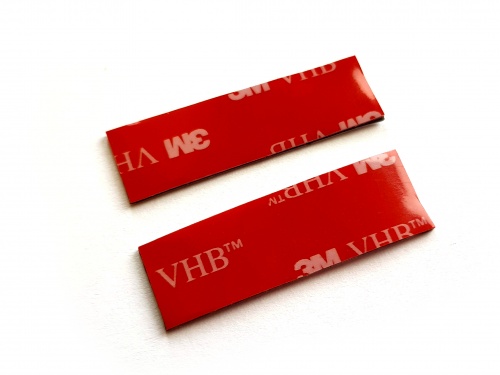
El acoplamiento del modulo se realiza normalmente mediante la cinta de doble cara suministrada.La cinta suministrada tiene propiedades de adhesivo extremadamente buenas, de modo que puede ser mas resistente incluso cuando solo se utilizan dos rieles de la cinta.
Algunos helicopteros estan equipados con un fuselaje en lugar de un tubo de cola.En ese caso,Existe la posibilidad de que tenga que pasar mas tiempo para lograr una superficie de montaje plana.
Opcionalmente,puede utilizar un soporte de montaje de terceros diseñado para modulos GPS.
Numca monte GEOLINK directamente sobre piezas metalicas gruesas,cerca de un motor o cualquier servo.
No cubra el conector GEOLINK con cinta, pegamento o pintura.La apertura sobre el conector se utiliza para determinar la presion ambiental y la altitud.
Cada circuito que contiene antenas esta cuidadosamente diseñado para lograr la indepancia correcta.La inpedancia es una propiedad electrica que determina directamente el rendimiento de la antena.La impedancia esta cambiando de inmediato al colocar cualquier parte cerca del circuito,espacialmente cerca de la antena.Debido a que PCB esta actuando como parte de la antena GPS,cualquier cambio a la PCB,incluyendo tornillos tiene un impacto notable.Por lo tanto"no recomendamos realizar cambios de hardware en el modulo GEOLINK"
1.3 Montaje con cinta suministrada
1. Take the first piece of tape and glue it approximately in the middle.
2. Attach the module at the tail boom.
3. Divide second piece of tape.
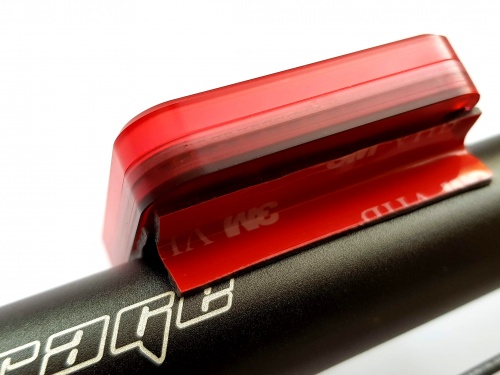
4. While holding folded tape in two fingers insert it between module and boom to create support (from both sides). With a finger or a tool try to insert both pieces as far as possible so that adhesive surfaces are holding well.
The tape will shortly adhere on the surface tightly and can't be reused anymore.
1.4 Unmounting
In some cases pilot might need to remove GeoLink from a model, for example during a repair. When provided double sided is used a special care must be taken!
Always try to pull out double sided tape first, not the module. Lastly rotate with the module gently until double sided tape will peel off.
Never pull the module in any way when mounted with double sided tape! This could bent or crack the plastic enclosure.
1.5 Mounting examples
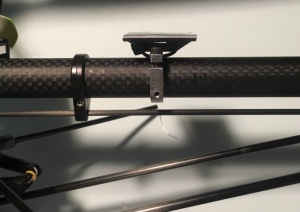
Mounting can be done also in other ways. Please see following photos.
1.5.1 LYNX Oxy 2
1.5.2 KDS Chase 360
1.5.3 SAB Goblin 700
2 Wiring
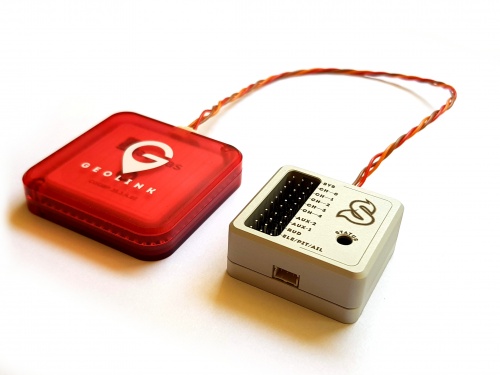
Wiring is done through one JST to JST cable with length of 22cm which is supplied with GeoLink. Longer cable is possible and will be available. For GPS itself a shorter cable is better, because any additional cables attached to the module and Spirit unit could distort the signal.
μSpirit SAT - Satellite port Spirit Primary satellite port Spirit Pro Secondary satellite port
3 Alignment
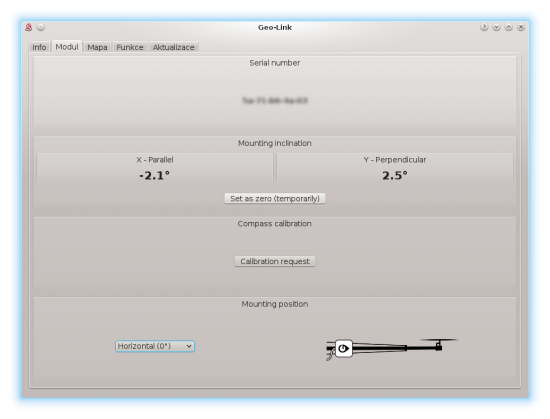
Since it is uneasy to visually align the module perfectly, the GeoLink has built-in digital level in the Spirit Settings. There you can see how to align the module and perform a necessary adjustments.
3.1 Alignment procedure
Alignment can be done prior the mounting or even later, as needed.
- Connect GeoLink and Spirit unit with provided cable (while GeoLink being not mounted yet).
- Power up the Spirit unit.
- After initialization start the Spirit Settings software.
- Open General tab - GeoLink module settings.
- Move to the Module tab there.
- Place GeoLink at a flat, aligned horizontal surface anywhere on your model in order to get a precise reference. (for example the Spirit unit)
- Click Set as zero (temporarily) button to reset angle of built-in protractor.
- Move GeoLink to a desired mounting position.
- Mount it with provided double sided tape at position ideally with 0° deflection.

