Difference between revisions of "SpiritW1 Telemetry"
| (4 intermediate revisions by the same user not shown) | |||
| Line 1: | Line 1: | ||
| + | <languages /> | ||
| + | <div id="up"></div> | ||
| + | __NOTOC__ | ||
| + | =<translate>Telemetry</translate>= | ||
<translate><!--T:1--> | <translate><!--T:1--> | ||
Spirit W1 is equipped with 2 separate inputs for Spirit Telemetry sensors. | Spirit W1 is equipped with 2 separate inputs for Spirit Telemetry sensors. | ||
| Line 7: | Line 11: | ||
* '''T1''' | * '''T1''' | ||
* '''T2''' | * '''T2''' | ||
| + | |||
| + | Please note these ports are not used for ESC telemetry or GeoLink module. | ||
<p></p> | <p></p> | ||
{{Quote| <translate><!--T:24--> | {{Quote| <translate><!--T:24--> | ||
| − | Spirit W1 is equipped also with X pin at | + | Spirit W1 is equipped also with X pin at T2/RPM/X port. This pin is used internally for communication with built-in receiver. '''When using Spirit RX receiver nothing should be connected to X pin.'''</translate>}} |
<p></p> | <p></p> | ||
| Line 42: | Line 48: | ||
You can set display Sensor Data at the Main screen by opening adding '''Widgets'''.</translate> | You can set display Sensor Data at the Main screen by opening adding '''Widgets'''.</translate> | ||
| − | [[File:wave-widgets.png]] [[File:wave-widgets-example.png]] | + | [[File:wave-widgets.png|480px]] [[File:wave-widgets-example.png|480px]] |
== <translate><!--T:13--> | == <translate><!--T:13--> | ||
| Line 48: | Line 54: | ||
<translate><!--T:14--> | <translate><!--T:14--> | ||
| − | Besides Spirit Telemetry sensors you can also utilize the [[ESC telemetry|ESC Telemetry]] and Spirit telemetry variables. | + | Besides Spirit Telemetry sensors you can also utilize the [[ESC telemetry|ESC Telemetry]], [[GeoLink|GeoLink module]] and Spirit telemetry variables. |
<!--T:15--> | <!--T:15--> | ||
| − | + | This mean you can interface your ESC and display telemetry data such as Battery Voltage, Current, Consumed Capacity, Temperature, RPM.</translate> | |
<translate>For more details about ESC telemetry please visit linked guide.</translate> | <translate>For more details about ESC telemetry please visit linked guide.</translate> | ||
| + | |||
| + | <translate>Similarly you can install GeoLink for measuring GPS position, Speed and other variables.</translate> | ||
Latest revision as of 12:43, 11 January 2024
1 Telemetry
Spirit W1 is equipped with 2 separate inputs for Spirit Telemetry sensors. These sensors are compatible also with external Spirit RX receivers.
Available telemetry ports:
- T1
- T2
Please note these ports are not used for ESC telemetry or GeoLink module.
Spirit W1 is equipped also with X pin at T2/RPM/X port. This pin is used internally for communication with built-in receiver. When using Spirit RX receiver nothing should be connected to X pin.
1.1 Telemetry Sensor Wiring
1.1.1 T1 port
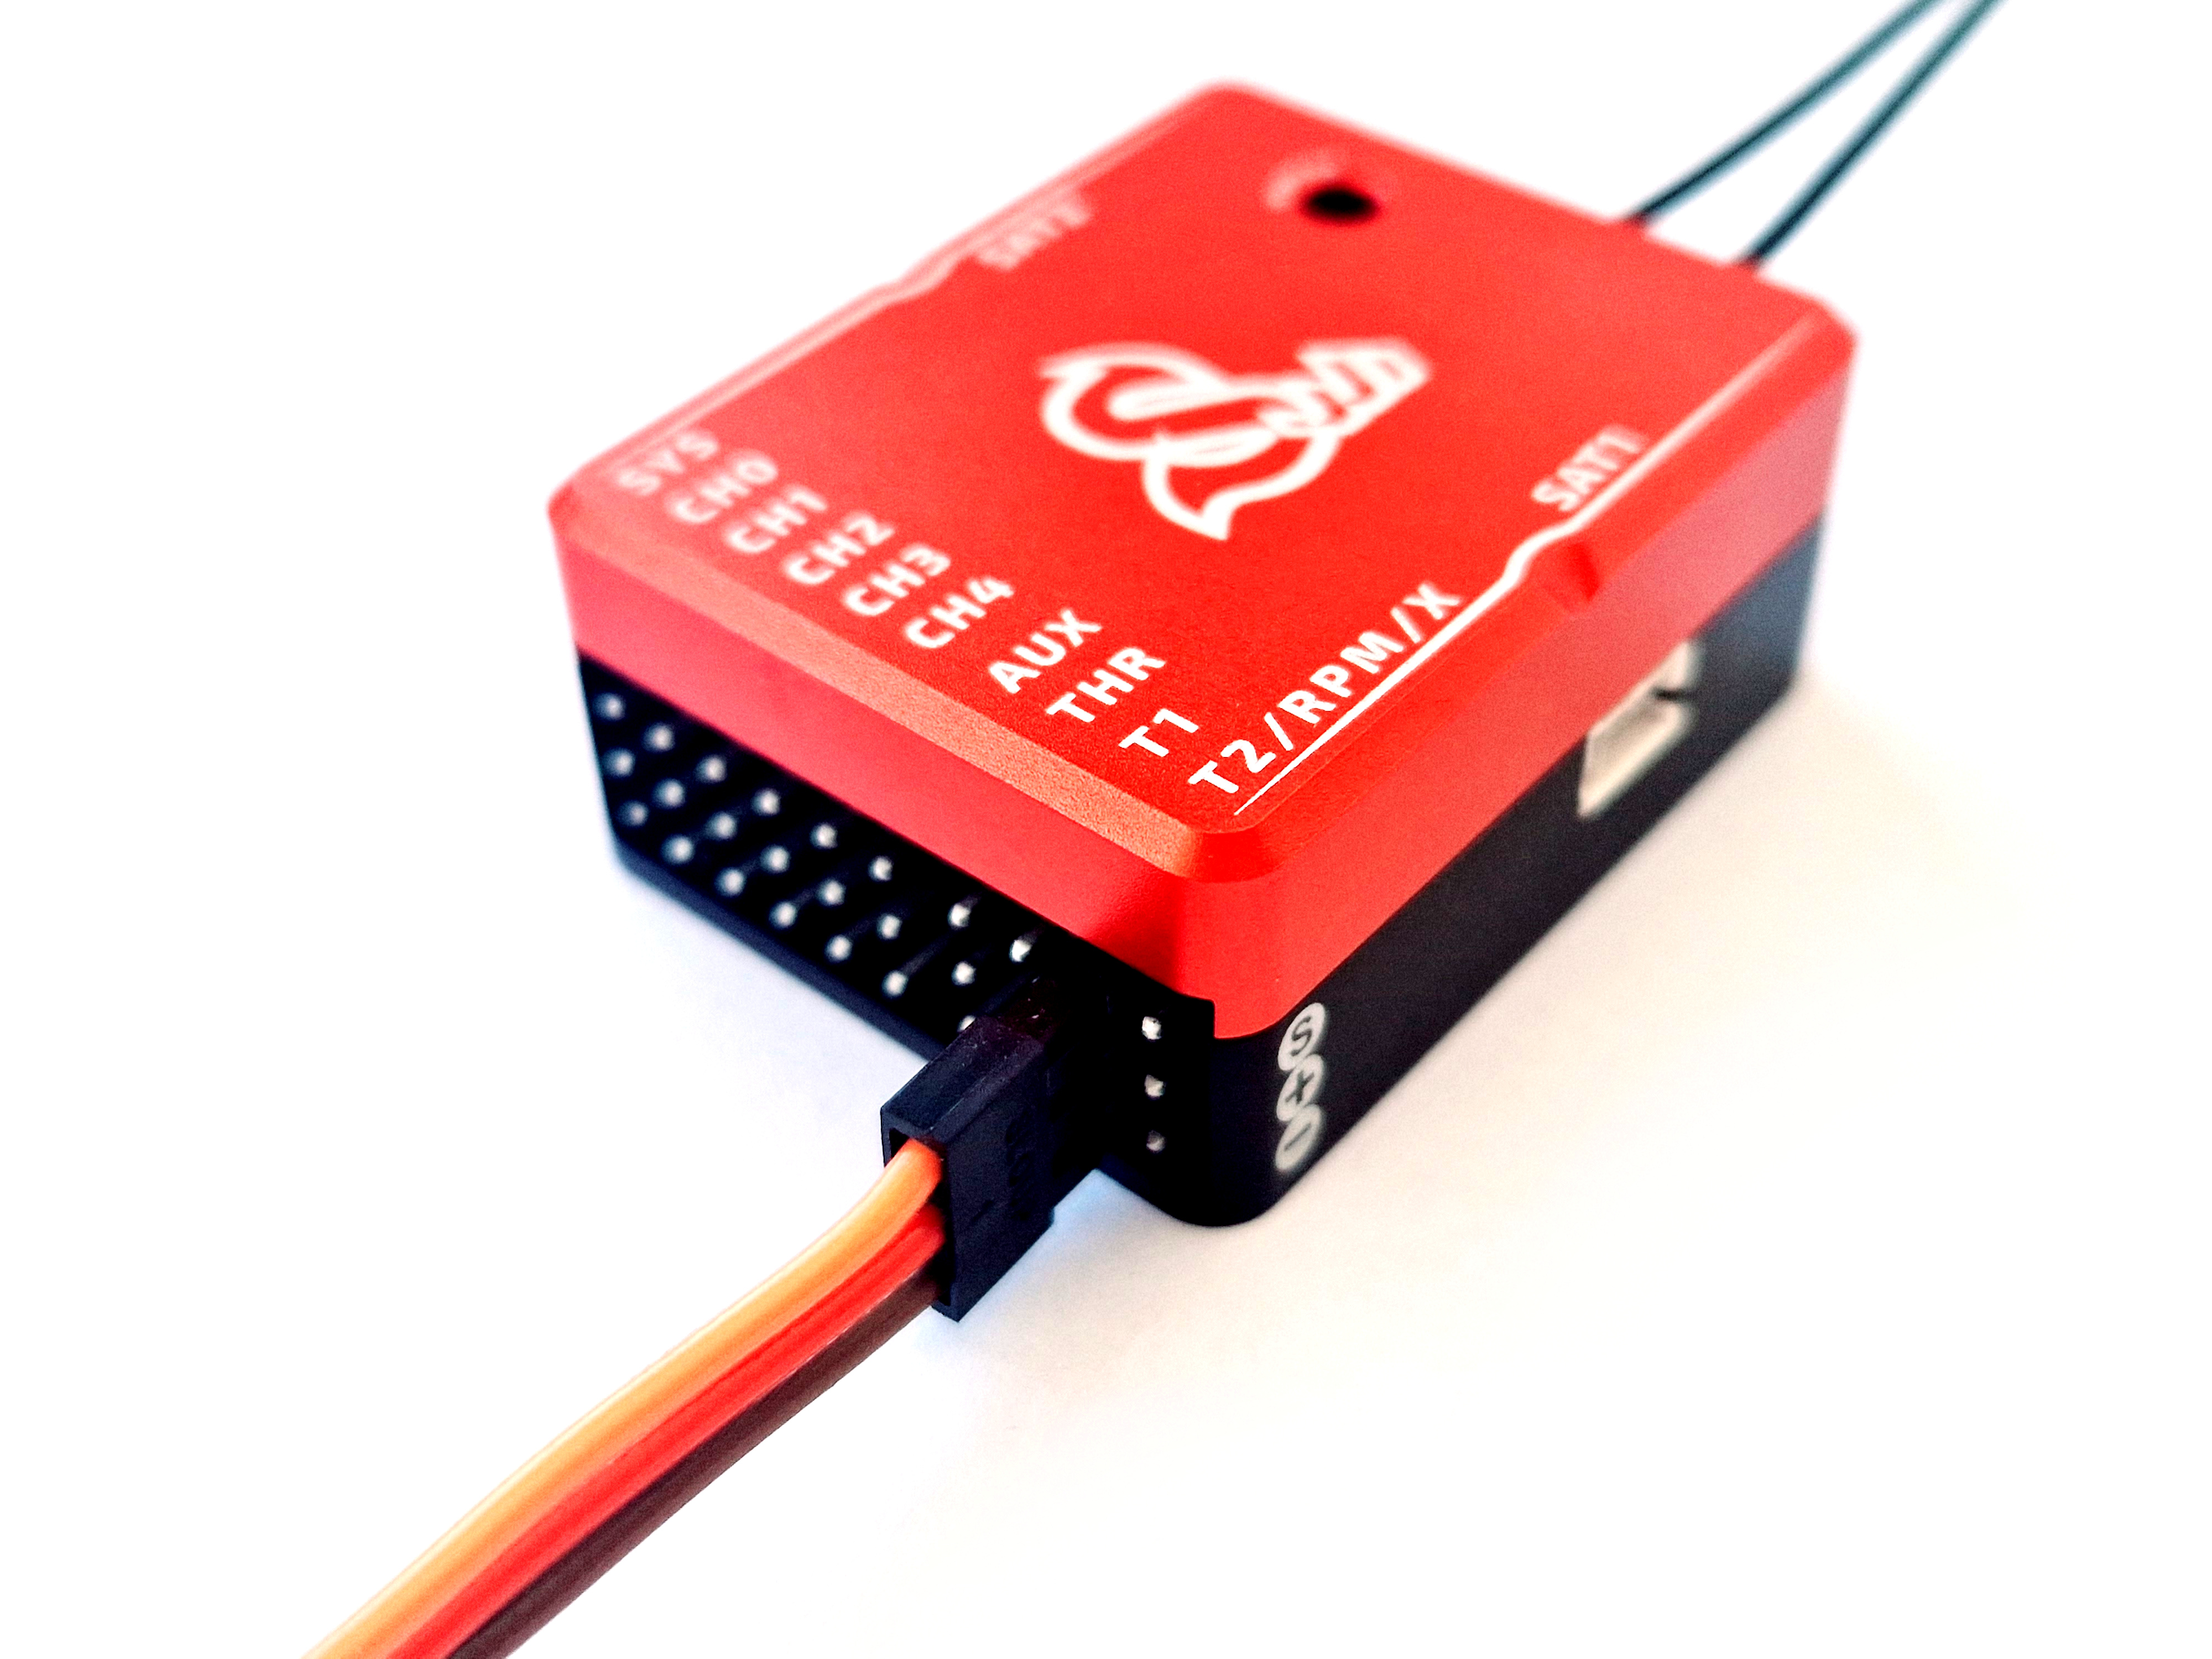
Connect Sensor or Expander cable directly without any change.
1.1.2 T2 port
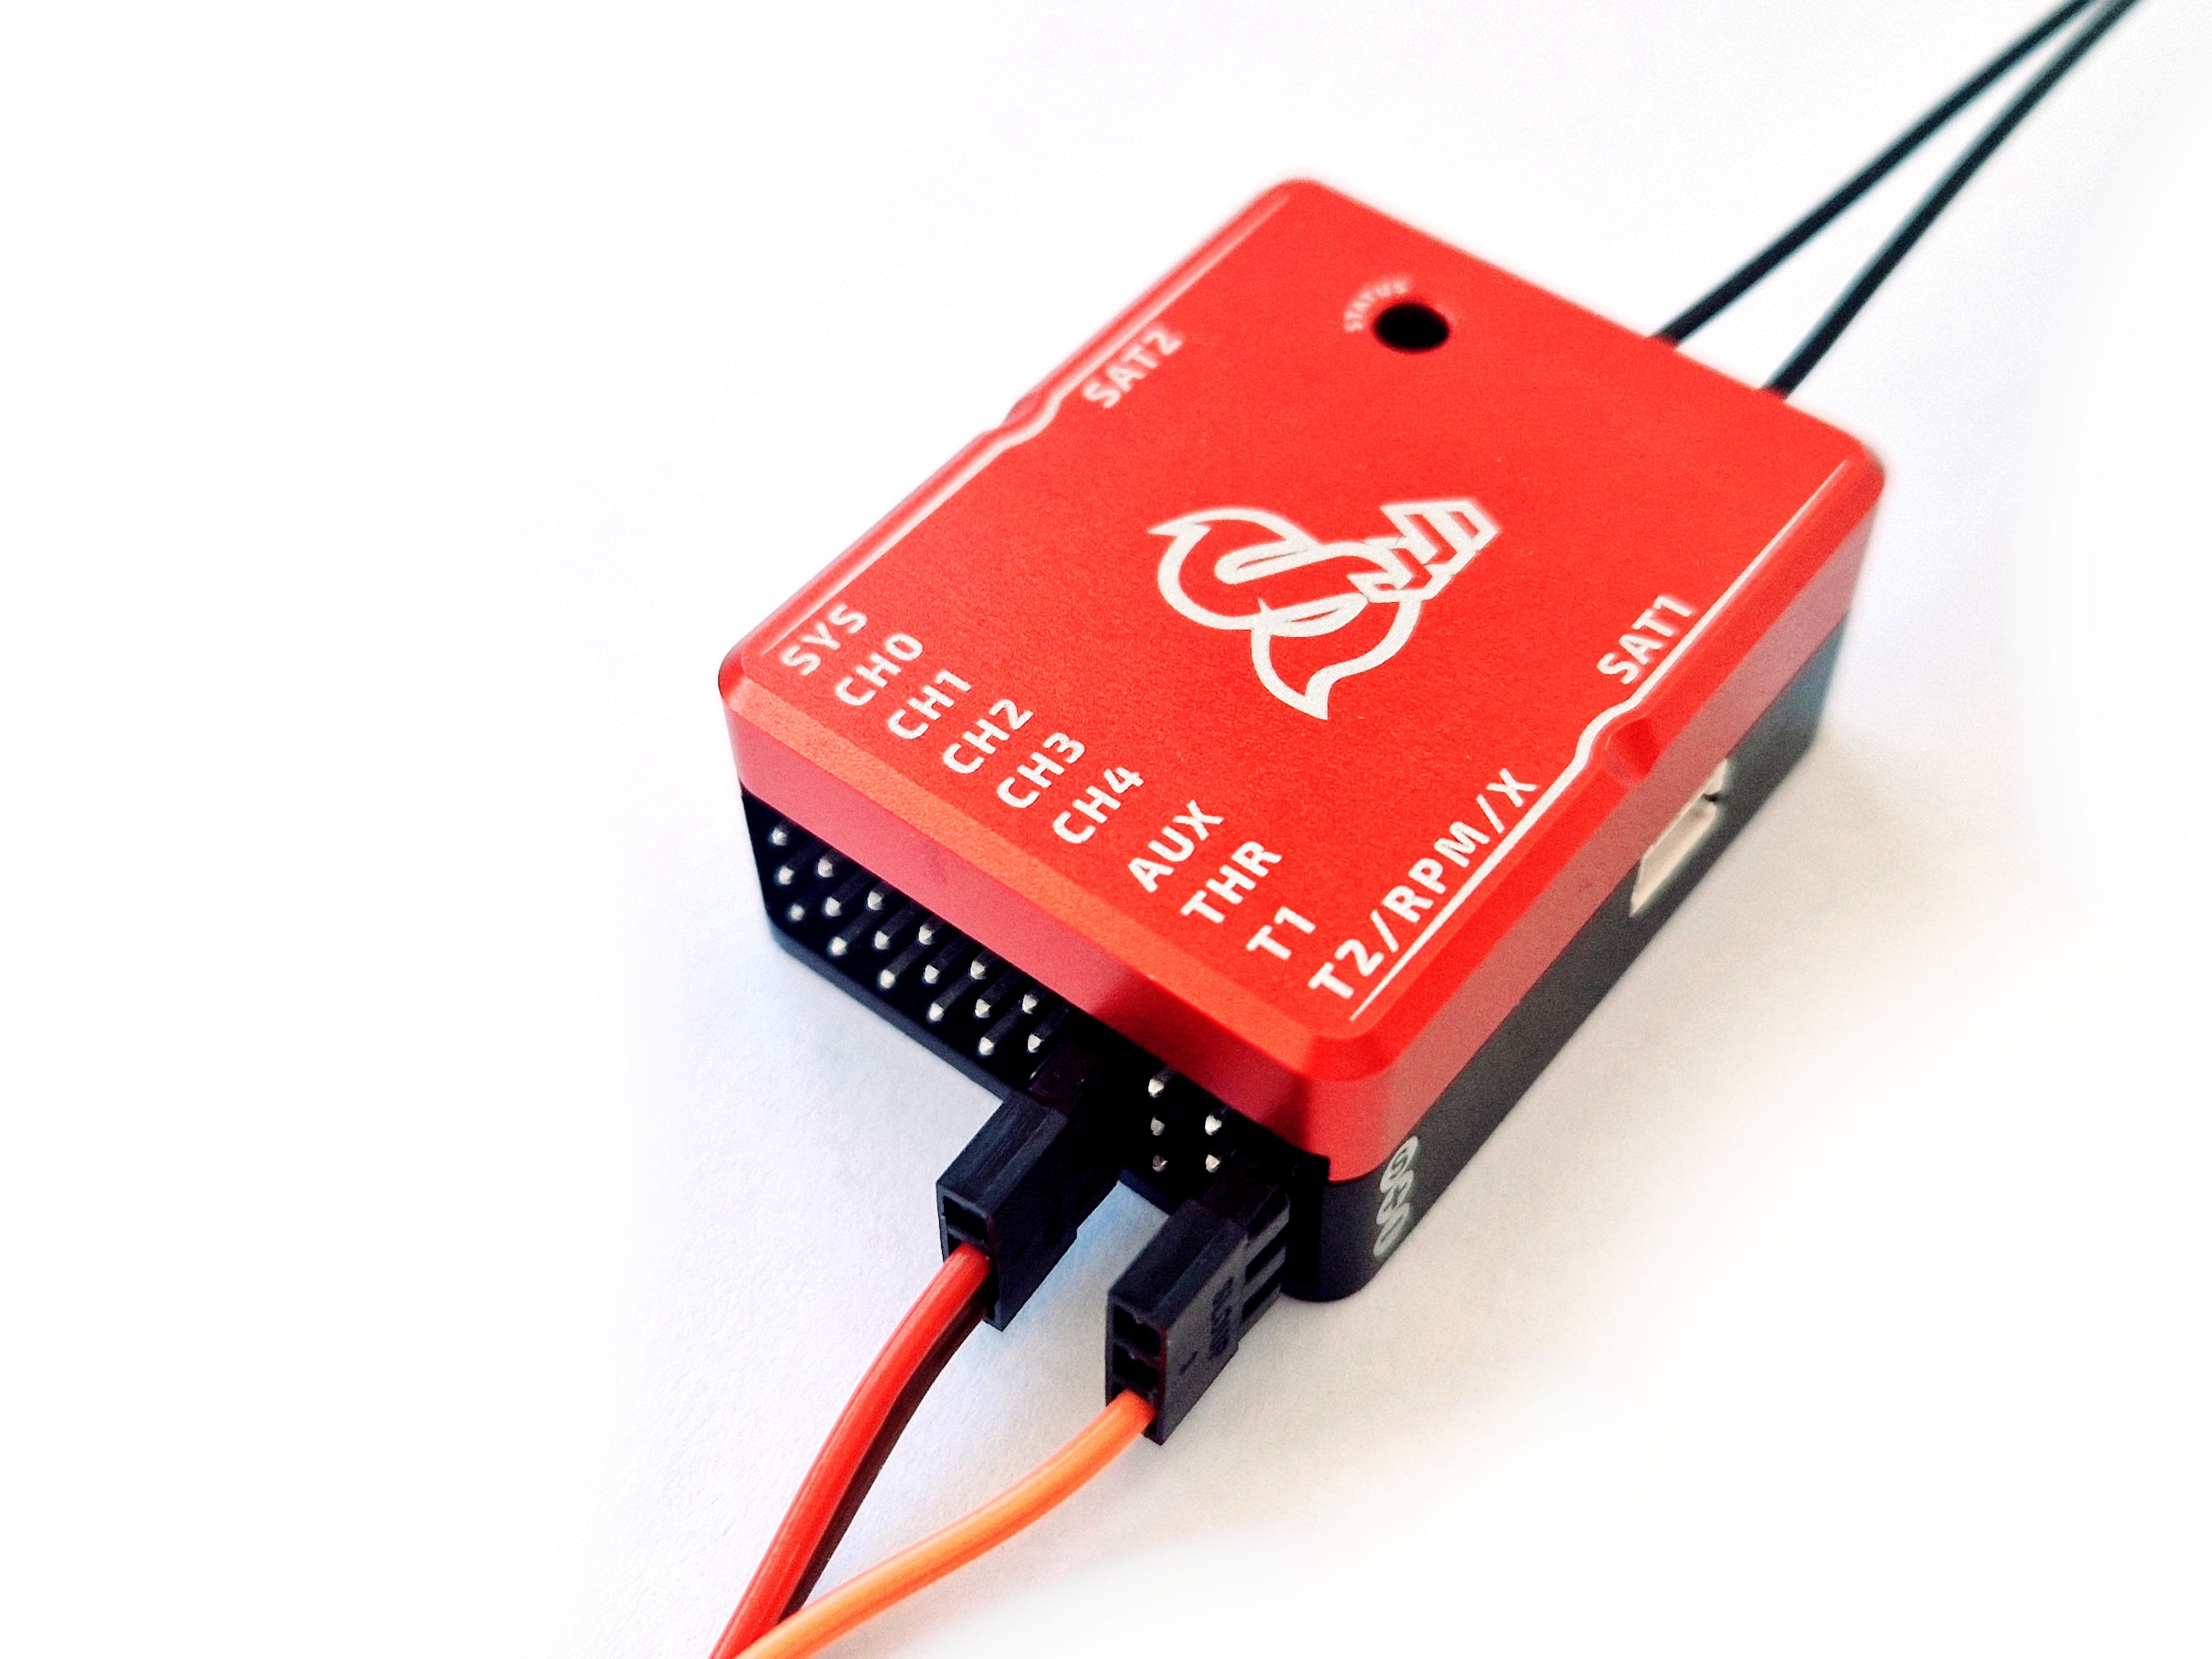
Connect Spirit Sensor cable in so that RED/BROWN wires are at the AUX port (or any other free powering port) and ORANGE wire at the bottom T2 pin. In case of lack of free ports, please use an Y-cable.
Original connector must be modified so that two servo connectors are used.
1.2 Telemetry Sensor Data
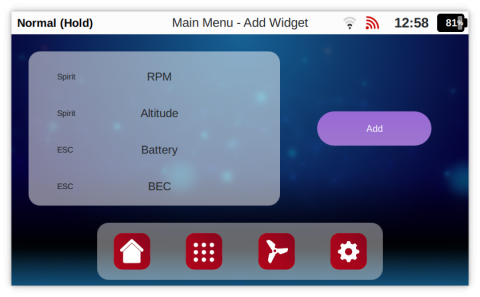
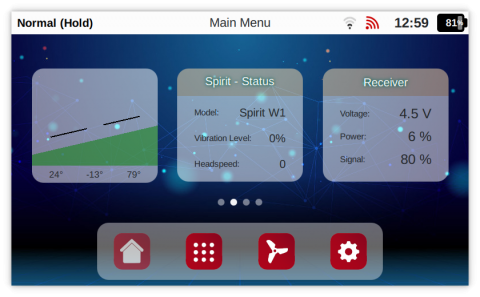
You can set display Sensor Data at the Main screen by opening adding Widgets.
1.3 Spirit Telemetry
Besides Spirit Telemetry sensors you can also utilize the ESC Telemetry, GeoLink module and Spirit telemetry variables.
This mean you can interface your ESC and display telemetry data such as Battery Voltage, Current, Consumed Capacity, Temperature, RPM.
For more details about ESC telemetry please visit linked guide.
Similarly you can install GeoLink for measuring GPS position, Speed and other variables.


