Difference between revisions of "SpiritRS Preparation/hu"
| Line 19: | Line 19: | ||
== Kezdés == | == Kezdés == | ||
| − | Miután megértette az összes részletet, szükség esetén megváltoztathatja azt az Üzemmódot amire szüksége van. Ezt részletesen leírja a mellékelt kézikönyv. | + | Először, alaposan olvassa el a rádió kézikönyvét. Miután megértette az összes részletet, szükség esetén megváltoztathatja azt az Üzemmódot amire szüksége van. Ezt részletesen leírja a mellékelt kézikönyv. |
Ha az alsó burkolatot rögzíti az Üzemmód megváltoztatása után, kérjük legyen különös figyelemmel arra, hogy ne legyen csavar a vezetékek útjában. | Ha az alsó burkolatot rögzíti az Üzemmód megváltoztatása után, kérjük legyen különös figyelemmel arra, hogy ne legyen csavar a vezetékek útjában. | ||
Revision as of 12:13, 23 August 2020
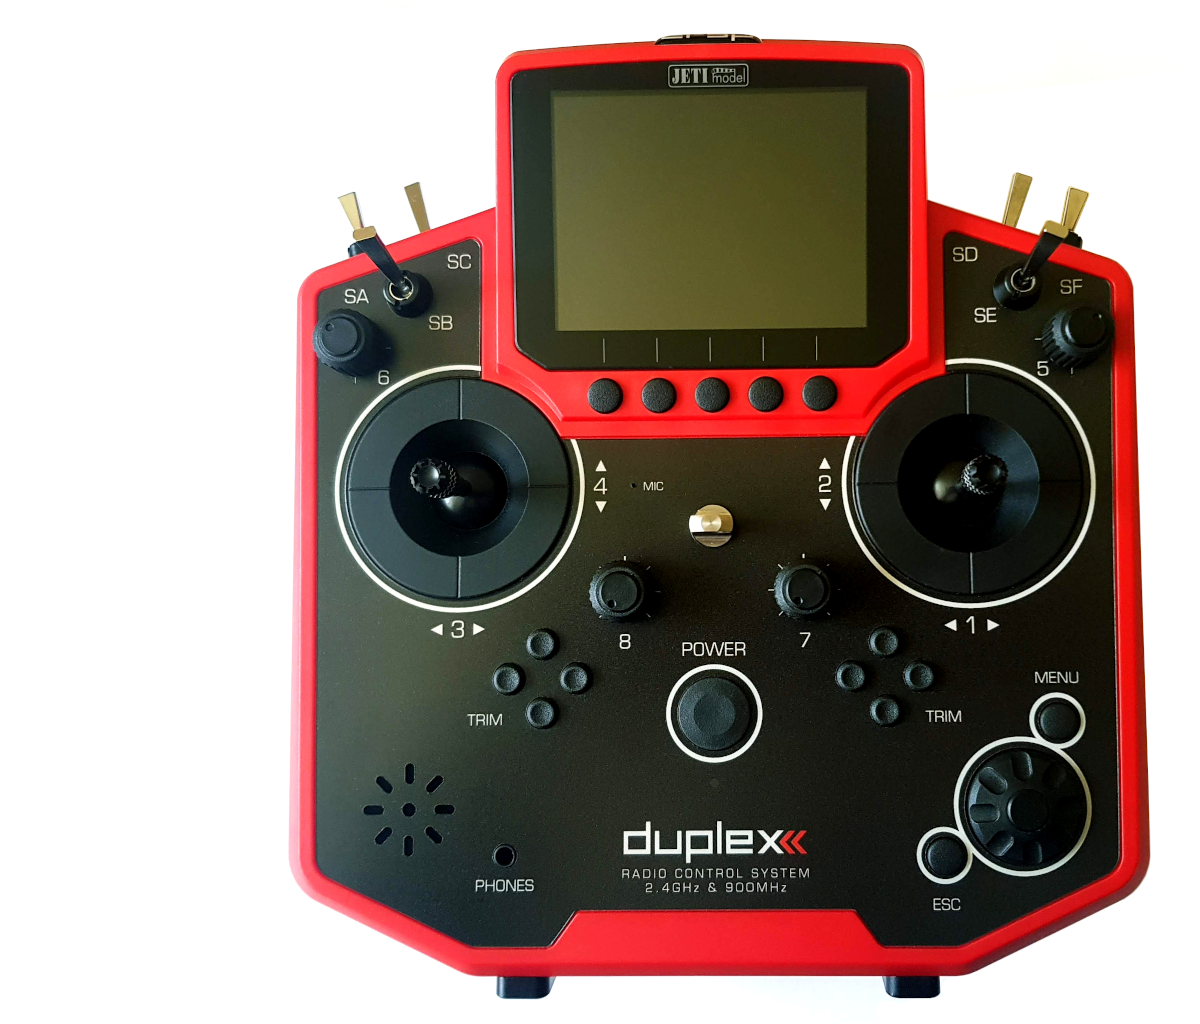
A Spirit RS egység működtetéséhez bármilyen JETI DUPLEX rádió felhasználható.
A támogatott rádiók a következők
- DC-14
- DC-16
- DC-16 II
- DC-24
- DS-12
- DS-14
- DS-16
- DS-24
Javasoljuk, hogy kezdje egyértelmű modellprofillal, mivel csak erre lesz szüksége néhány változtatással.
A Spirit System DS-12 rádiót ajánlja, amely kifejezetten a Spirit RS-hez készült. Ez azt jelenti, hogy teljes mértékben ki tudja használni az egység összes funkcióját
Contents
1 Kezdés
Először, alaposan olvassa el a rádió kézikönyvét. Miután megértette az összes részletet, szükség esetén megváltoztathatja azt az Üzemmódot amire szüksége van. Ezt részletesen leírja a mellékelt kézikönyv. Ha az alsó burkolatot rögzíti az Üzemmód megváltoztatása után, kérjük legyen különös figyelemmel arra, hogy ne legyen csavar a vezetékek útjában.
Secondly remove cover made of foil from display.
2 Turning On and Off
By pressing Power button you should be able to start the radio. If not, please use supplied charger and charge the battery. By pressing the Power button again, you can turn radio off.
3 New Profile
If you are new to the JETI radios, please proceed according following steps.
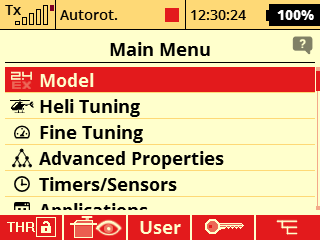
Start the radio and press MENU button. Then enter the Model menu by pressing the Rotary knob.
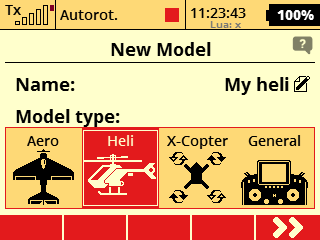
Select New Model, enter name of the Model and select Heli type. Then continue by pressing right button under display.
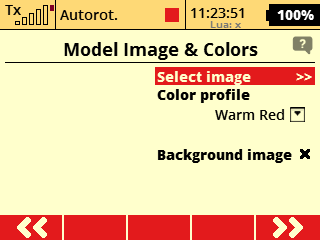
Model Image & Colors Menu can be optionally configured according your preference. Continue to another page by pressing button under display.
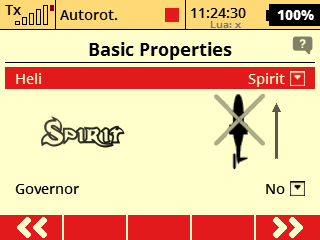
In the Basic Properties menu select Heli to Spirit and continue to another page. (Please note transmitter update 5.04 is required for this option - only available in DS-12 Spirit Edition at the moment).
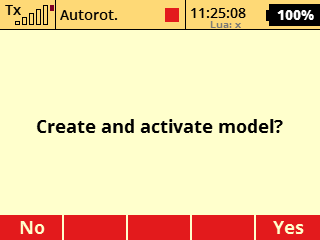
Confirm until you will be prompted to Create and activate model. Select Yes.
4 Basic Helicopter settings
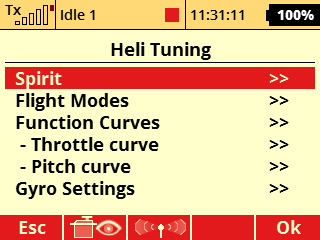
Open Heli Tuning menu - Main Menu/Heli Tuning.
4.1 Flight Modes
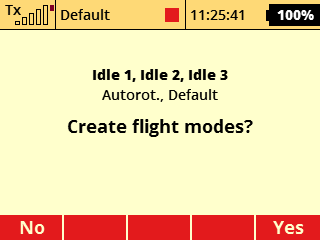
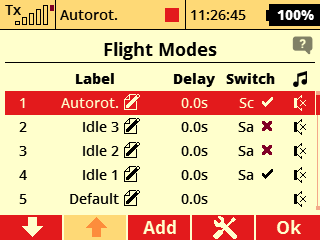
Enter Flight Modes menu and press Yes when prompted "Created flight modes?".
Assign switch for Autorot. mode - usually it is two-state switch called Sc at the left front side of the radio. This switch will be used for Throttle Hold/Autorotation. Also assign switch for all Idle modes - usually it is tri-state switch called Sa above Sc.
Non-Spirit Jeti radio might need to get extension module for Flight modes (from swshop.jetimodel.com). Alternatively you can use only 3 Flight modes.
Instead of Autorot. flight mode you can set Throttle Cut switch.
4.2 Throttle Curve
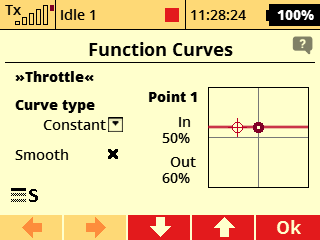
Open Throttle curve menu - Main Menu/Heli Tuning/Throttle curve.
Disarm Throttle Hold and set Throttle curves for all Idle Modes. When you switch Idle modes, curves will change accordingly. For more advanced pilots it is recommended to set Curve type to Constant - especially when you are using Governor.
4.3 Pitch Curve
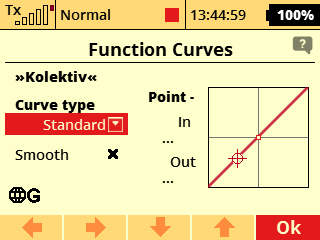
Open Pitch curve menu - Main Menu/Heli Tuning/Pitch curve.
In a similar way set Pitch curve - in the most cases no changes are required. It is preconfigured to -100 to 100% linear curve. For beginners Pitch curve such as -20 to 100% is more suitable.
4.4 Gyro Gain
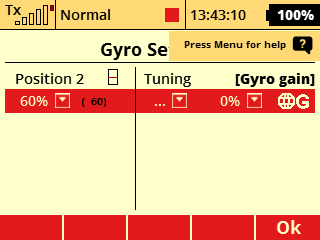
Open Gyro Settings menu - Main Menu/Heli Tuning/Gyro Settings. By defailt it assigned to tri-state Se switch. Values are 50%, 0%, -50%.
For the beginning you can use these values. Positive value will activate Head-Lock Gyro mode, while a negative value will engage Normal (Rate) mode.
For further Gyro Gain tuning you can set 50, 60, 70% gains or assign a potentiometer.
