Difference between revisions of "OpenTX Integration/it"
(Created page with "Download script per elicottero") |
(Created page with "Tutte le radio FrSky Taranis e Horus - '''INGLESE'''") |
||
| Line 101: | Line 101: | ||
| colspan="2" style="background-color: orange;color:white;border-radius: 8px;text-align:center; "| '''Download script per elicottero''' | | colspan="2" style="background-color: orange;color:white;border-radius: 8px;text-align:center; "| '''Download script per elicottero''' | ||
|- | |- | ||
| − | | | + | |Tutte le radio FrSky Taranis e Horus - '''INGLESE''': |
|[https://www.spirit-system.com/dl/opentx/Spirit-3.2.0-en.zip https://www.spirit-system.com/dl/opentx/Spirit-3.2.0-en.zip] | |[https://www.spirit-system.com/dl/opentx/Spirit-3.2.0-en.zip https://www.spirit-system.com/dl/opentx/Spirit-3.2.0-en.zip] | ||
|- | |- | ||
Revision as of 09:58, 14 January 2021
| ◦ | Impostazioni direttamente nel trasmettitore |
| ◦ | Configurazione unita' |
| ◦ | Non c'è bisogno del computer |
| ◦ | Tutto rapidamente accessibile |
| ◦ | OpenTX 2.2 con il supporto di Lua |
| ◦ | Ricevitore con S.Port |
| ◦ | Cavo di integrazione per S.Port |
Contents
1 cablaggio
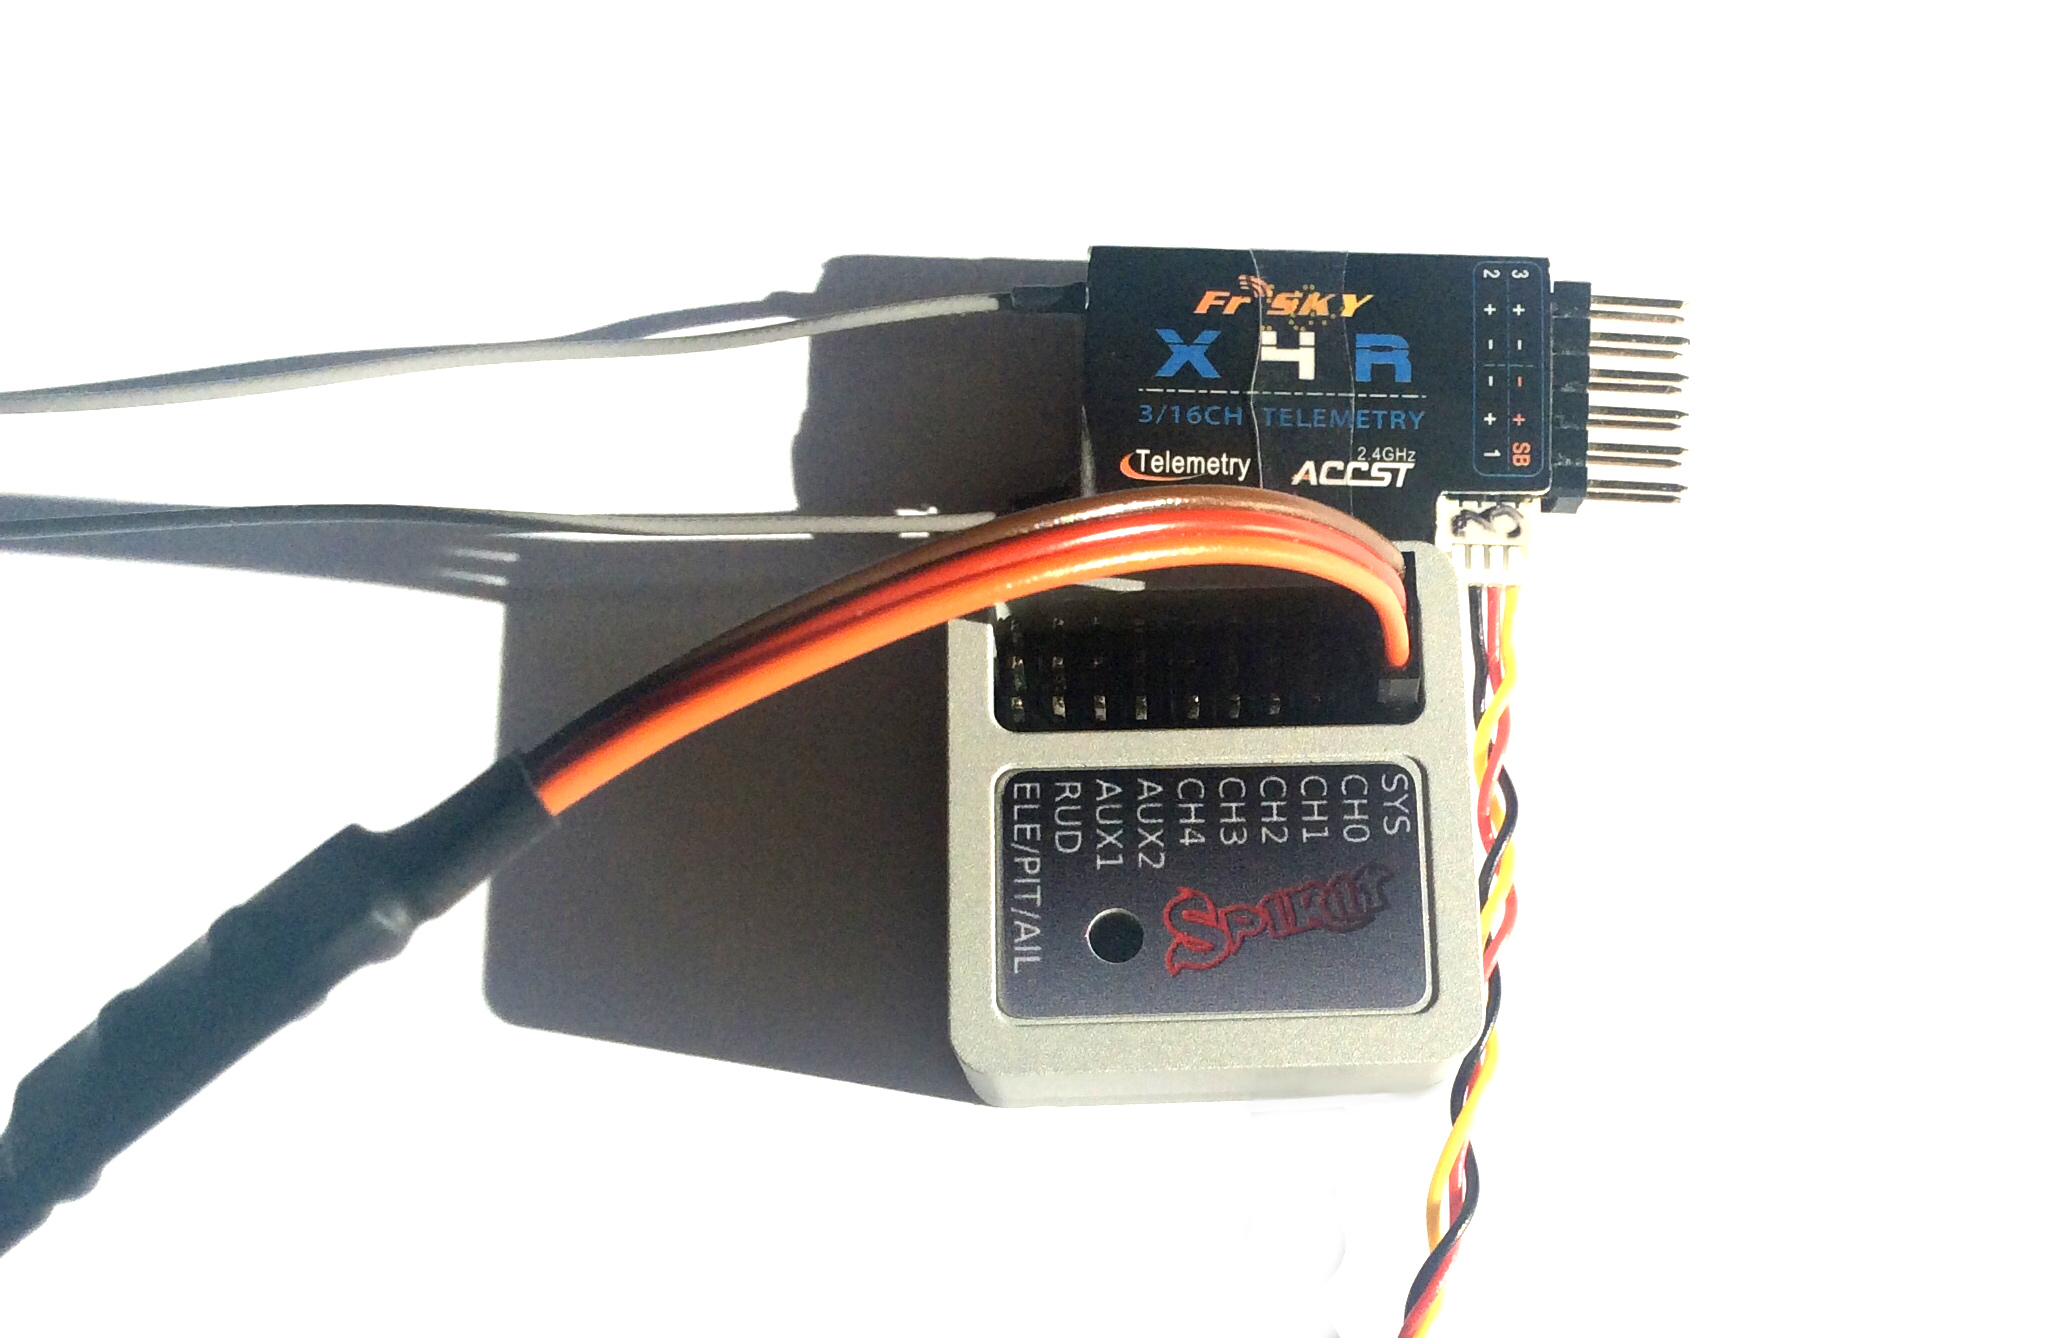
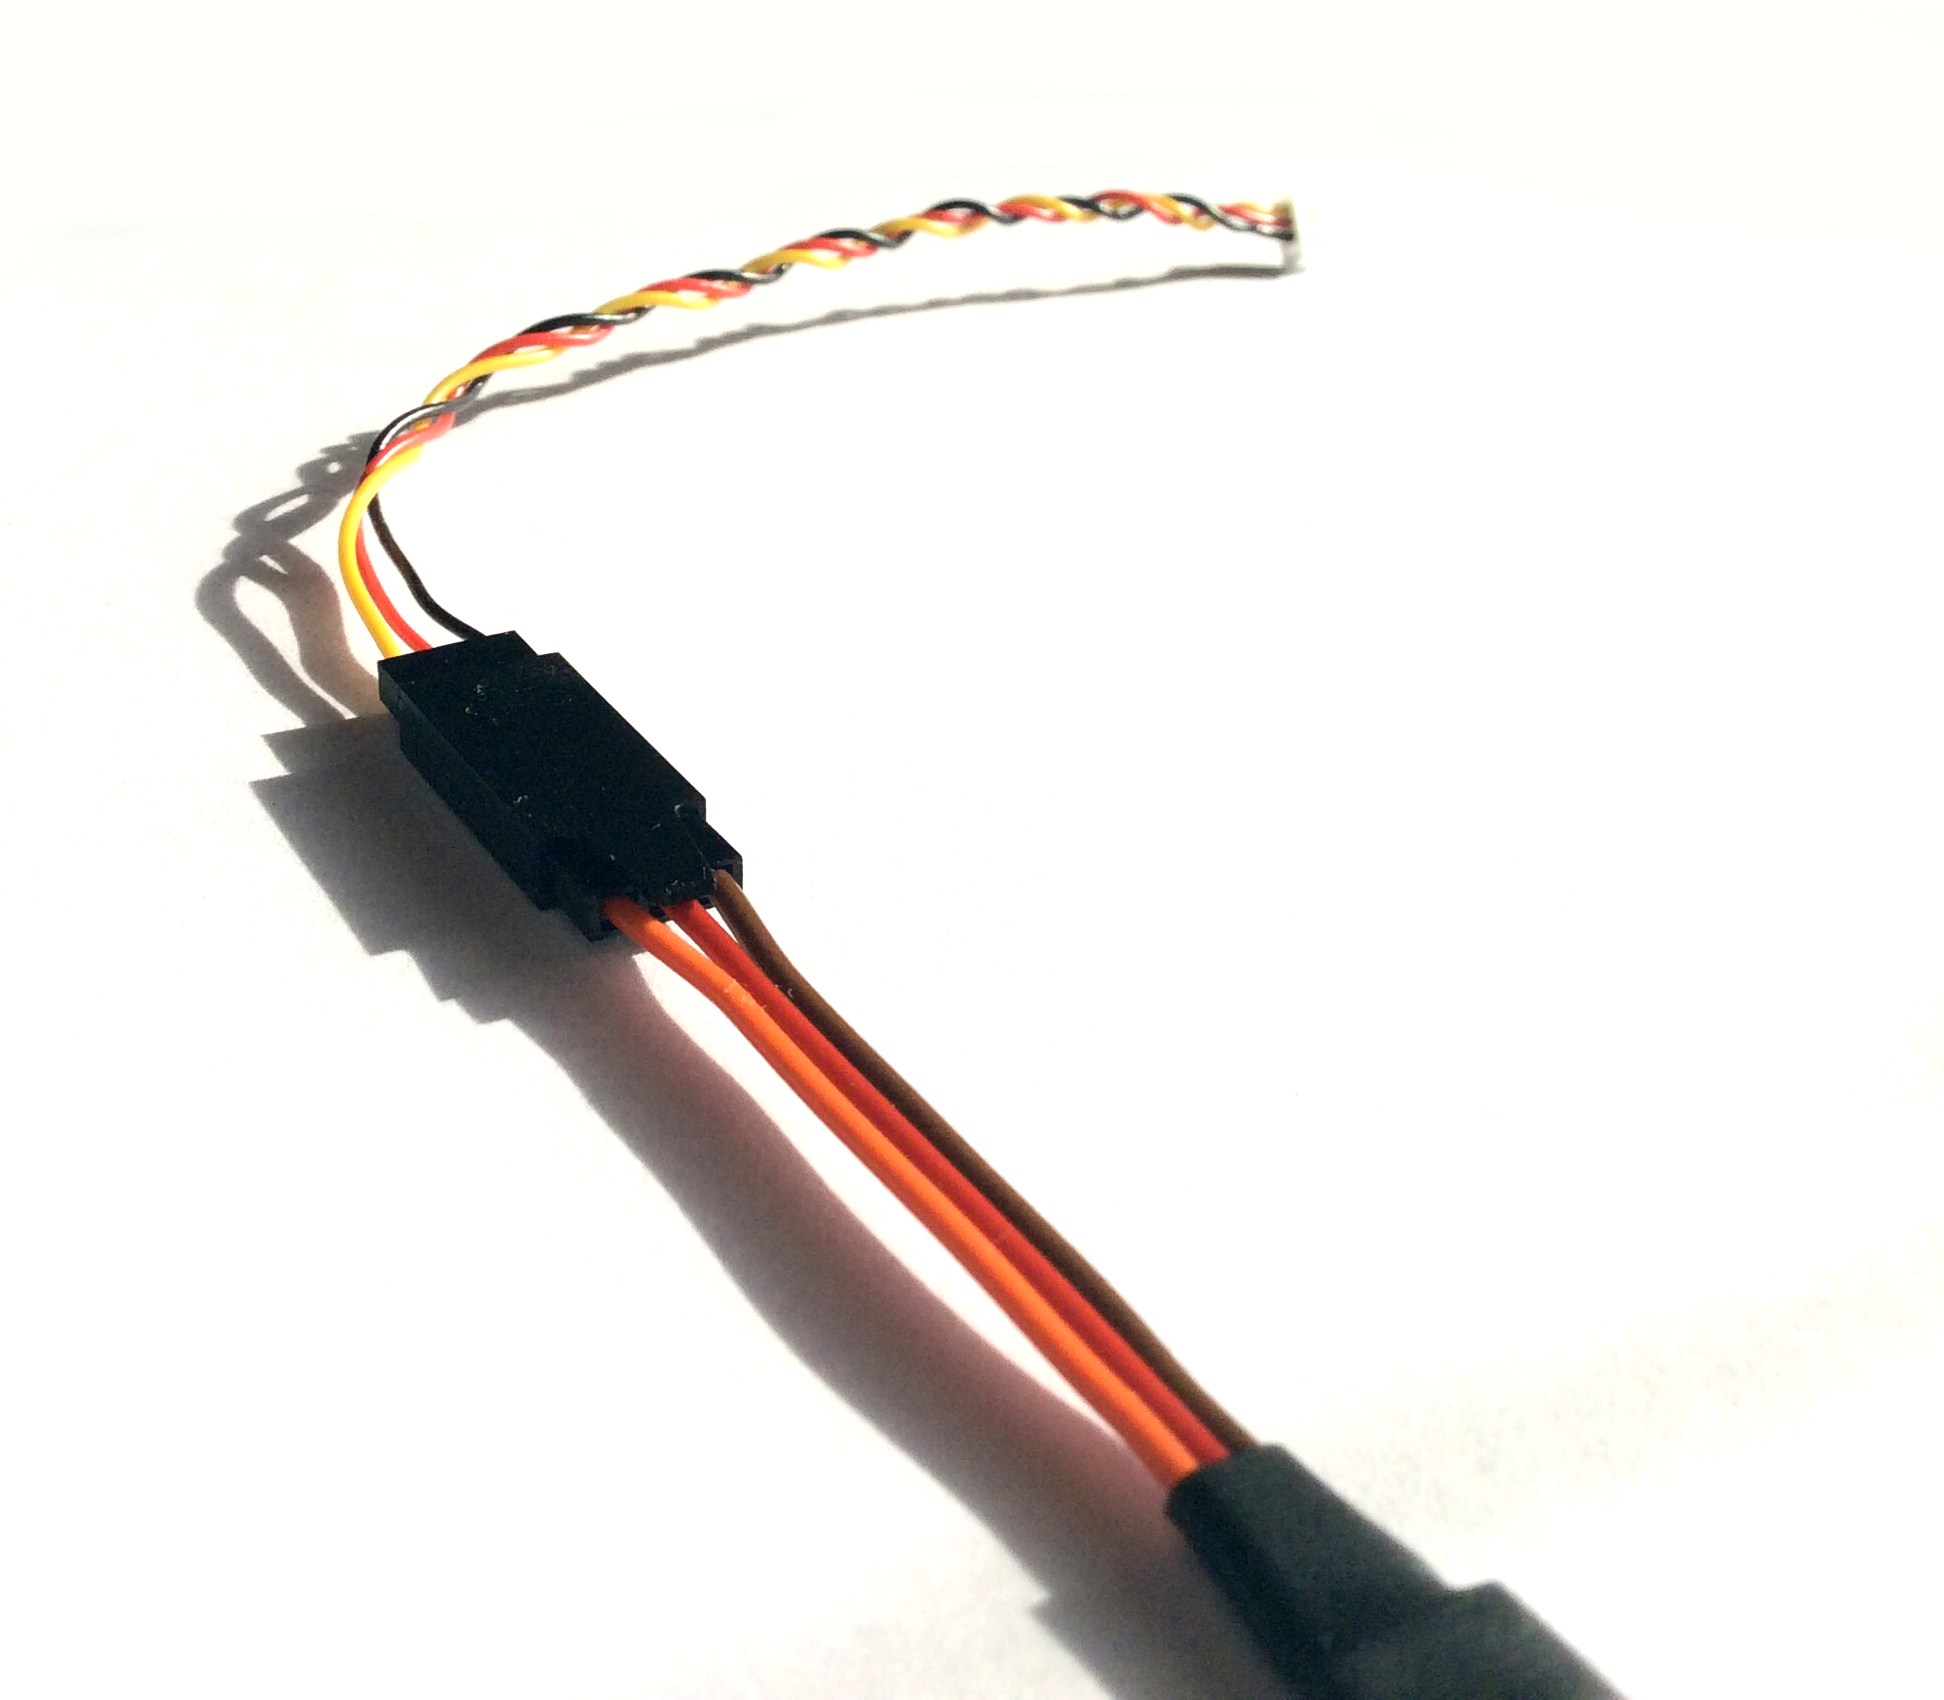
Per abilitare l'integrazione, è necessario collegare il ricevitore e l'unità solo secondo lo schema seguente. Tieni presente che per renderlo possibile avrai bisogno di un cavo speciale disponibile nel nostro eshop.
So you will need to connect:
- FrSky Integration cable
- S-Bus, PPM or PWM connection to the receiver (same that you used without the integration).
Cavo più corto cavo ricevitore - S.Port
Cavo più lungo cavo unita' - SYS port
Il cavo di integrazione viene utilizzato per la trasmissione dati bidirezionale tra unità e ricevitore, rispettivamente trasmettitore. Ciò include i dati di telemetria e la possibilità di configurare tutti i parametri dell'unità, direttamente dal trasmettitore.
È completamente separato dalla parte di base del ricevitore che trasmette i dati del canale. Così la tua connessione esistente con il ricevitore può essere intatta. Può funzionare con i tipi di connessione PWM, PPM e SBus.
Per il ricevitore che dispone di un connettore Molex per S.Port (ad esempio X4R, X4RSB, XSR), utilizzare il connettore e i pin forniti in modo da poterlo collegare facilmente al connettore del servo.
La sola connessione S.Port non funzionerà: viene utilizzata solo per la configurazione. I dati del canale devono essere trasmessi da protocolli convenzionali come PWM, PPM o SBus.
2 Installazione
La configurazione dell'unità è accessibile tramite gli script Lua. Questi script sono personalizzati da Spirit System per consentire la piena integrazione con l'unità. Con questa integrazione puoi accedere a tutti i menu e configurare qualsiasi parametro ogni volta che lo desideri.
Per farlo funzionare, devi scaricare e copiare gli script dal nostro web.
| Download script per elicottero | |
| Tutte le radio FrSky Taranis e Horus - INGLESE: | https://www.spirit-system.com/dl/opentx/Spirit-3.2.0-en.zip |
| All FrSky Taranis and Horus radios - ČESKY: | https://www.spirit-system.com/dl/opentx/Spirit-3.2.0-cs.zip |
| Download script for Aero | |
| All FrSky Taranis and Horus radios - ENGLISH: | https://www.spirit-system.com/dl/opentx/Spirit-Aero-1.5.1-en.zip |
| All FrSky Taranis and Horus radios - ČESKY: | https://www.spirit-system.com/dl/opentx/Spirit-Aero-1.5.1-cs.zip |
Then unzip the file and copy the „Spirit-3.2.0“ (or „Spirit-Aero-1.5.1“ for Aero) directory to SD Card of your transmitter.
3 How to open the Menu
You can access the integration menu whenever you want to configure the unit. When it is opened, it behave similarly as when you start the PC software. This mean that for example Bank Switching will be performed in the menu, not with assigned switch. When script is closed, everything returns to the flight regime.
To access the menu on Taranis, press the buttons in the following way:
- Press the MENU button for 1 second.
- Click the PAGE button.
- By clicking + and – buttons move to the „Spirit-3.2.0“ (or „Spirit-Aero-1.5.0“ for Aero) directory.
- Click the ENT button.
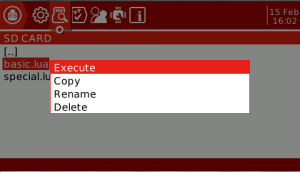
- Start the basic.lua or special.lua script by holding the ENT button, then select Execute.
To access the menu on Horus, press the buttons in the following way:
- Press the < button for 1 second.
- Click the PAGE UP button to reach the SD CARD page.
- By rotary manipulator move to the „Spirit-3.2.0“ (or „Spirit-Aero-1.5.0“ for Aero) directory.
- Click the manipulator button to enter.
- Execute the basic.lua or special.lua.
4 Integration Preview
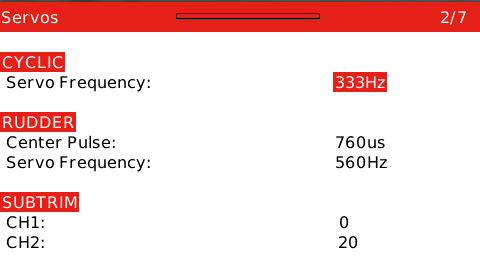
FrSky Taranis integration:
FrSky Horus integration:
5 Troubleshooting
- If the Menu will not load any parameter value, it is likely that the integration cable is connected improperly. If you use any Telemetry sensor, we recommend to disconnect it (at least from signal line) and verify again.
- If you will see the Lua script error: Script syntax error - attempt to call global function sportTelemetry, then the OpenTX firmware in your transmitter is 2.1 or earlier. Please check the OpenTX 2.2 page for update instructions.
6 Telemetry data
With this connection the Spirit will not only offer the Integration, but also a various telemetry data. These data can be displayed on your main screen and even logged during flight.
Firstly, it is necessary to scan for the new sensors. Go to MENU - Page 13/14 - TELEMETRY and press Discover new sensors. When all variables are discovered, then stop discovery of the sensors.
To add the Telemetry data onto the main screen, go to MENU - Page 14/14 - DISPLAY. There you can add any variable you want to be displayed. Variables with +/- character are meant to be maximal/minimal measured values.
Finally, exit to the main screen and press the PAGE button for 1 second.
With the Spirit firmware 2.4 you are able to view:
- RPM [RPM] - Current RPM from the Governor.
- Fuel [%] - Vibrations of the model (Reported as Fuel)
- RB1V [V] - Main Battery Voltage
- RB1A [A] - Main Battery Current
- RB1C [mAh] - Main Battery Consumed Capacity
- RB2C [V] - BEC Voltage (10x) - set Ratio 25.5
- Tmp1 [°C] - ESC Temperature
- 5120 [μs] - Throttle PWM Value
7 Usage
Whenever you want to configure a parameter, start the according Lua script. There the Menu Layout is similar with the PC software to have easy navigation.
It is working in the same way as when the PC software is connected. This mean that when the Integration menu is opened, you can change even the basic parameters that could affect the helicopter significantly.
When using the Bank Switching or Real-Time tuning features the menu will take full control of it. The unit will not react to a Switch position changes. For the Bank Switching there is Banks option where you can manually change the banks. Whenever you will change the Bank the configuration will be saved to not loose the current settings.
When Bank is 1 or 2, some parameters are hidden. In that case some pages appear to be blank.
Do not forget to click the Save Settings when you want to save a changes permanently.
Enjoy the integration!


