Difference between revisions of "OpenTX Integration/ru"
(Created page with "Интеграция FrSky Horus") |
(Created page with "Устранение неисправностей") |
||
| Line 158: | Line 158: | ||
[[File:O6.png]] [[File:frsky-servos.png]] | [[File:O6.png]] [[File:frsky-servos.png]] | ||
| − | == | + | == Устранение неисправностей == |
*If the Menu will not load any parameter value, it is likely that the integration cable is connected improperly. If you use any Telemetry sensor, we recommend to disconnect it (at least from signal line) and verify again. | *If the Menu will not load any parameter value, it is likely that the integration cable is connected improperly. If you use any Telemetry sensor, we recommend to disconnect it (at least from signal line) and verify again. | ||
Revision as of 15:25, 15 October 2018
| ◦ | Установки прямо с передатчика |
| ◦ | Настройка модуля |
| ◦ | Нет необходимости в ПК |
| ◦ | Все настройки в быстром доступе |
| ◦ | OpenTX 2.2/ru с поддержкой LUA скриптов |
| ◦ | Приемник с S.Port |
| ◦ | Кабель переходник для S.Port |
Contents
1 Подключение
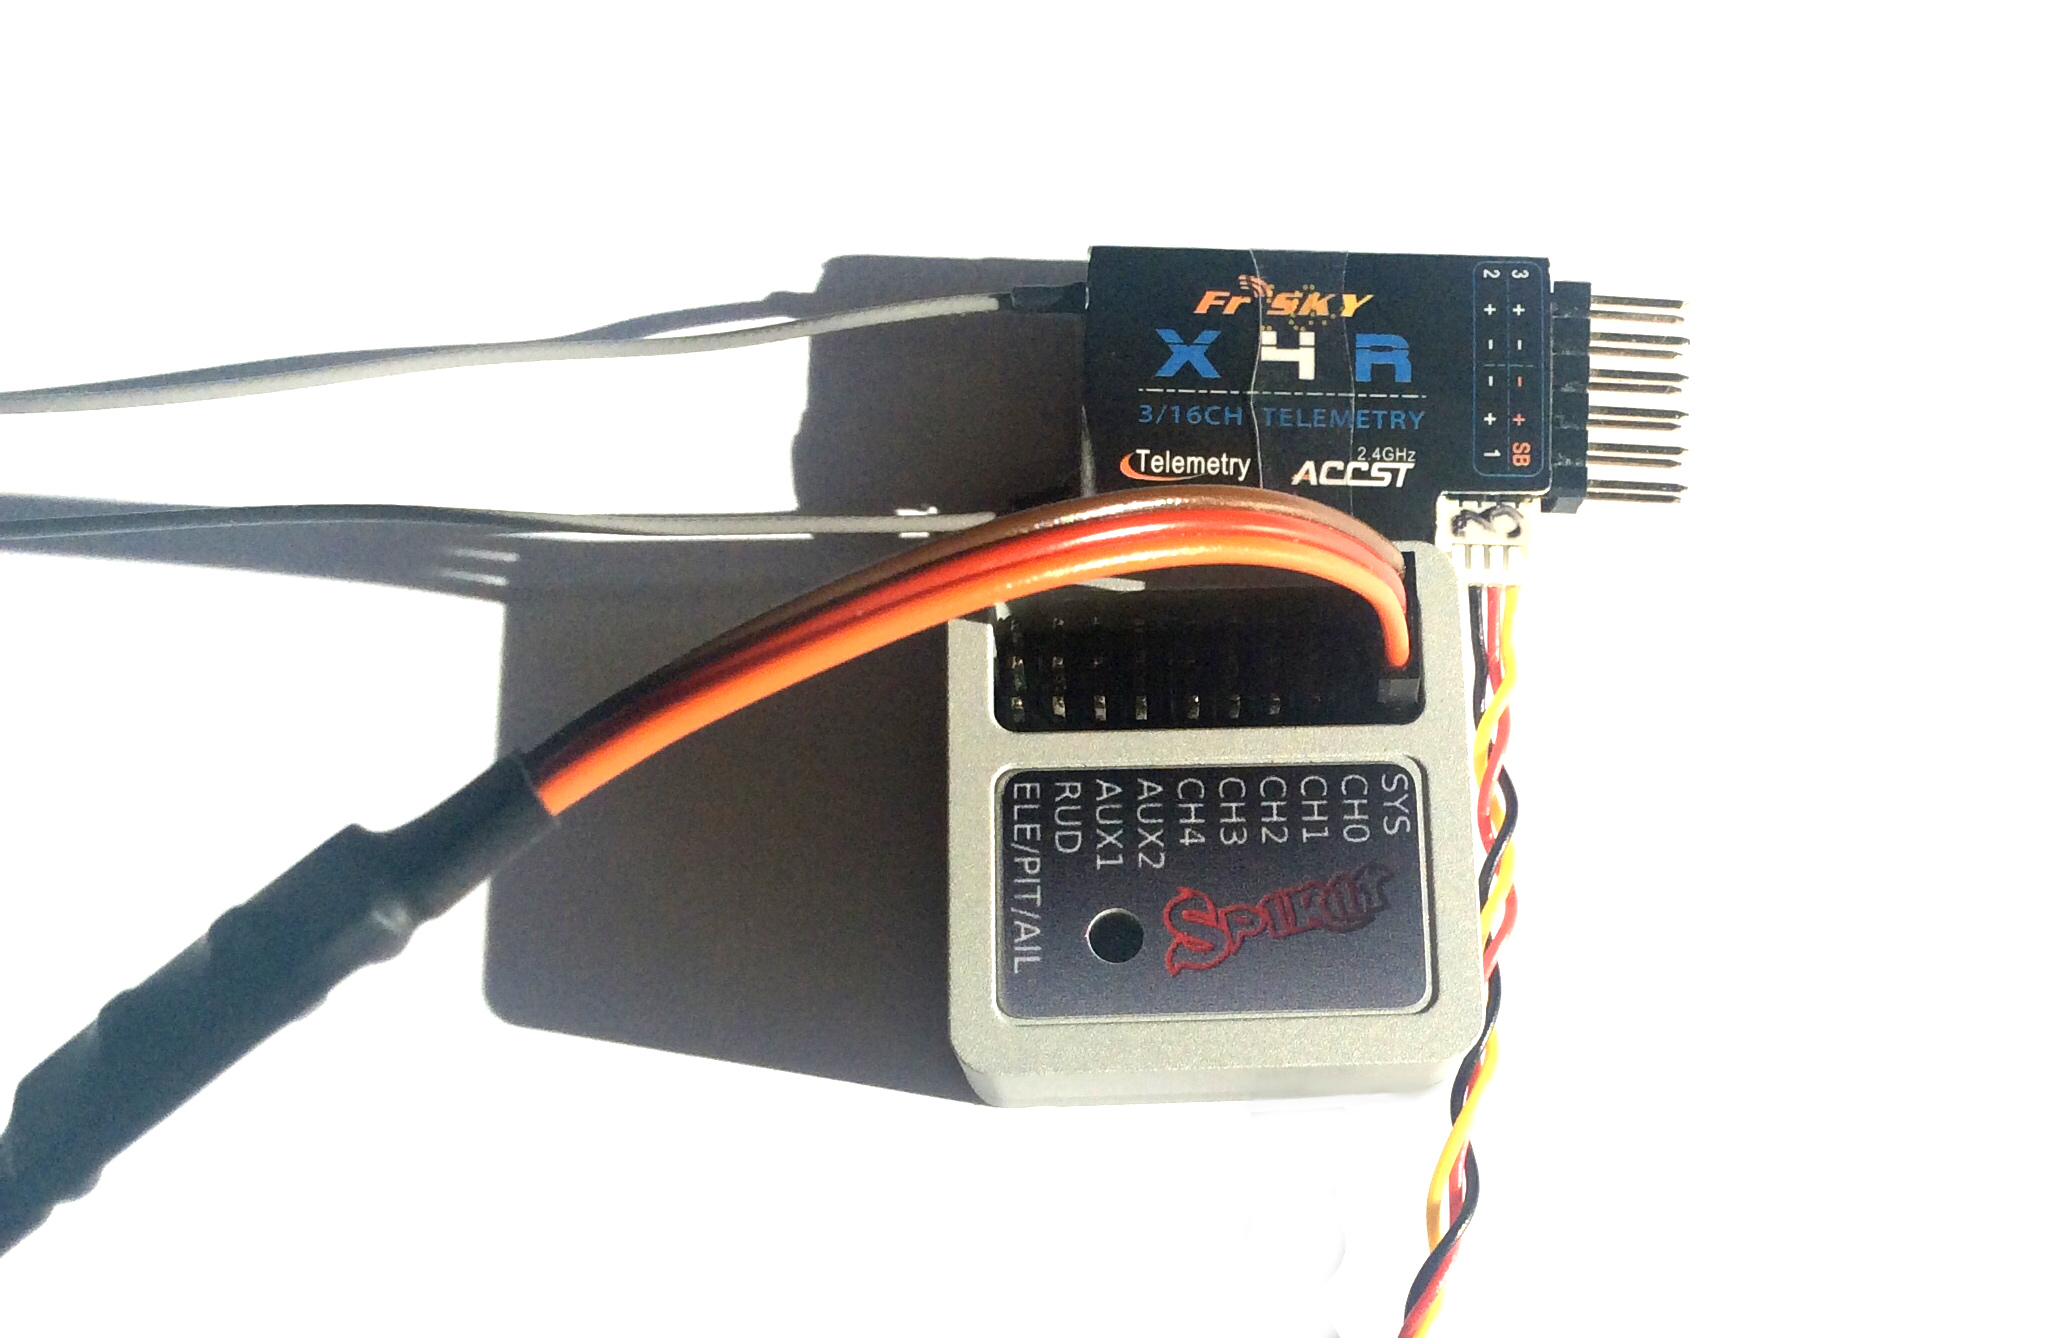
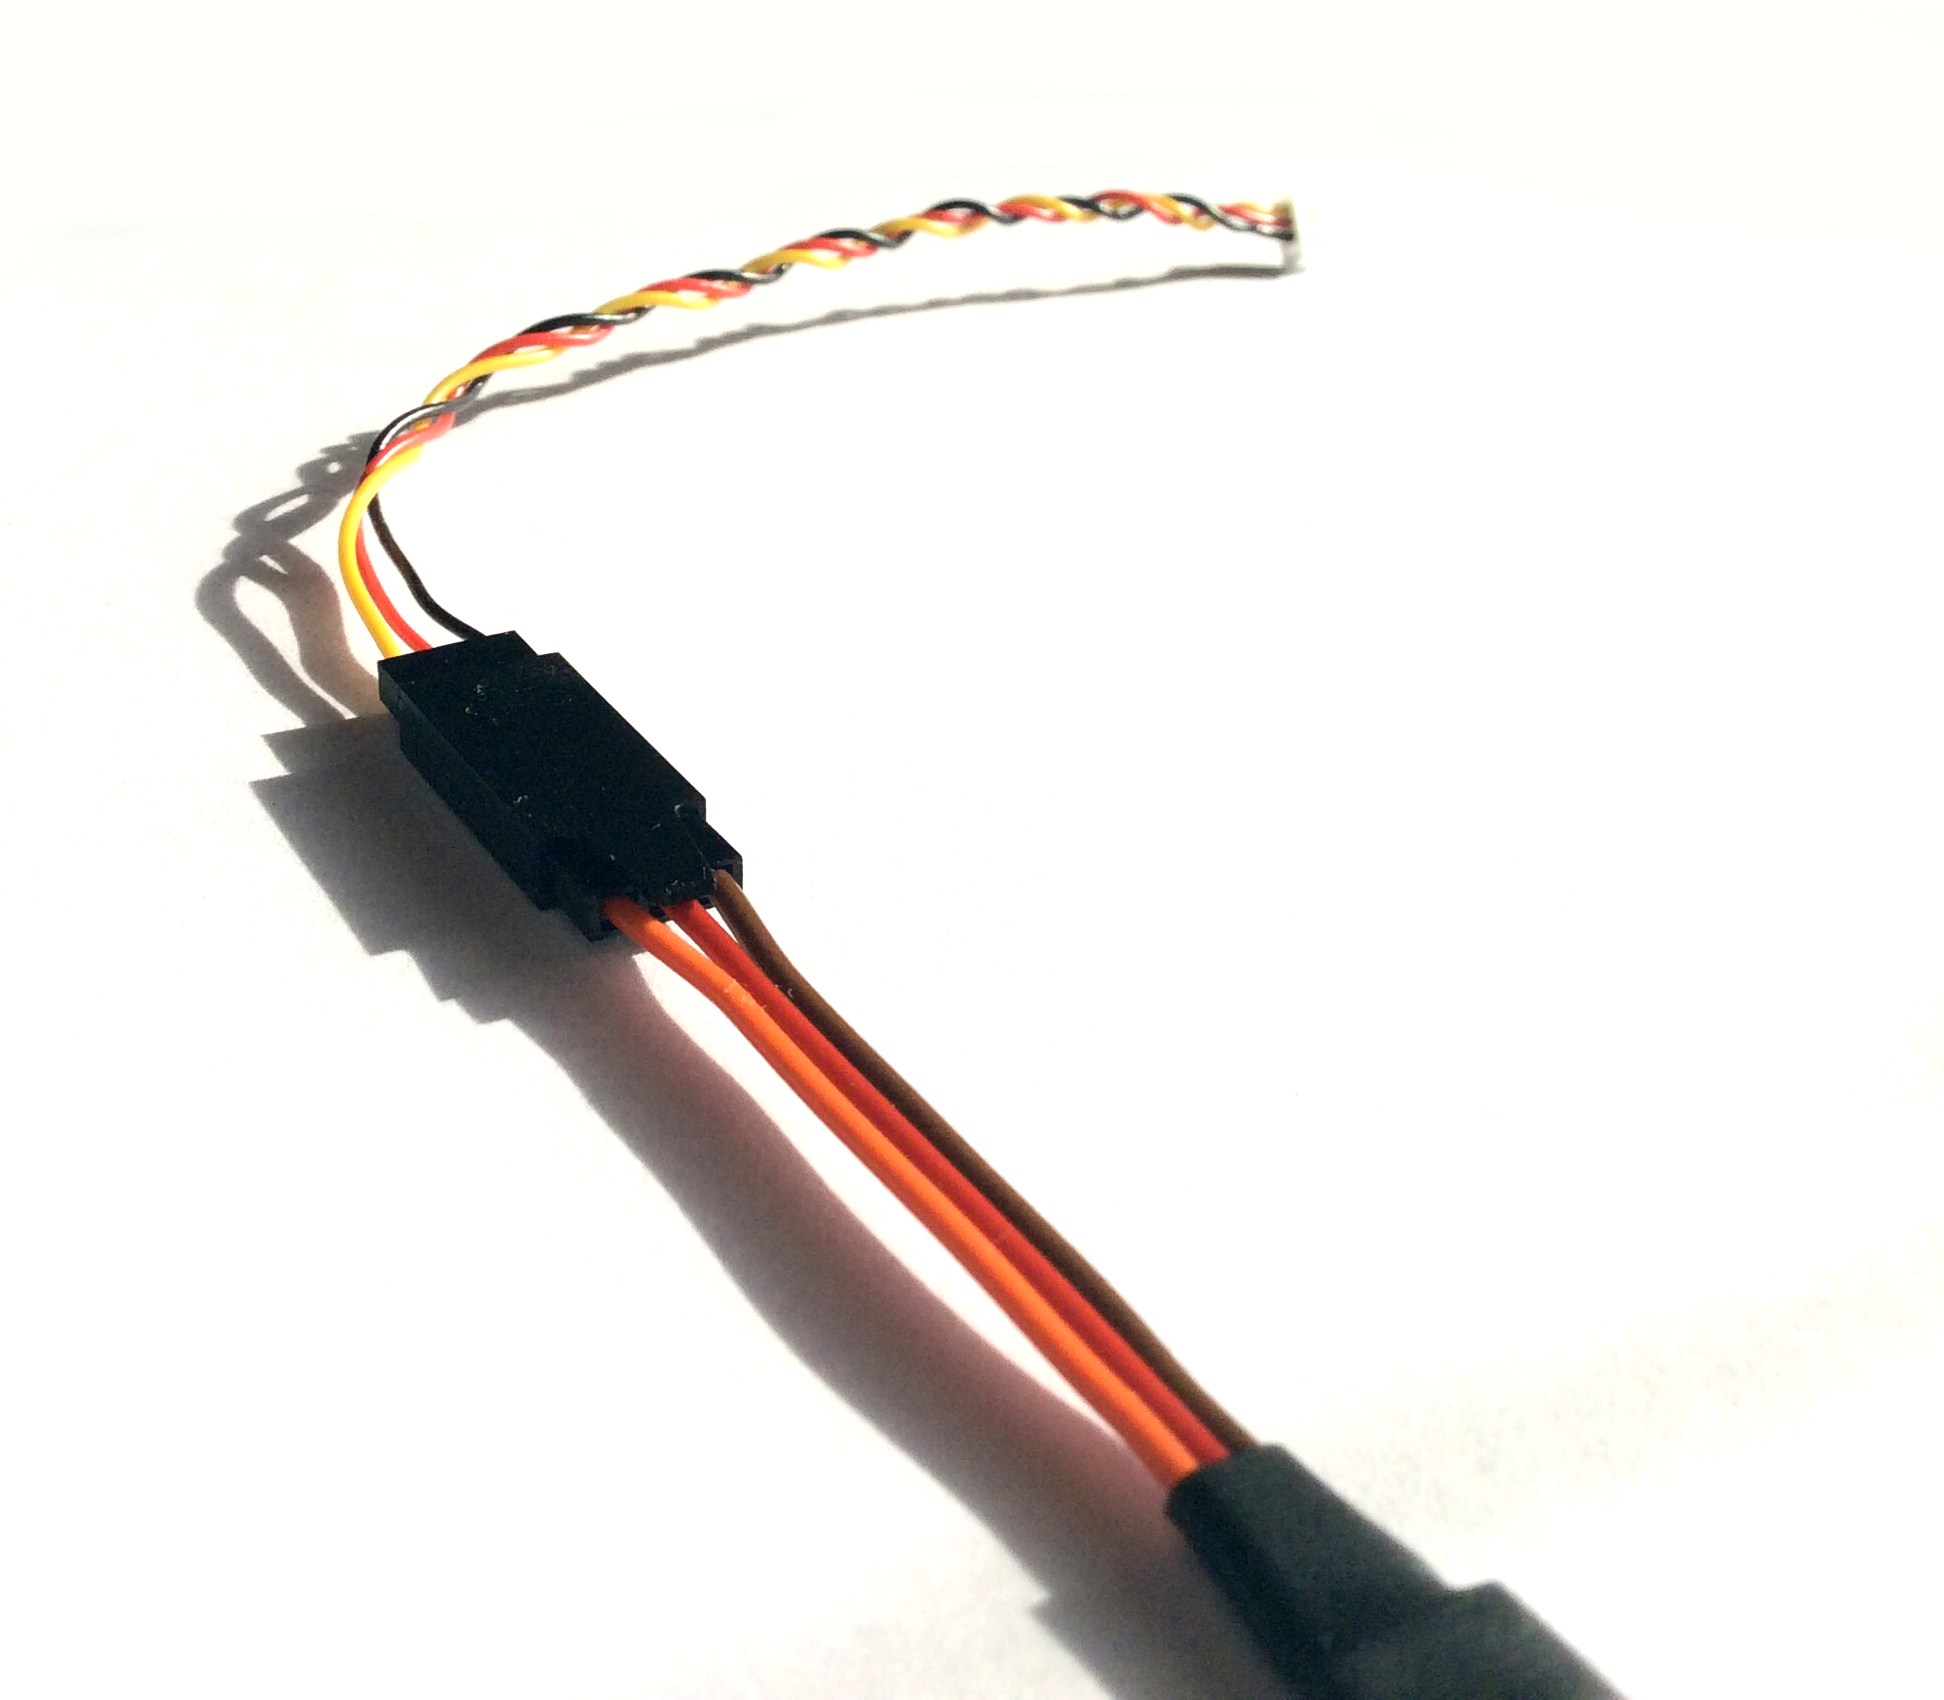
Чтобы включить интеграцию, вам необходимо соединить приемник и модуль по следующей схеме. Обратите внимание, что для этого вам понадобится специальный кабель, который доступен в нашем магазине.
So you will need to connect:
- FrSky Integration cable
- S-Bus, PPM or PWM connection to the receiver (same that you used without the integration).
Короткий конец кабеля приемник - S.Port Длинный конец кабеля модуль - SYS port
Интеграционный кабель используется для двунаправленной передачи данных между модулем и приемником,и соответственно, передатчиком. Сюда относятся данные телеметрии и возможность настройки всех параметров устройства непосредственно с передатчика.
Это отдельный канал передачи данных и он не связан с передачей команд управления. Интеграция не затрагивает обычное подключение приемника, вне зависимости от его типа (PWM, PPM and SBus).
Для приемников с разъемом Molex для S.Port (например, X4R, X4RSB, XSR), используйте прилагаемый разъем соответствующего типа.
Соединение S.Port не будет работать само по себе - оно используется только для конфигурации. Данные каналов должны передаваться обычными протоколами, такими как PWM, PPM или SBus.
2 Установка
Конфигурация устройства доступна через Lua скрипты. Эти скрипты написаны специально для Spirit, чтобы обеспечить полную интеграцию. Благодаря интеграции вы можете получить доступ ко всем пунктам меню и настраивать любые параметры по желанию.
Вам нужно загрузить и скопировать скрипты с нашего веб-сайта на передатчик.
| Скачать скрипты для Вертолета | |
| All FrSky Taranis and Horus radios - ENGLISH: | http://www.spirit-system.com/dl/opentx/Spirit-2.5.1-en.zip |
| All FrSky Taranis and Horus radios - ČESKY: | http://www.spirit-system.com/dl/opentx/Spirit-2.5.1-cs.zip |
| Скачать скрипты для Аэро | |
| FrSky Taranis X9D/X9D+/X9E: | http://www.spirit-system.com/dl/opentx/Spirit-Aero-1.2.0-Taranis-x9.zip |
| FrSky Taranis Q X7: | http://www.spirit-system.com/dl/opentx/Spirit-Aero-1.2.0-Taranis-x7.zip |
| FrSky Horus: | http://www.spirit-system.com/dl/opentx/Spirit-Aero-1.2.0-Horus.zip |
Распакуйте файл и скопируйте каталог «Spirit-2.X.X» на SD-карту передатчика.
3 Как открыть меню
Вы можете получить доступ к меню интеграции, когда возникнет необходимость настроить модуль. Когда меню открывается, оно будет работает так же, как программа настройки для ПК. Это означает, что, например, переключение банков будет выполняться в меню, а не назначенным для этого тумблером. Когда скрипт закрывается, все возвращается в обычный полетный режим.
Для доступа к меню в Taranis нажмите кнопки следующим образом:
- Держите кнопку MENU в течение 1 секунды.
- Нажмите кнопку PAGE.
- Нажимая кнопки + и -, перейдите в каталог «Spirit-2.X.X» .
- Нажмите кнопку ENT
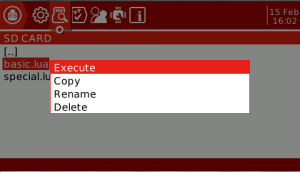
- Запустите скрипт basic.lua или special.lua, удерживая кнопку ENT, а затем выберите Execute.
Для доступа к меню в Horus нажмите кнопки следующим образом:
- Держите кнопку < в течение 1 секунды.
- Нажмите кнопку PAGE UP, чтобы перейти на страницу SD CARD.
- Вращающимся манипулятором перейдите в каталог «Spirit-2.X.X».
- Нажмите на джойстик, чтобы войти.
- Запустите basic.lua или special.lua.
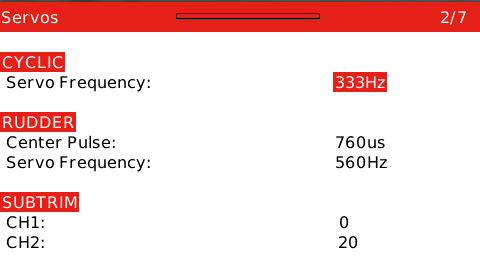
4 Пример работы скриптов интеграции.
Интеграция FrSky Taranis:
FrSky Интеграция FrSky Horus:
5 Устранение неисправностей
- If the Menu will not load any parameter value, it is likely that the integration cable is connected improperly. If you use any Telemetry sensor, we recommend to disconnect it (at least from signal line) and verify again.
- If you will see the Lua script error: Script syntax error - attempt to call global function sportTelemetry, then the OpenTX firmware in your transmitter is 2.1 or earlier. Please check the OpenTX 2.2 page for update instructions.
6 Telemetry data
With this connection the Spirit will not only offer the Integration, but also a various telemetry data. These data can be displayed on your main screen and even logged during flight.
Firstly, it is necessary to scan for the new sensors. Go to MENU - Page 13/14 - TELEMETRY and press Discover new sensors. When all variables are discovered, then stop discovery of the sensors.
To add the Telemetry data onto the main screen, go to MENU - Page 14/14 - DISPLAY. There you can add any variable you want to be displayed. Variables with +/- character are meant to be maximal/minimal measured values.
Finally, exit to the main screen and press the PAGE button for 1 second.
With the Spirit firmware 2.4 you are able to view:
- RPM [RPM] - Current RPM from the Governor.
- Fuel [%] - Vibrations of the model (Reported as Fuel)
- RB1V [V] - Main Battery Voltage
- RB1A [A] - Main Battery Current
- RB1C [mAh] - Main Battery Consumed Capacity
- RB2C [V] - BEC Voltage (10x) - set Ratio 25.5
- Tmp1 [°C] - ESC Temperature
7 Usage
Whenever you want to configure a parameter, start the according Lua script. There the Menu Layout is similar with the PC software to have easy navigation.
It is working in the same way as when the PC software is connected. This mean that when the Integration menu is opened, you can change even the basic parameters that could affect the helicopter significantly.
When using the Bank Switching or Real-Time tuning features the menu will take full control of it. The unit will not react to a Switch position changes. For the Bank Switching there is Banks option where you can manually change the banks. Whenever you will change the Bank the configuration will be saved to not loose the current settings.
When Bank is 1 or 2, some parameters are hidden. In that case some pages appear to be blank.
Do not forget to click the Save Settings when you want to save a changes permanently.
Enjoy the integration!
