Difference between revisions of "SpiritRS Binding/es"
From Spirit System Manual
(Created page with "#Introduzca el Bind plug en el puerto SYS y alimente su unidad Spirit. (Por ejemplo a través del variador/BEC conectado al puerto THR) #El LED de estado de su unidad Spirit c...") |
(Created page with "No reconocido por la emisora") |
||
| Line 14: | Line 14: | ||
[[File:jeti-bind.png||center]] | [[File:jeti-bind.png||center]] | ||
| − | === | + | === No reconocido por la emisora === |
In case you already bound a receiver or Spirit RS with selected Model profile, you might need to start Binding process again. | In case you already bound a receiver or Spirit RS with selected Model profile, you might need to start Binding process again. | ||
Revision as of 17:47, 17 October 2020
1 Procedimiento de emparejado
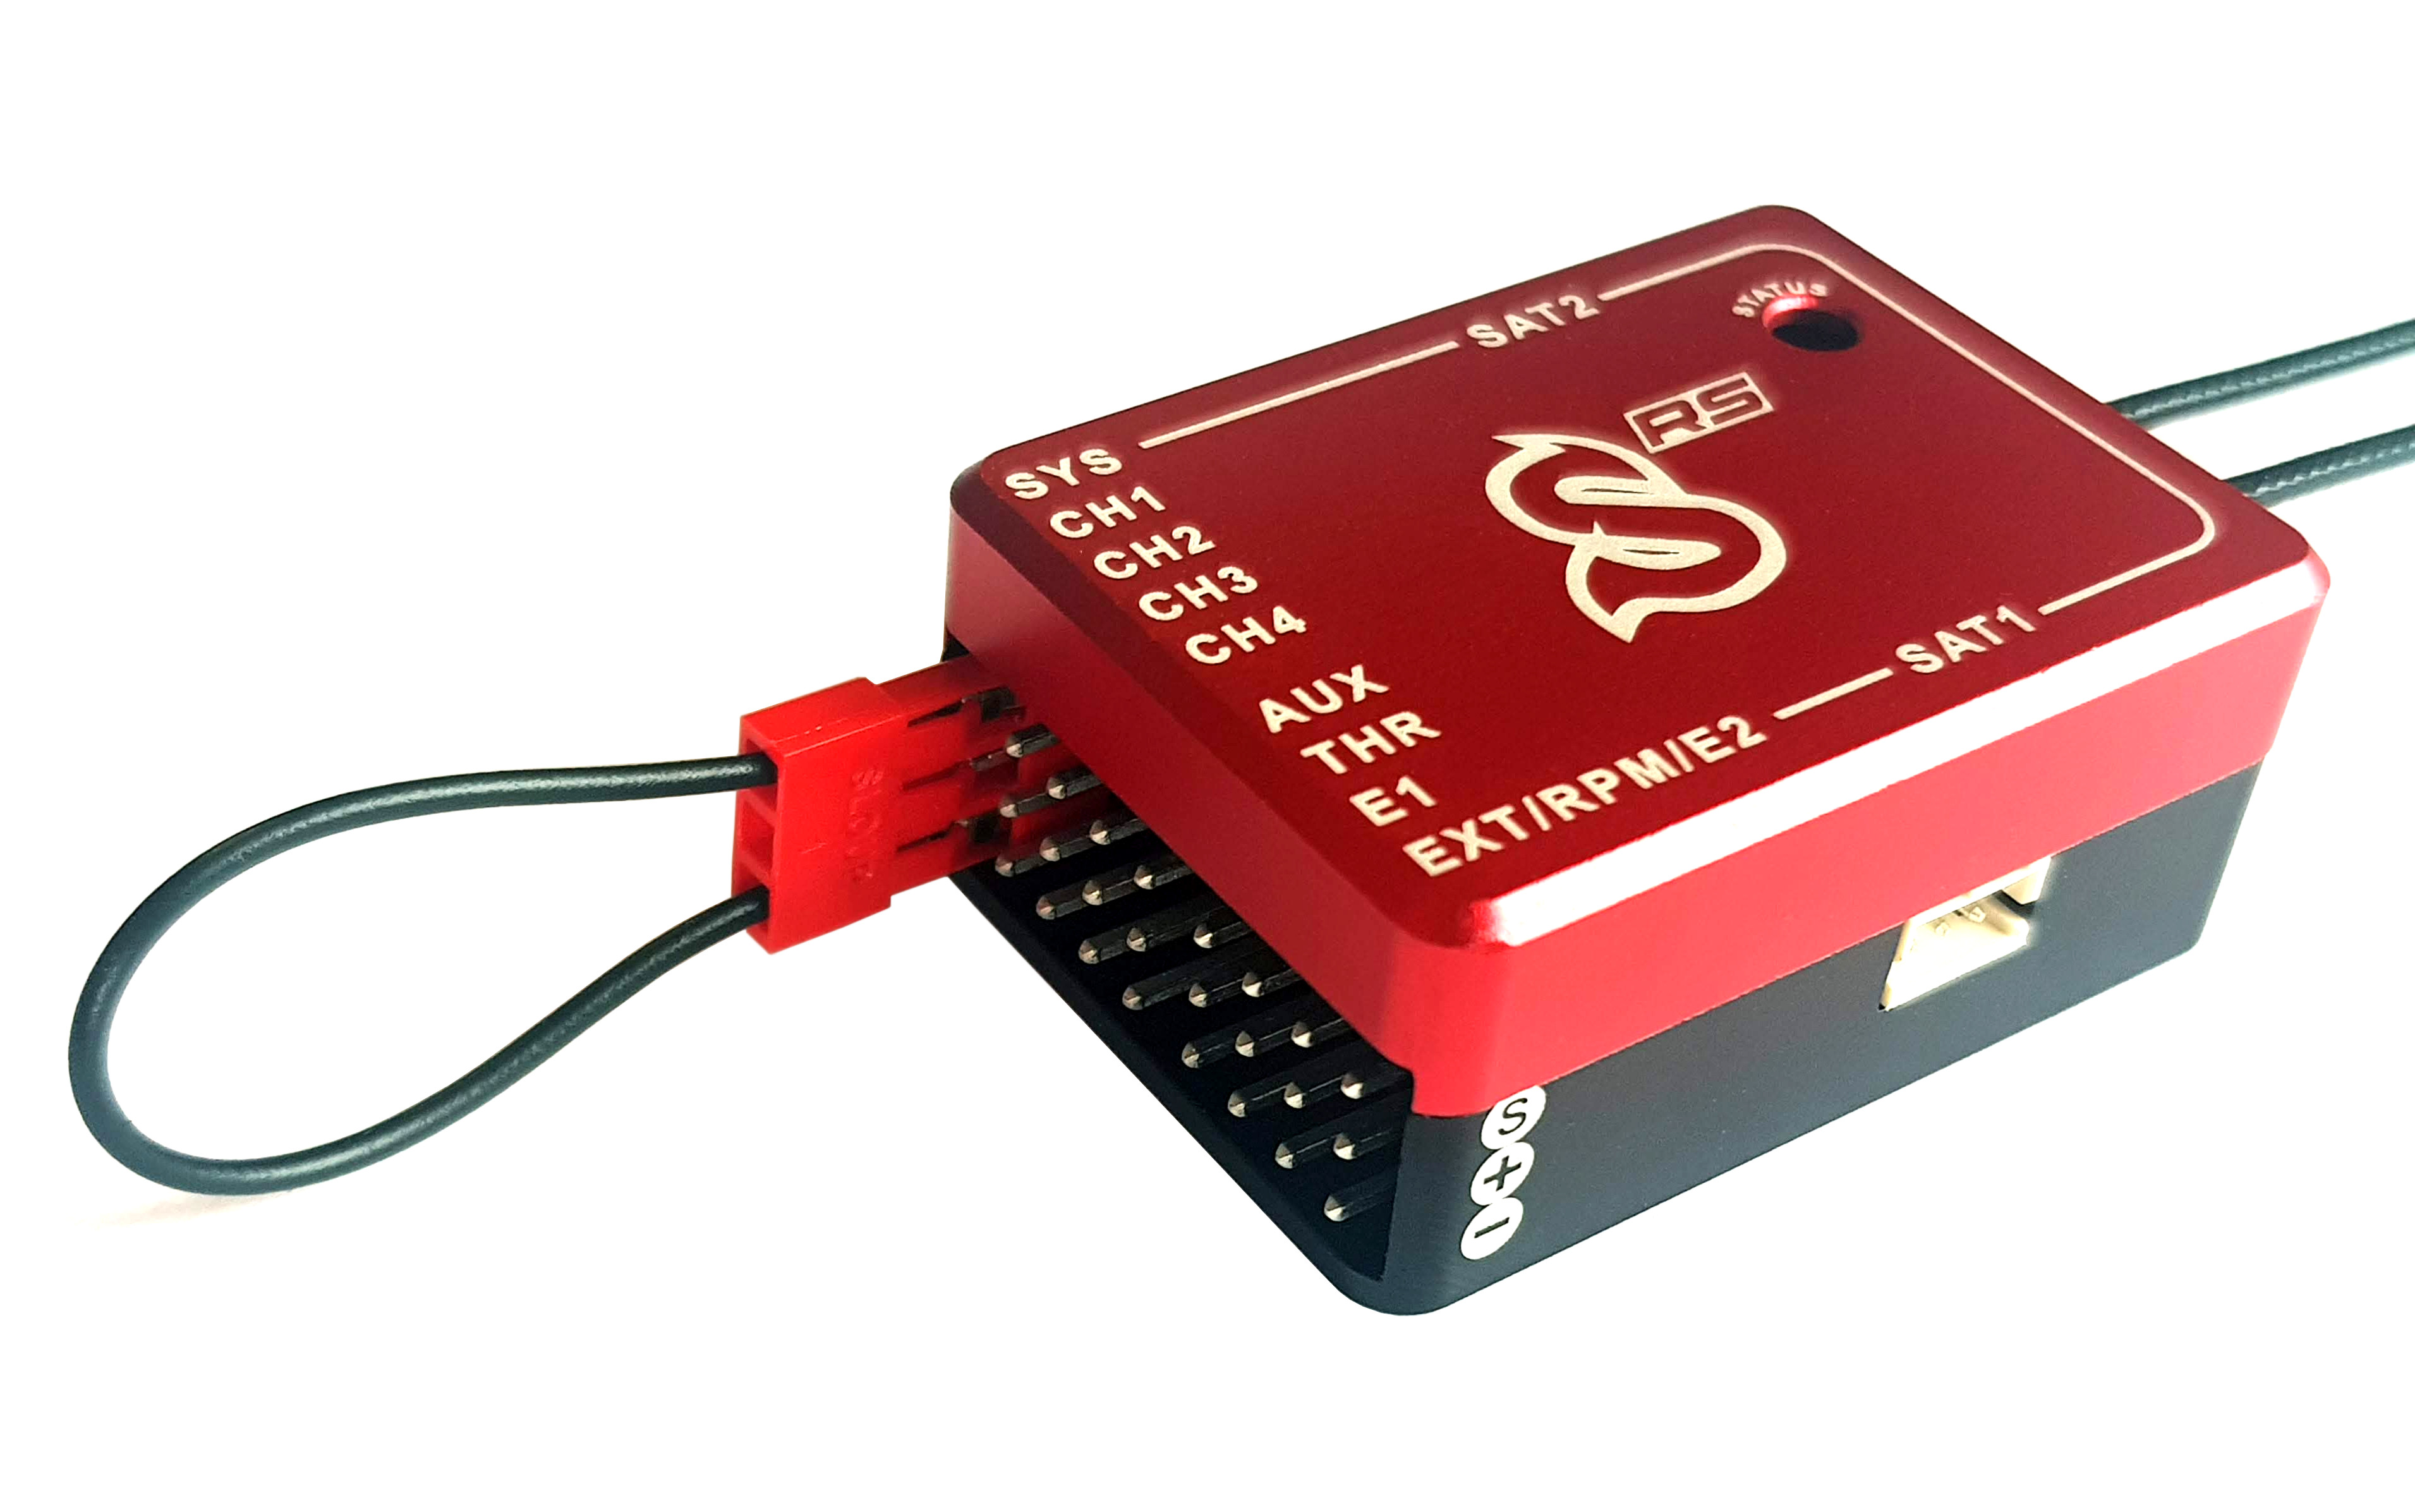
Para poder emparejar su Spirit RS con su emisora utilice el Bind plug suministrado.
- Introduzca el Bind plug en el puerto SYS y alimente su unidad Spirit. (Por ejemplo a través del variador/BEC conectado al puerto THR)
- El LED de estado de su unidad Spirit comenzará a parpadear.
- Ahora encienda su emisora.
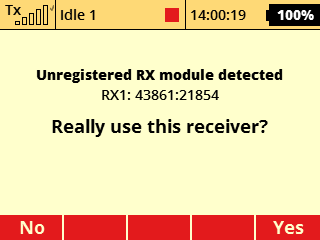
- La emisora le preguntará si desea utilizar el receptor. Confirme pulsando el botón Yes.
1.1 No reconocido por la emisora
In case you already bound a receiver or Spirit RS with selected Model profile, you might need to start Binding process again.
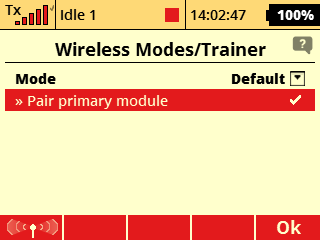
Go to Model/Heli Tuning and press middle button under display. Then select Pair primary module.
Subsequently you can Turn Off and Turn On your radio. During powering new receiver should be recognized. Once correctly bound with Spirit RS you should see full Tx signal in the top left corner at the display.


