Difference between revisions of "SpiritW1 Binding"
From Spirit System Manual
(Created page with "<languages/> == <translate><!--T:2--> Binding Procedure</translate> == <translate><!--T:1--> In order to Bind Spirit W1 with your Wave radio use supplied Bind plug.</transla...") |
|||
| Line 8: | Line 8: | ||
<translate><!--T:3--> | <translate><!--T:3--> | ||
| − | #Insert Bind plug at the SYS port and connect Power supply to the Spirit W1 unit. You can connect BEC or 1-3S Battery at the '''THR, AUX''' ports. | + | #Insert '''Bind plug''' at the '''SYS port''' and connect Power supply to the Spirit W1 unit. You can connect BEC or 1-3S Battery at the '''THR, AUX''' ports. |
#Spirit W1 unit will start to blink with the Status LED periodically. | #Spirit W1 unit will start to blink with the Status LED periodically. | ||
| − | #Then power up your radio. | + | #Then power up your Wave radio. |
| − | #Radio will automatically bind to | + | #Radio will automatically bind to the receiver when using new Model profile.</translate> |
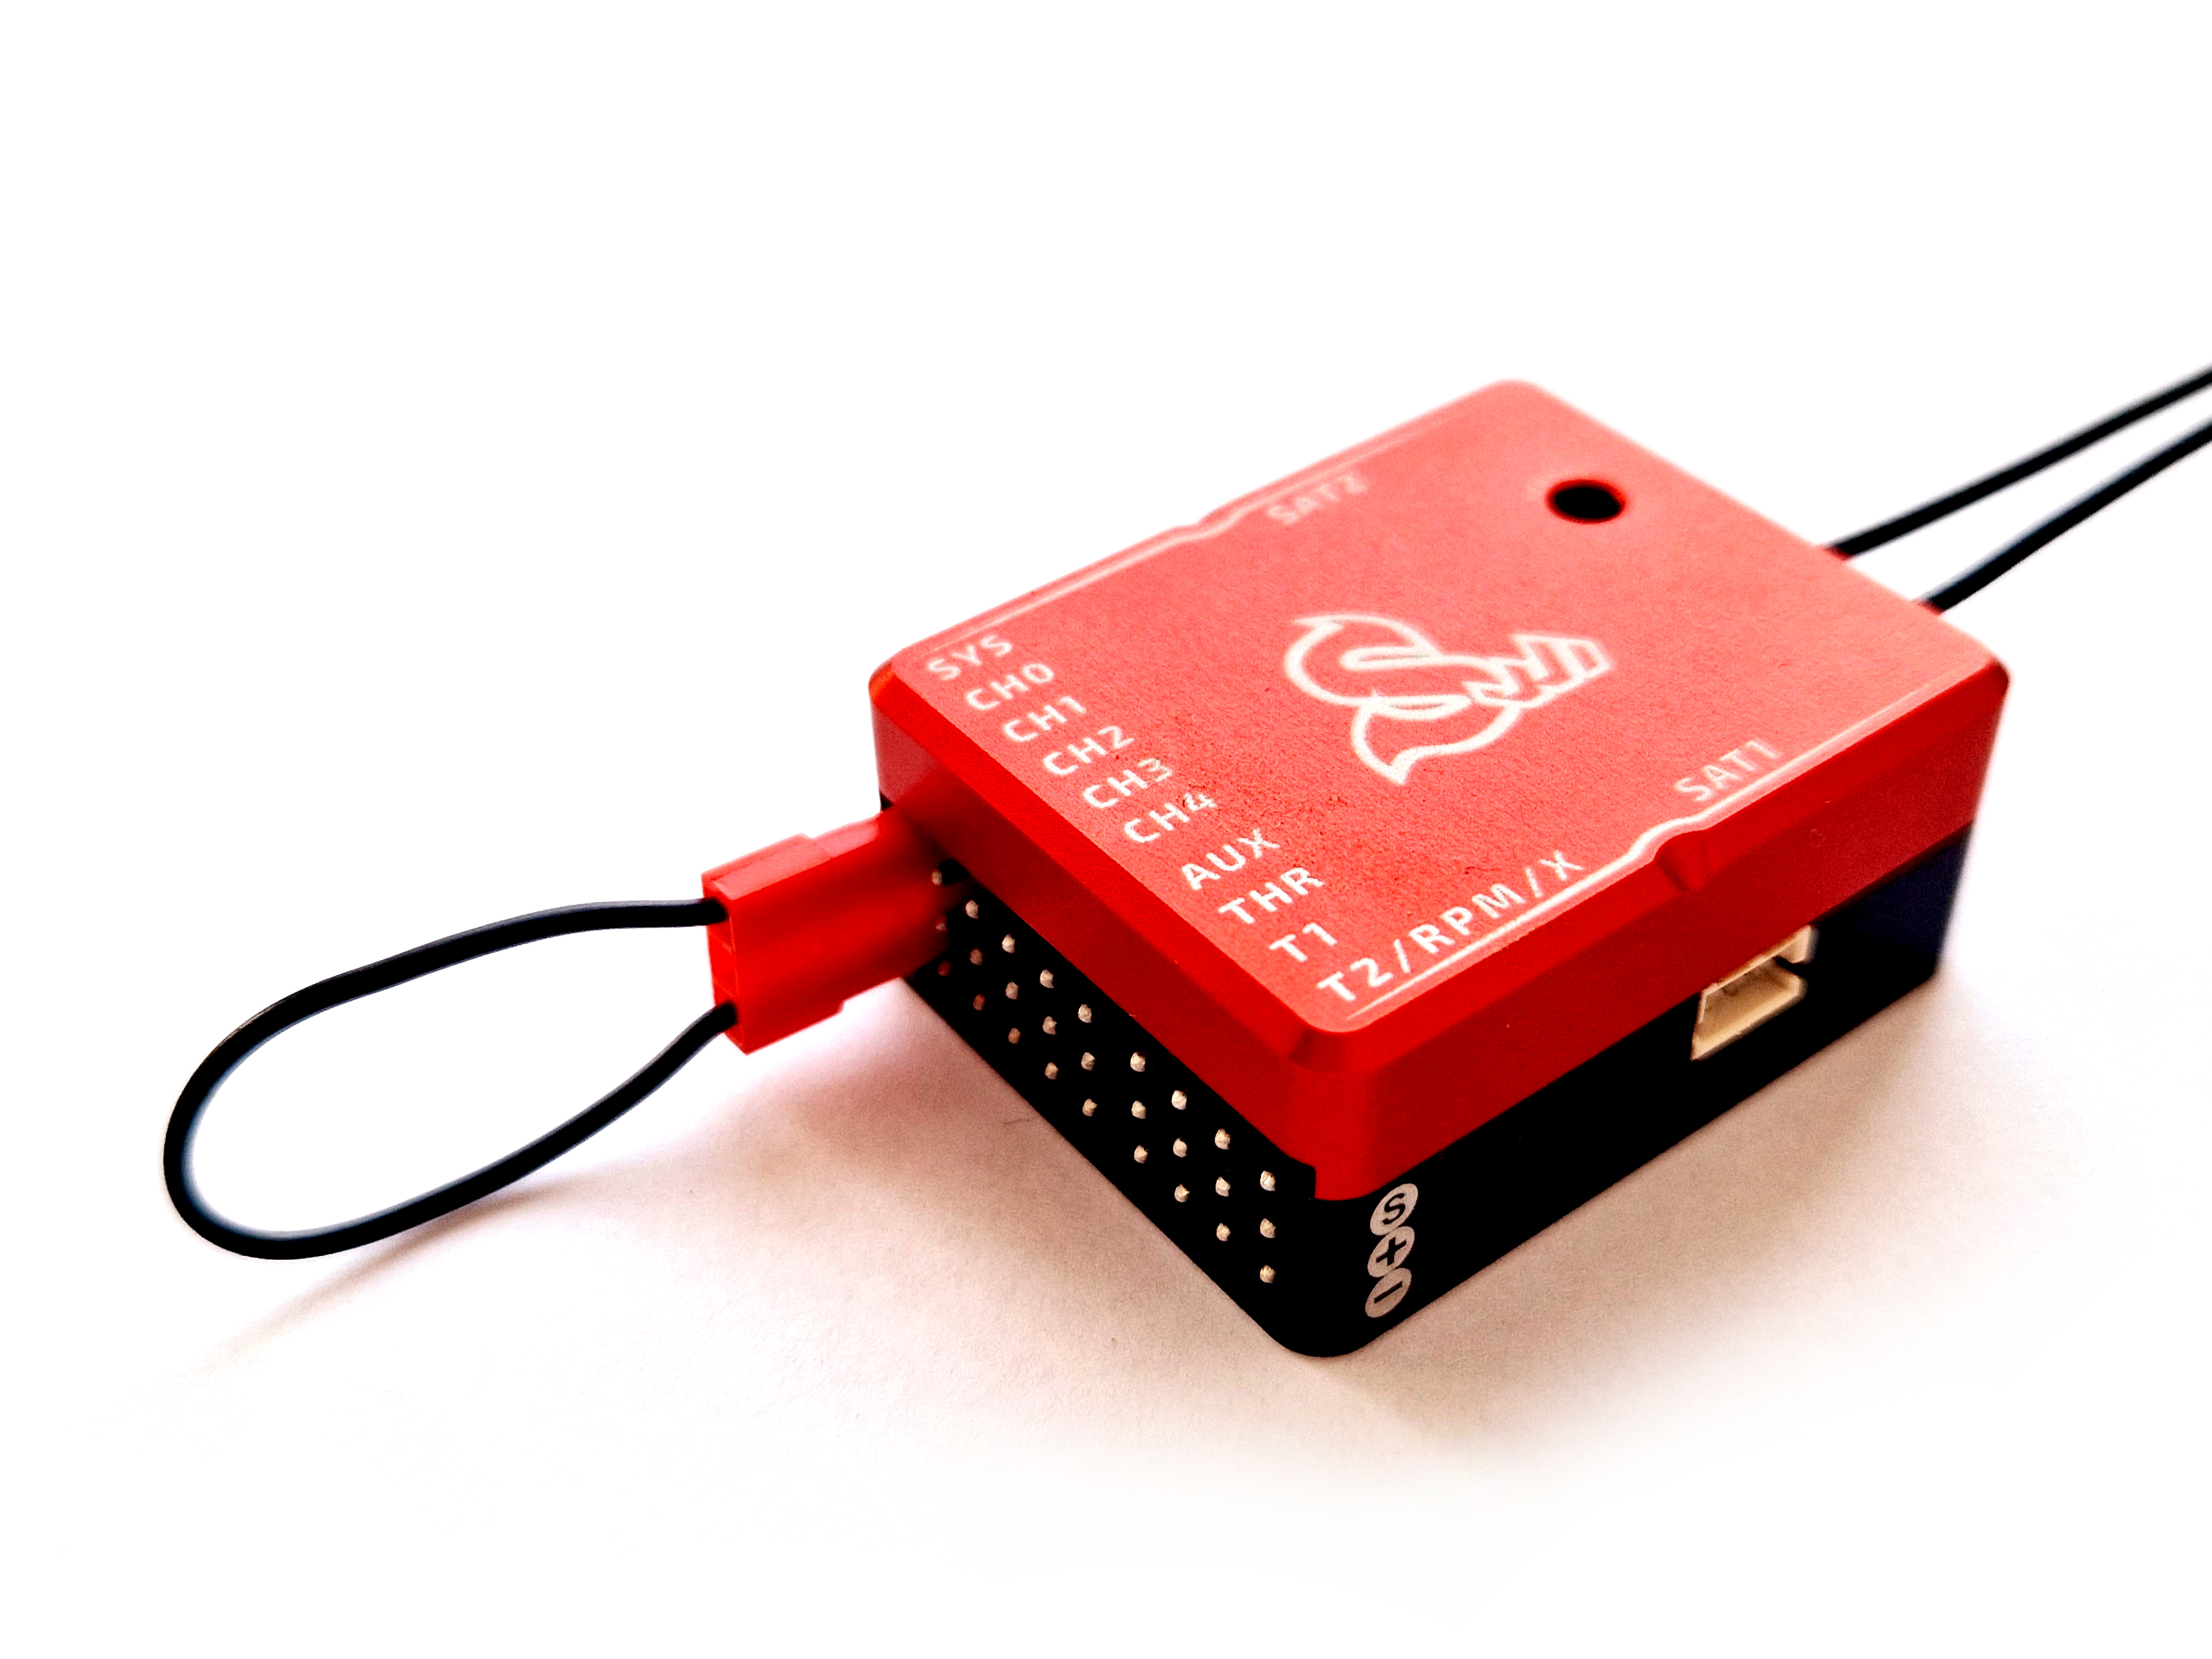
[[File:spritW1-bind.jpg|class=halfwidth|center]] | [[File:spritW1-bind.jpg|class=halfwidth|center]] | ||
Revision as of 10:01, 17 November 2023
Binding Procedure
In order to Bind Spirit W1 with your Wave radio use supplied Bind plug.
- Insert Bind plug at the SYS port and connect Power supply to the Spirit W1 unit. You can connect BEC or 1-3S Battery at the THR, AUX ports.
- Spirit W1 unit will start to blink with the Status LED periodically.
- Then power up your Wave radio.
- Radio will automatically bind to the receiver when using new Model profile.

