Preparación del SpiritRS
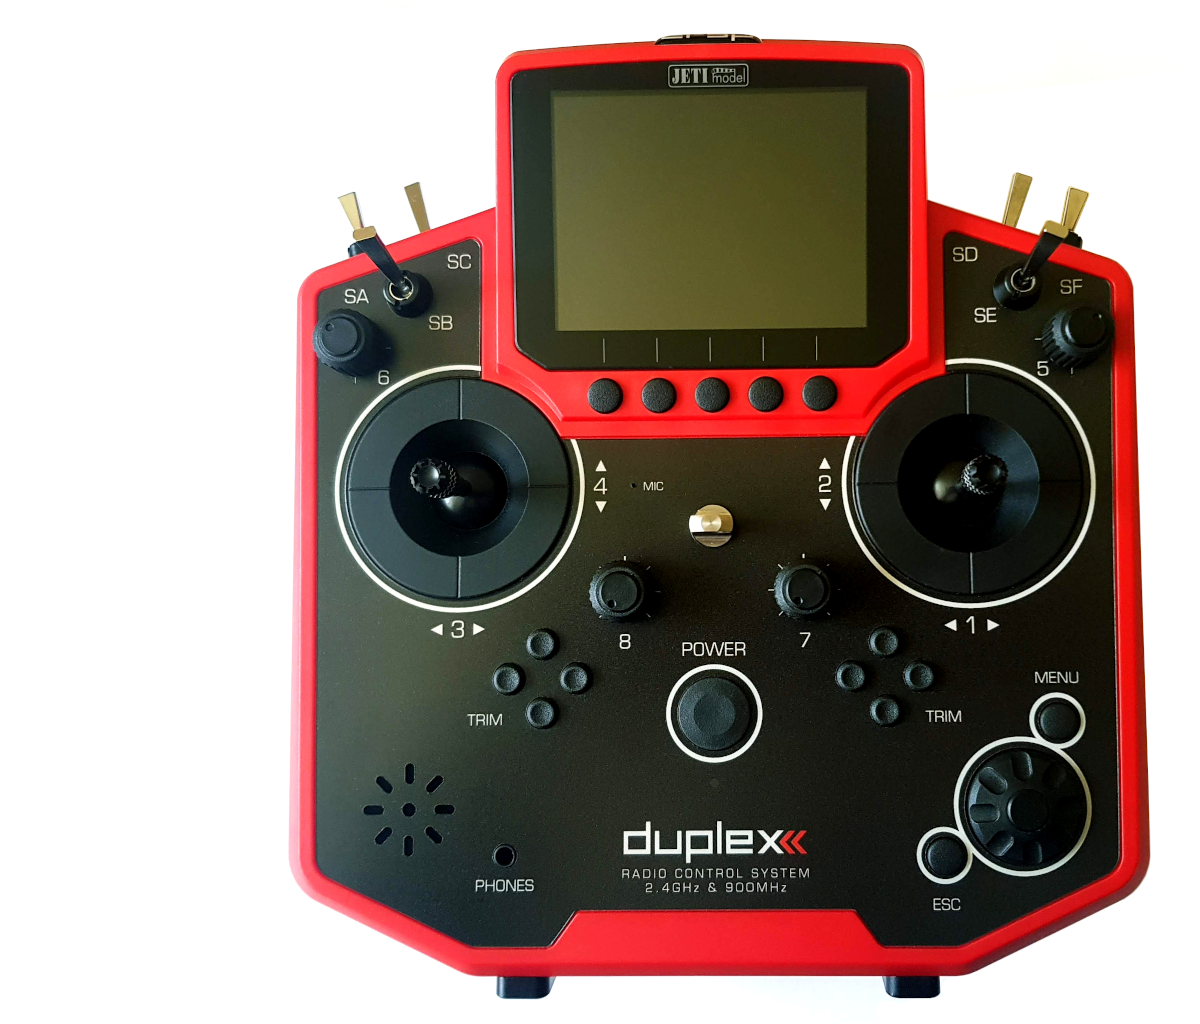
Para operar el Spirit RS puede utilizar cualquier emisora JETI DUPLEX.
Las emisoras compatibles son:
- DC-14
- DC-16
- DC-16 II
- DC-24
- DS-12
- DS-14
- DS-16
- DS-24
Recomendamos comenzar con un perfil de modelo ya que necesitará realizar solo unos pequeños cambios.
Spirit System ofrece la emisora DS-12, hecha a medida para el Spirit RS. Esto significa que podrá utilizar todo su potencial sin necesidad de adquirir módulos de software adicionales.
Contents
1 Comienzo
Lo primero que tiene que hacer es leer detenidamente el manual de su emisora. Una vez entienda las cosas más sencillas, puede cambiar el Modo si es necesario. Esta operación está descrita en el manual.. Cuando ensamble de vuelta la tapa trasera de la emisora tras cambiar el Modo, preste especial atención al posicionamiento de los cables para no dañar ninguno con los tornillos.
Retire el protector de la pantalla de su emisora.
2 Encendido y apagado de la emisora
Pulsando el botón Power encenderá la emisora. Si no se enciende, cargue la emisora mediante el cargador suministrado. Pulsando el botón Power de nuevo, apagará la emisora.
3 Nuevo Perfil
Si es la primera vez que utiliza una emisora JETI, siga los siguientes pasos.
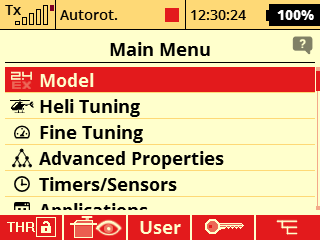
Start the radio and press MENU button. Then enter the Model menu by pressing the Rotary knob.
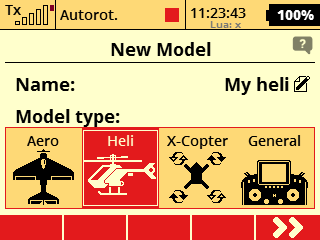
Select New Model, enter name of the Model and select Heli type. Then continue by pressing right button under display.
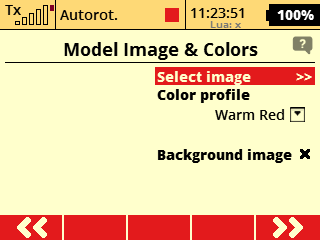
Model Image & Colors Menu can be optionally configured according your preference. Continue to another page by pressing button under display.
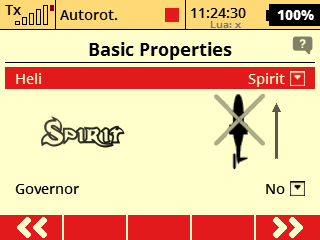
In the Basic Properties menu select Heli to Spirit and continue to another page. (Please note transmitter update 5.04 is required for this option - only available in DS-12 Spirit Edition at the moment).
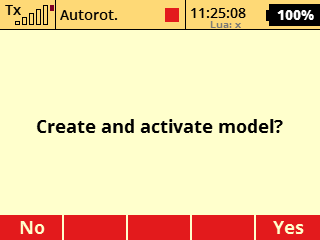
Confirm until you will be prompted to Create and activate model. Select Yes.
4 Basic Helicopter settings
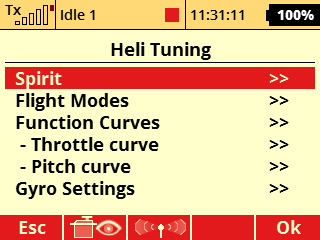
Open Heli Tuning menu - Main Menu/Heli Tuning.
4.1 Flight Modes
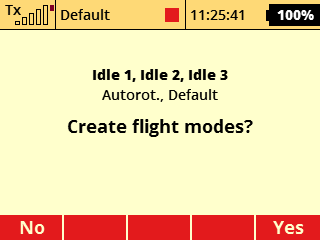
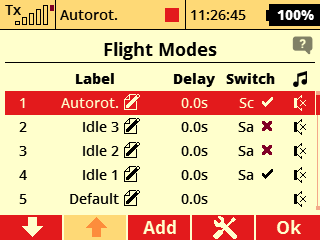
Enter Flight Modes menu and press Yes when prompted "Created flight modes?".
Assign switch for Autorot. mode - usually it is two-state switch called Sc at the left front side of the radio. This switch will be used for Throttle Hold/Autorotation. Also assign switch for all Idle modes - usually it is tri-state switch called Sa above Sc.
Non-Spirit Jeti radio might need to get extension module for Flight modes (from swshop.jetimodel.com). Alternatively you can use only 3 Flight modes.
Instead of Autorot. flight mode you can set Throttle Cut switch.
4.2 Throttle Curve
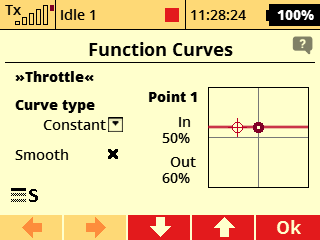
Open Throttle curve menu - Main Menu/Heli Tuning/Throttle curve.
Disarm Throttle Hold and set Throttle curves for all Idle Modes. When you switch Idle modes, curves will change accordingly. For more advanced pilots it is recommended to set Curve type to Constant - especially when you are using Governor.
4.3 Pitch Curve
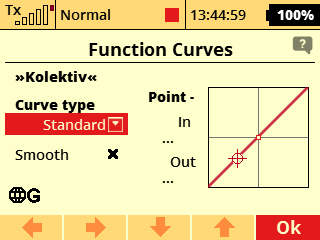
Open Pitch curve menu - Main Menu/Heli Tuning/Pitch curve.
In a similar way set Pitch curve - in the most cases no changes are required. It is preconfigured to -100 to 100% linear curve. For beginners Pitch curve such as -20 to 100% is more suitable.
4.4 Gyro Gain
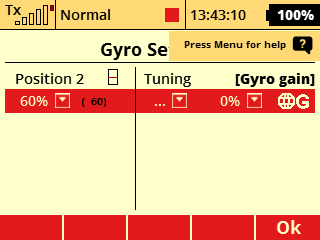
Open Gyro Settings menu - Main Menu/Heli Tuning/Gyro Settings. By defailt it assigned to tri-state Se switch. Values are 50%, 0%, -50%.
For the beginning you can use these values. Positive value will activate Head-Lock Gyro mode, while a negative value will engage Normal (Rate) mode.
For further Gyro Gain tuning you can set 50, 60, 70% gains or assign a potentiometer.
