OpenTX Integrace
| ◦ | Nastavení přímo ve vysílači |
| ◦ | Kompletní konfigurace jednotky |
| ◦ | Bez nutnosti spojení s počítačem |
| ◦ | Vše rychle dostupné |
| ◦ | OpenTX 2.2 OpenTX 2.2 s podporou Lua |
| ◦ | Přijímač s telemetrickým výstupem S.Port |
| ◦ | Speciální propojka |
Contents
1 ZAPOJENÍ
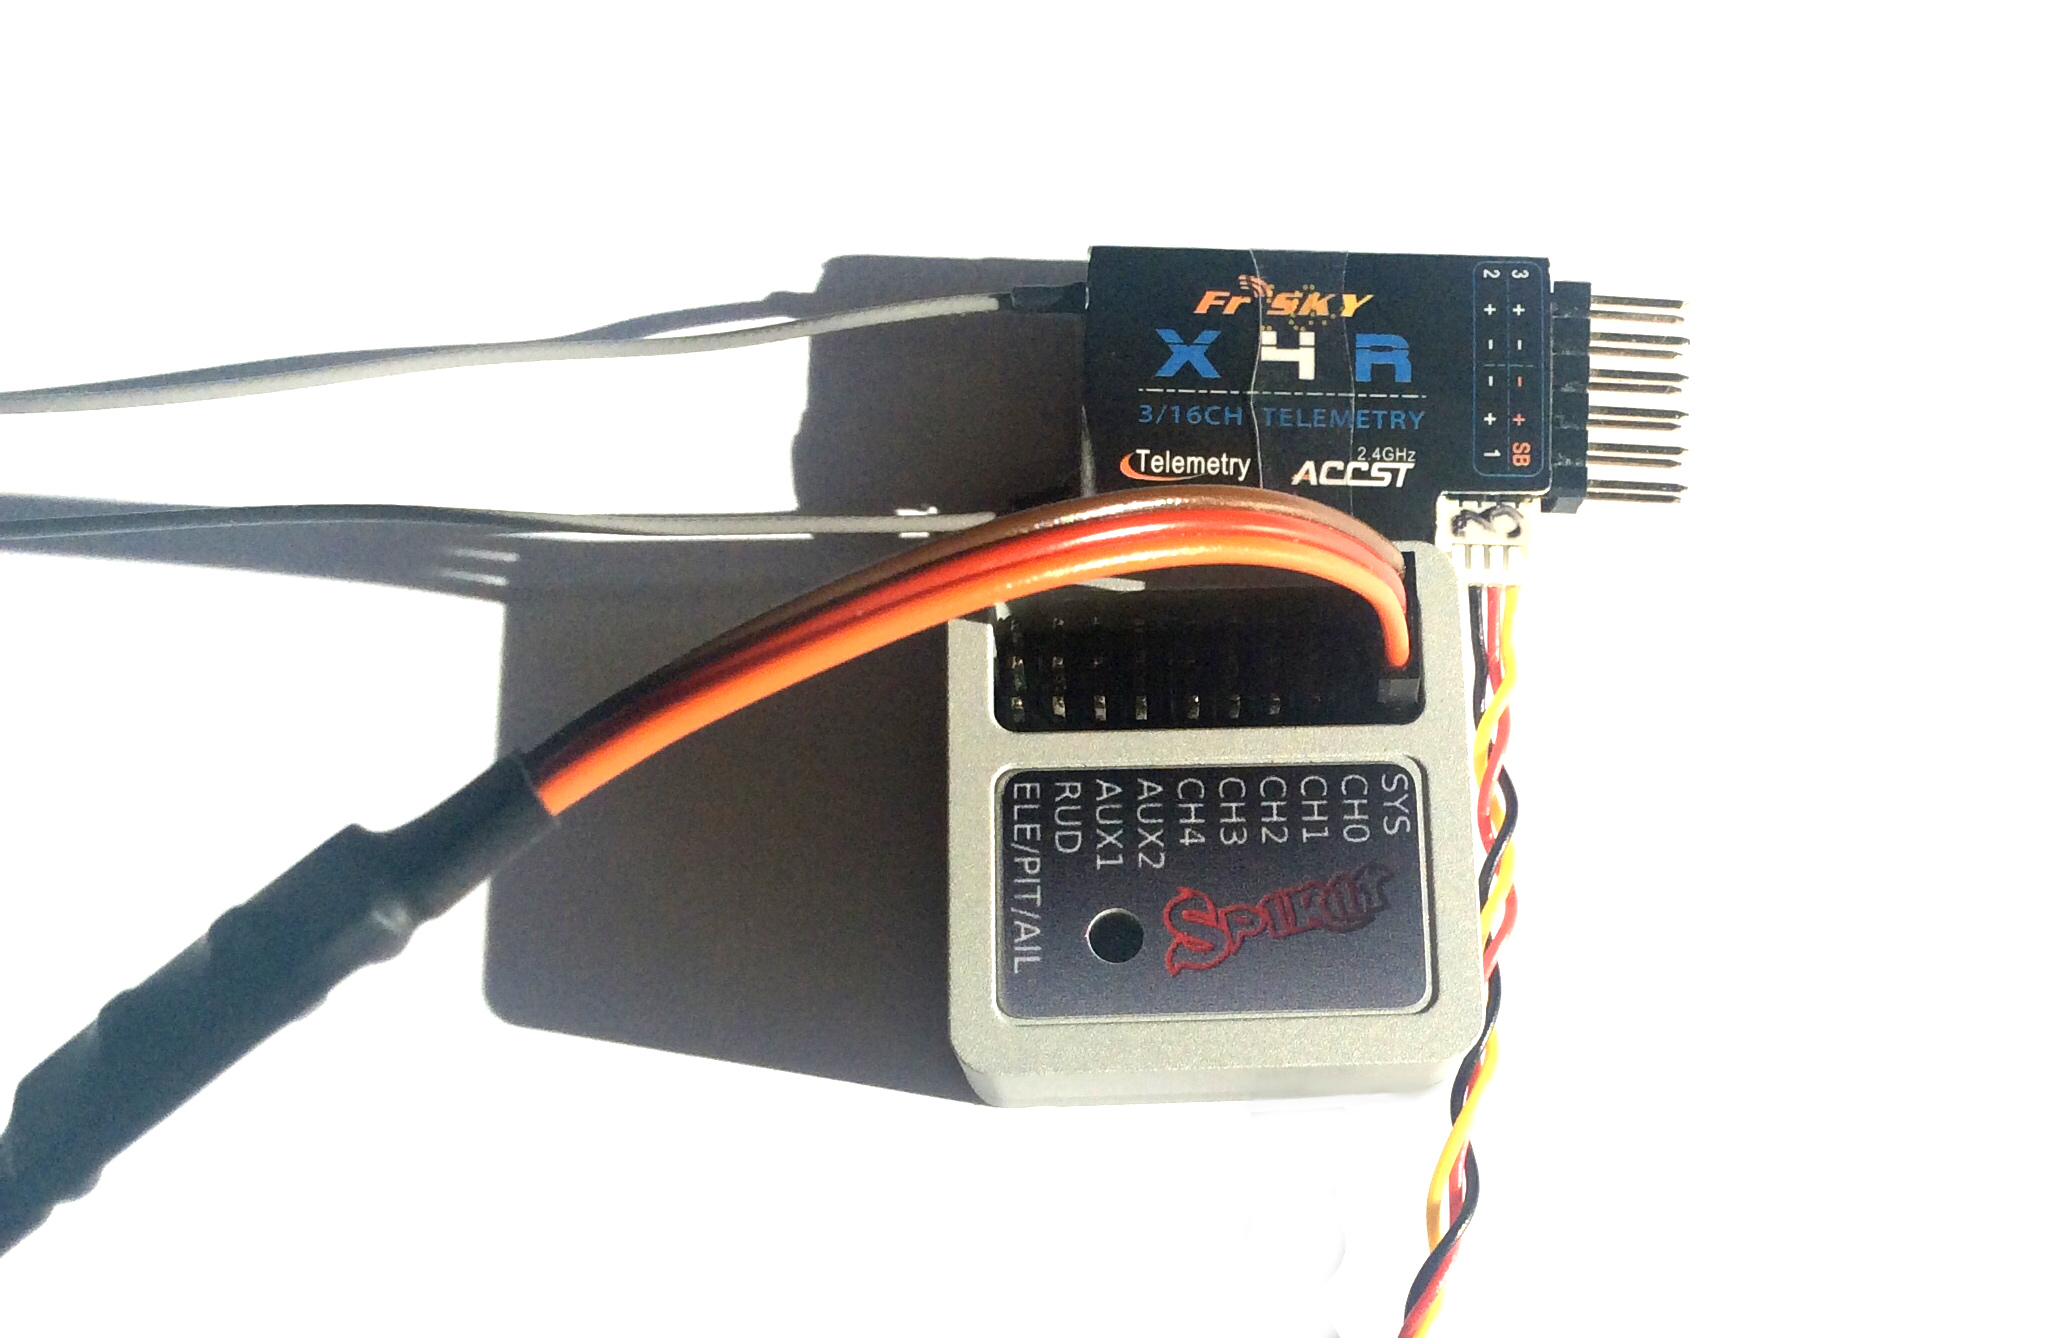
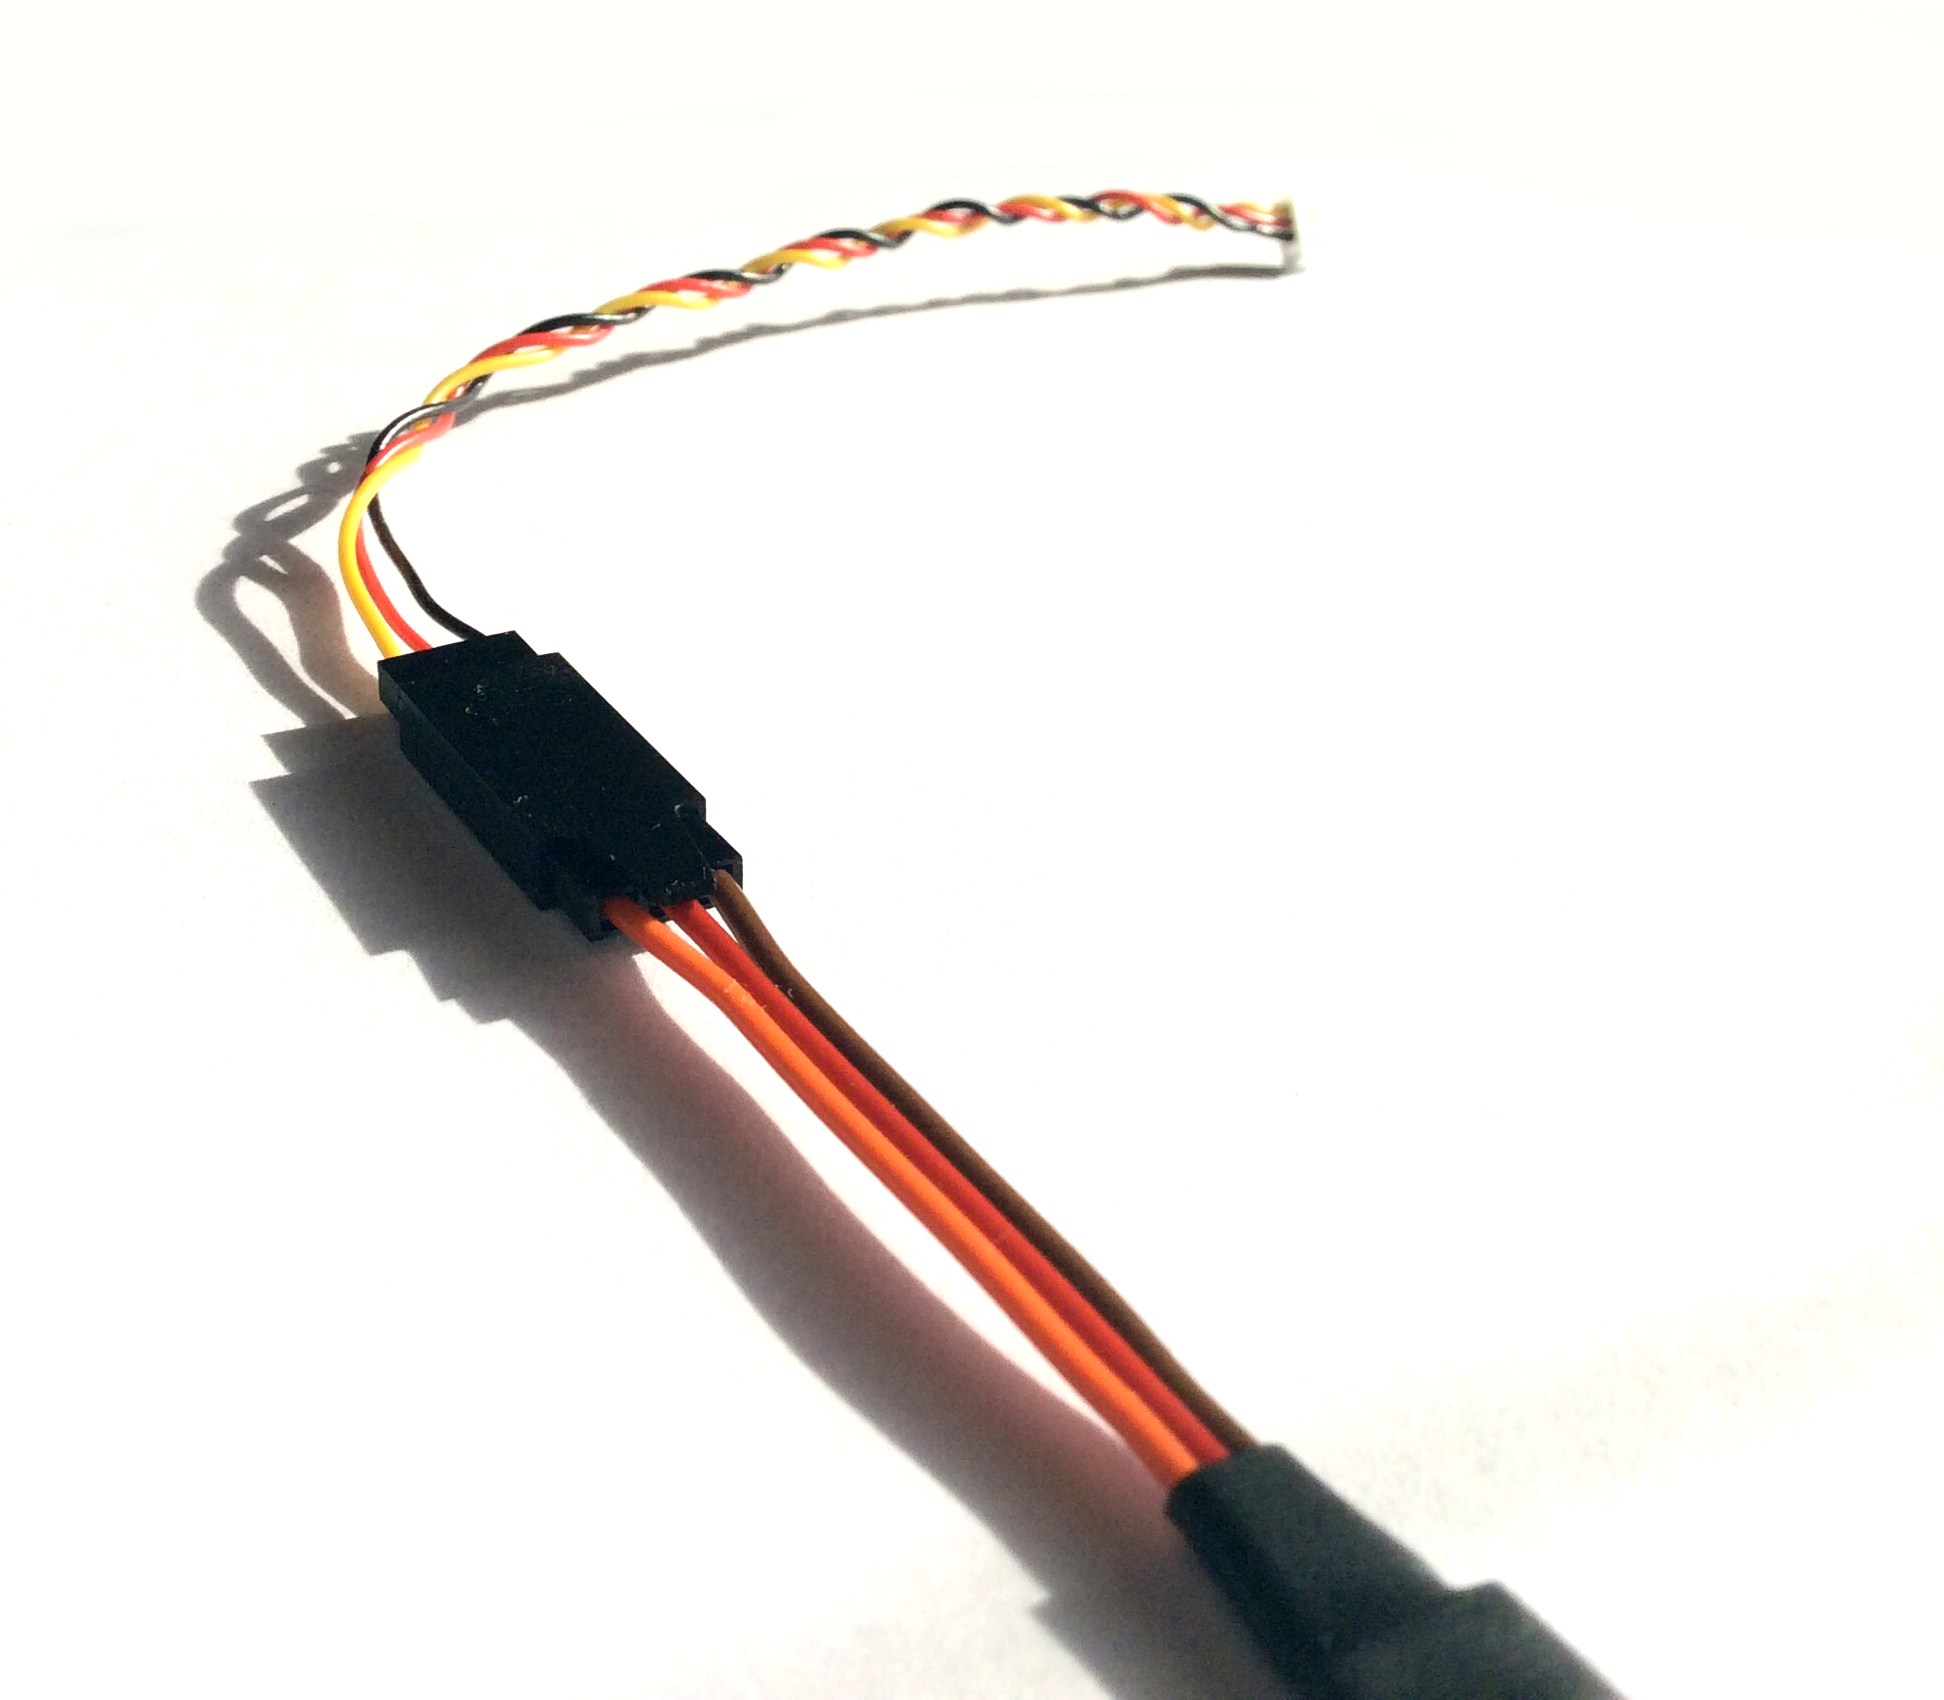
Pro zprovoznění integrace je zapotřebí spojit přijímač a jednotku dle následujícího schématu. K tomu je zapotřebí speciální propojka určena k integraci, která je dostupná na našem eshopu.
Shorter lead of the cable receiver - S.Port Longer lead of the cable unit - SYS port
Kablík určený k integraci slouží pro obousměrný datový přenos mezi jednotkou a přijímačem, resp. vysílačem. Data obsahují jak telemetrické data tak příkazy ke konfiguraci všech parametrů, přímo přes vysílač.
Spojení s přijímačem pro integraci je zcela odděleno od základní části přijímače, kde se přenáší výchylky kanálů. Tzn. Stávající spojení s přijímačem může zůstat bez změny. Pro přenos výchylek kanálů lze použít PWM, PPM či S-Bus protokol.
V případě přijímačů s konektorem Molex na straně S.Port (např. X4R, X4RSB, XSR), lze využít dodaný konektor a piny tak pro výrobu adaptéru. Vznikne tak adaptér z Molex konektoru na servo konektor. Zde již lze pohodlně zasunout speciální propojku určenou k integraci.
Samotné spojení přes výstup S.Port je určeno pouze pro konfiguraci jednotky. Výchylky kanálů je nutné přenášet běžným způsobem pomocí PWM, PPM či S-Bus.
2 INSTALACE
Konfigurace jednotky je přístupná pomocí tzv. skriptů Lua. Tyto skripty vytvářejí uživatelské rozhraní, které umožňuje plnou integraci s jednotkou Spirit. Lze přistupovat k jednotlivým menu a volit parametry, kdykoli to bude potřeba.
Pro zprovoznění postačí stáhnout archiv z našeho webu:
| Pro Heli | |
| FrSky Taranis X9D/X9D+/X9E: | http://www.spirit-system.com/dl/opentx/Spirit-2.2.0-Taranis.zip |
| FrSky Horus: | http://www.spirit-system.com/dl/opentx/Spirit-2.2.0-Horus.zip |
| Pro Spirit Aero | |
| FrSky Taranis X9D/X9D+/X9E: | http://www.spirit-system.com/dl/opentx/Spirit-Aero-1.0.0-Taranis.zip |
| FrSky Horus: | http://www.spirit-system.com/dl/opentx/Spirit-Aero-1.0.0-Horus.zip |
Poté archiv extrahujte a adresář „Spirit“ zkopírujte do kořenového adresáře na SD kartu vysílače.
3 OTEVŘENÍ MENU INTEGRACE
You can access the integration menu whenever you want to configure the unit. When it is opened, it behave similarly as when you start the PC software. This mean that for example Bank Switching will be performed in the menu, not with assigned switch. When script is closed, everything returns to the flight regime.
To access the menu on Taranis, press the buttons in the following way:
- Press the MENU button for 1 second.
- Click the PAGE button.
- By clicking + and – buttons move to the „Spirit-2.2.0“ directory.
- Click the ENT button.
- Start the basic.lua or special.lua script by clicking the ENT button.
To access the menu on Horus, press the buttons in the following way:
- Press the < button for 1 second.
- Click the PAGE UP button to reach the SD CARD page.
- By rotary manipulator move to the „Spirit-2.2.0“ directory.
- Click the manipulator button to enter.
- Execute the basic.lua or special.lua.
4 Integration Preview
5 Troubleshooting
- If the Menu will not load any parameter value, it is likely that the integration cable is connected improperly. If you use any Telemetry sensor, we recommend to disconnect it (at least from signal line) and verify again.
- MLVSS sensor is known to cause interferences on the S.Port line, thus affecting all other sensors including the Integration. We do not recommend to use this sensor at least until the fix will be available.
- If you will see the Lua script error: Script syntax error - attempt to call global function sportTelemetry, then the OpenTX firmware in your transmitter is 2.1 or earlier. Please check the OpenTX 2.2 page for update instructions.
6 Usage
Whenever you want to configure a parameter, start the according Lua script. There the Menu Layout is similar with the PC software to have easy navigation.
It is working in the same way as when the PC software is connected. This mean that when the Integration menu is opened, you can change even the basic parameters that could affect the helicopter significantly.
When using the Bank Switching or Real-Time tuning features the menu will take full control of it. The unit will not react to a Switch position changes. For the Bank Switching there is Banks option where you can manually change the banks. Whenever you will change the Bank the configuration will be saved to not loose the current settings.
When Bank is 1 or 2, some parameters are hidden. In that case some pages appear to be blank.
Do not forget to click the Save Settings when you want to save a changes permanently.
Enjoy the integration!


