OpenTX Integration
| ◦ | Einstellungen direkt im Sender |
| ◦ | Konfiguration des Geräts |
| ◦ | Kein Computer erforderlich |
| ◦ | Alles schnell erreichbar |
| ◦ | OpenTX 2.2 mit Lua-Unterstützung |
| ◦ | Empfänger mit S.Port |
| ◦ | Integrationskabel für S.Port |
Contents
1 Verkabelung
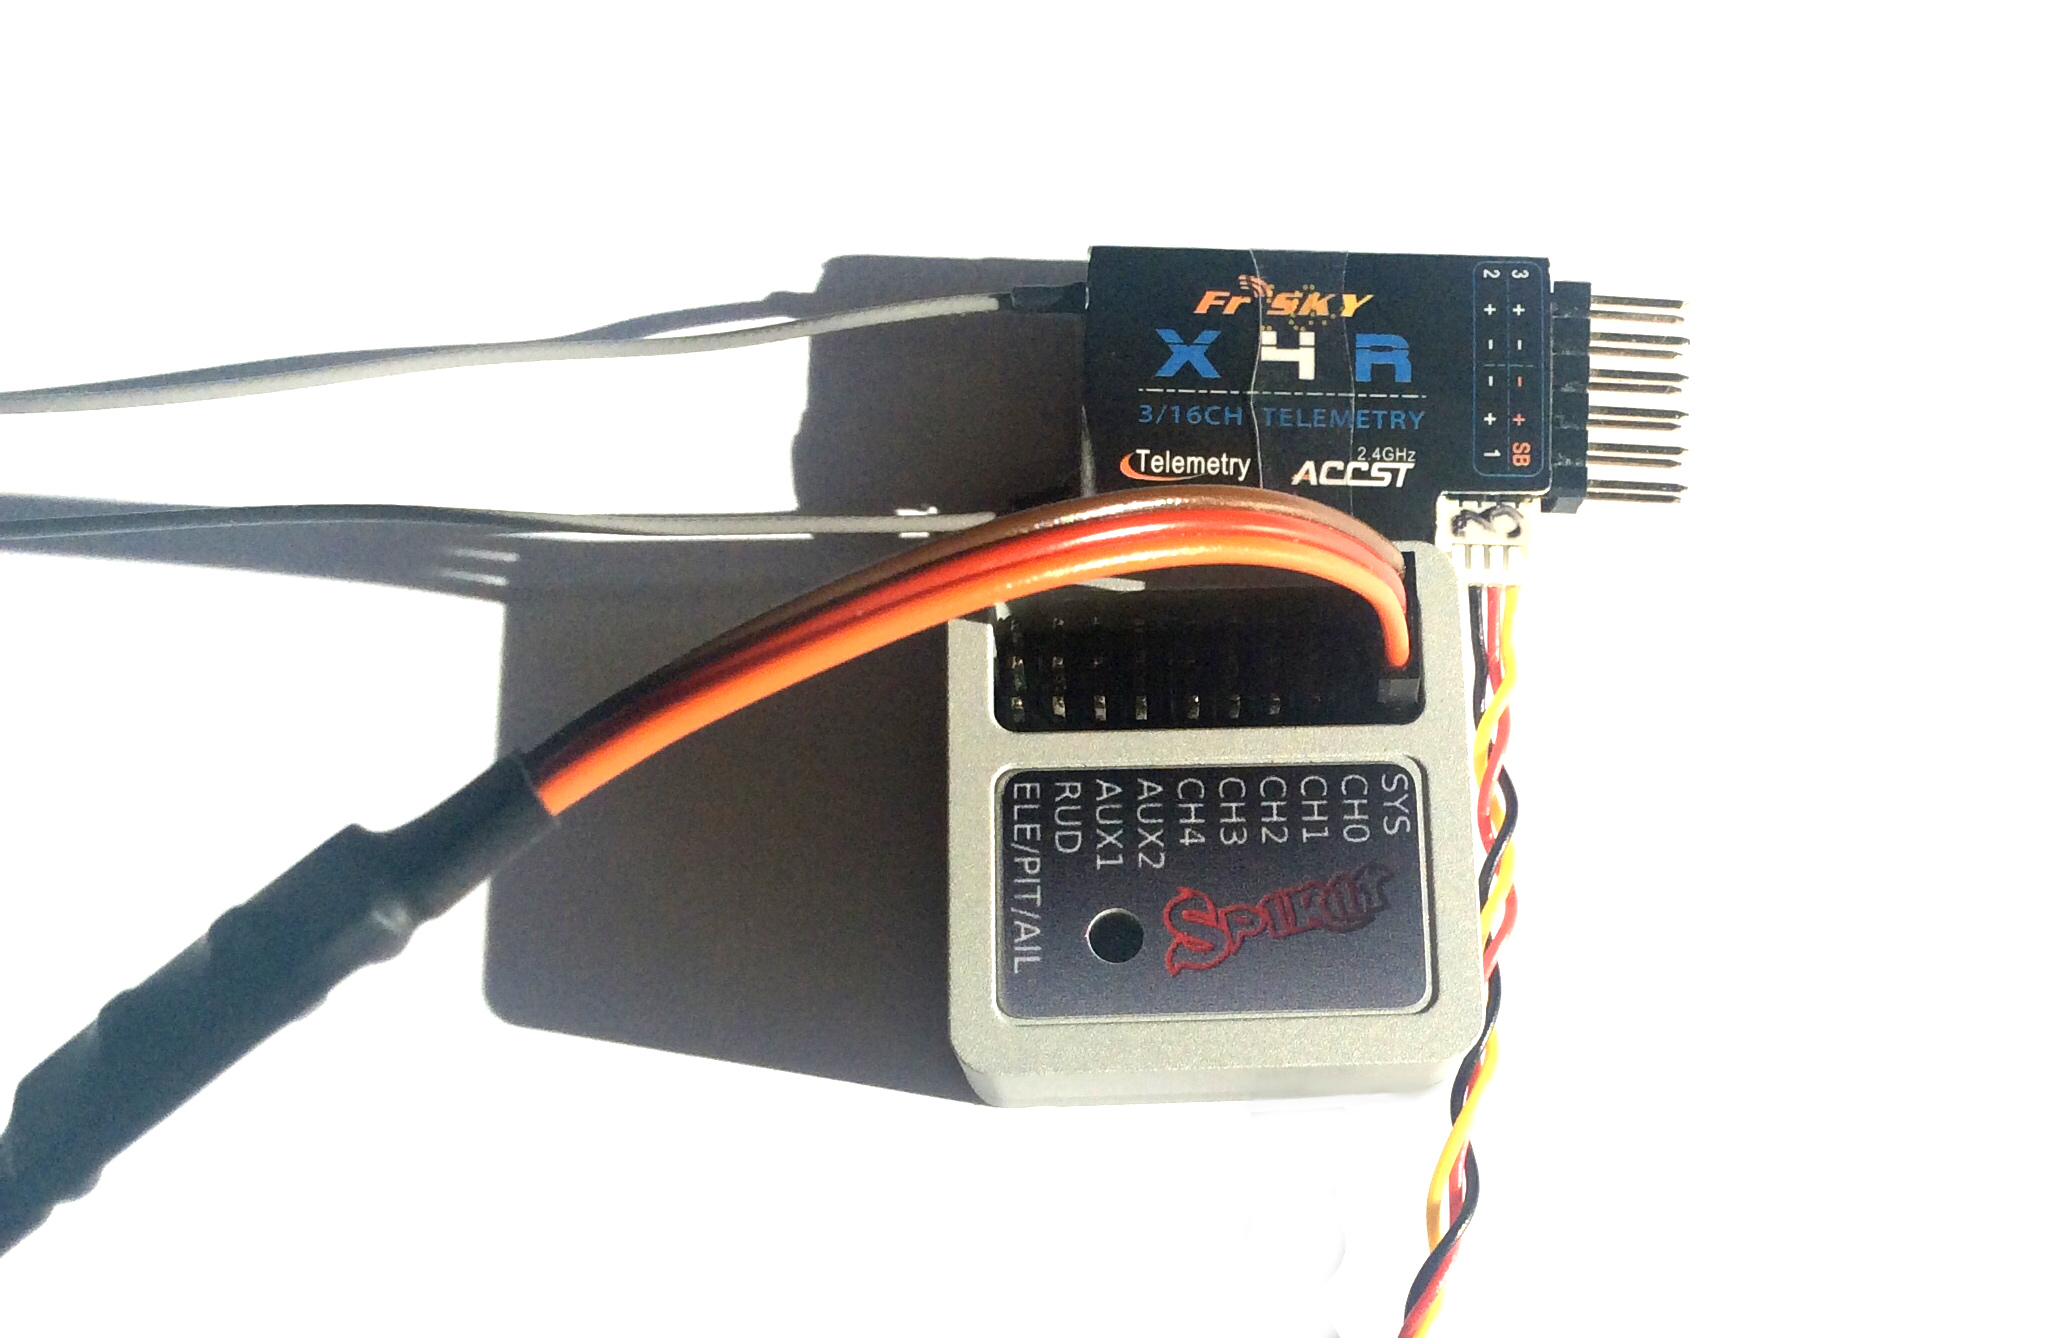
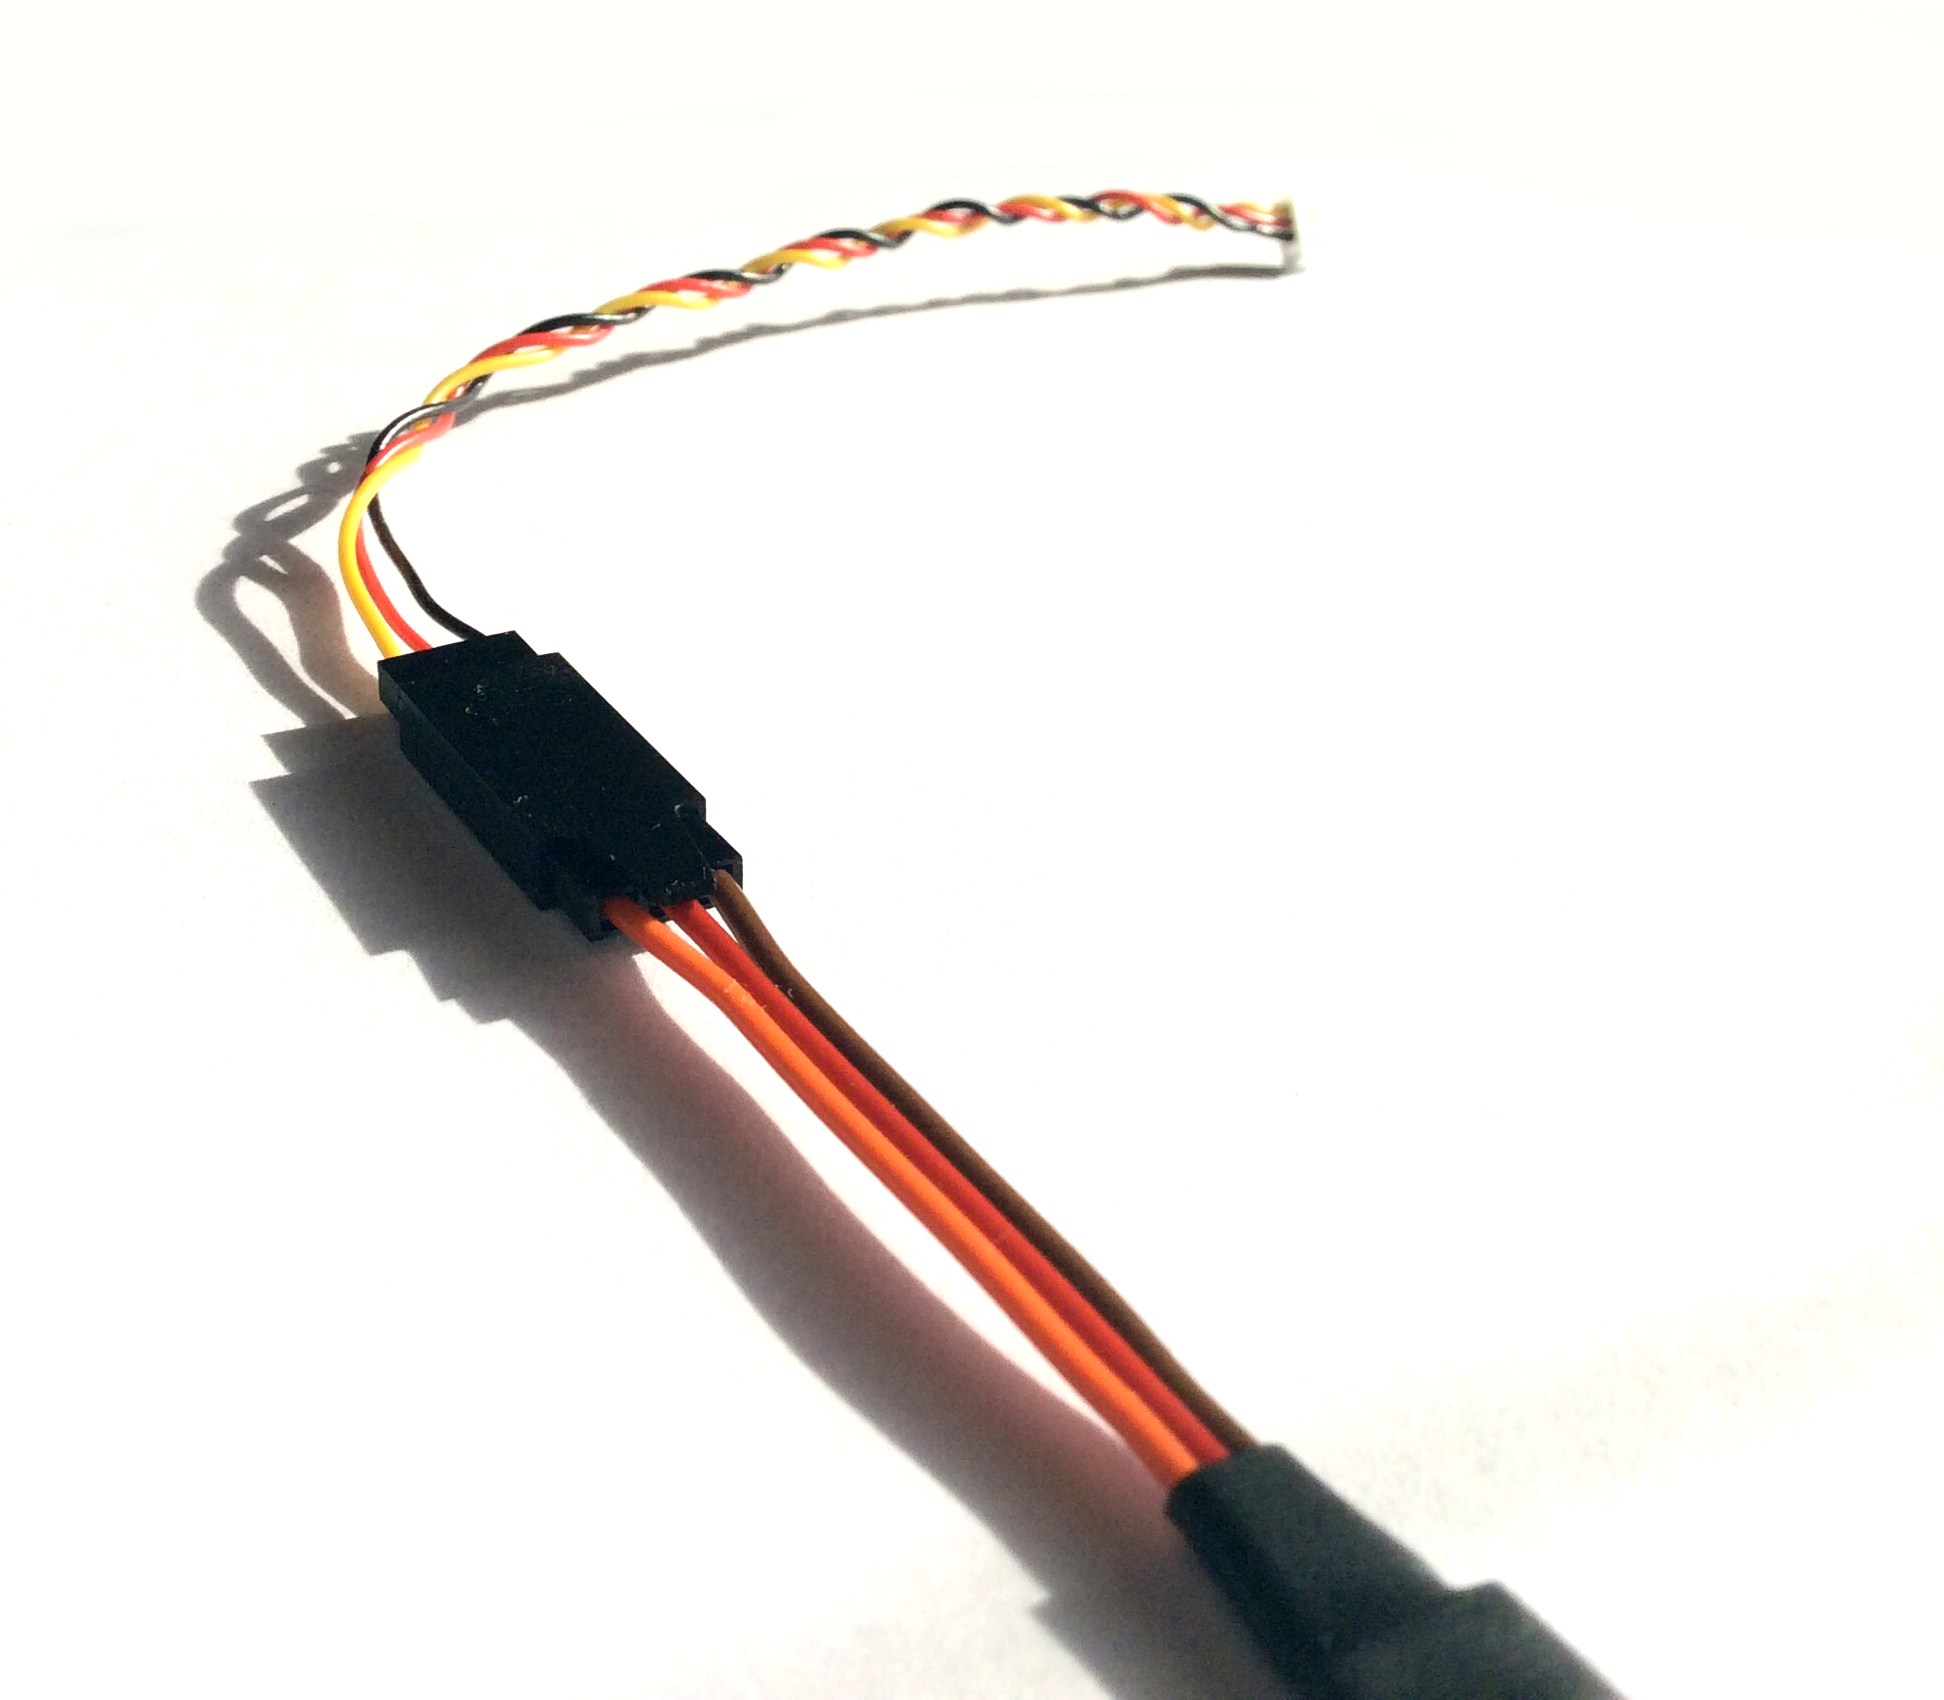
Um die Integration zu ermöglichen, müssen Sie Ihren Empfänger und Ihr Gerät nur nach folgendem Schema anschließen. Bitte beachten Sie, dass Sie dazu ein spezielles Kabel benötigen, das in unserem Shop erhältlich ist.
Kürzere Zuleitung des Kabels Empfänger - S.Port Längere Zuleitung des Kabels Einheit - SYS port
Das Integrationskabel dient zur bidirektionalen Datenübertragung zwischen Gerät und Empfänger bzw. Sender. Dazu gehören Telemetriedaten und die Möglichkeit, alle Parameter des Gerätes direkt von Ihrem Sender aus zu konfigurieren.
Er ist vollständig vom Basis-Empfangsteil, der die Kanaldaten überträgt, getrennt. So kann Ihre bestehende Verbindung mit dem Empfänger unangetastet bleiben. Es funktioniert mit den Anschlussarten PWM, PPM und SBus.
Für Empfänger, die einen Molex-Stecker für den S.Port haben (z.B. X4R, X4RSB, XSR), verwenden Sie bitte die mitgelieferten Stecker und Pins, damit Sie ihn einfach an den Servostecker anschließen können.
Eine S.Port Verbindung allein funktioniert nicht - sie wird nur zur Konfiguration verwendet. Die Kanaldaten müssen über konventionelle Protokolle wie PWM, PPM oder SBus übertragen werden.
2 Installation
Die Konfiguration des Gerätes ist über Lua-Skripte zugänglich. Diese Skripte werden von Spirit System angepasst, um eine vollständige Integration mit dem Gerät zu ermöglichen. Mit dieser Integration können Sie jederzeit auf alle Menüs zugreifen und jeden beliebigen Parameter konfigurieren.
Damit es funktioniert, müssen Sie die Skripte von unsere Website herunterladen und kopieren.
| Skript für Heli herunterladen | |
| FrSky Taranis X9D/X9D+/X9E: | http://www.spirit-system.com/dl/opentx/Spirit-2.4.2-Taranis-x9.zip |
| FrSky Taranis Q X7: | http://www.spirit-system.com/dl/opentx/Spirit-2.4.2-Taranis-x7.zip |
| FrSky Horus: | http://www.spirit-system.com/dl/opentx/Spirit-2.4.2-Horus.zip |
| Download script for Aero | |
| FrSky Taranis X9D/X9D+/X9E: | http://www.spirit-system.com/dl/opentx/Spirit-Aero-1.2.0-Taranis-x9.zip |
| FrSky Taranis Q X7: | http://www.spirit-system.com/dl/opentx/Spirit-Aero-1.2.0-Taranis-x7.zip |
| FrSky Horus: | http://www.spirit-system.com/dl/opentx/Spirit-Aero-1.2.0-Horus.zip |
Then unzip the file and copy the „Spirit-2.3.0“ (or „Spirit-Aero-1.2.0“ for Aero) directory to SD Card of your transmitter.
3 How to open the Menu
You can access the integration menu whenever you want to configure the unit. When it is opened, it behave similarly as when you start the PC software. This mean that for example Bank Switching will be performed in the menu, not with assigned switch. When script is closed, everything returns to the flight regime.
To access the menu on Taranis, press the buttons in the following way:
- Press the MENU button for 1 second.
- Click the PAGE button.
- By clicking + and – buttons move to the „Spirit-2.3.0“ (or „Spirit-Aero-1.1.0“ for Aero) directory.
- Click the ENT button.
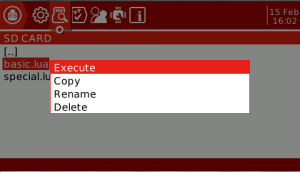
- Start the basic.lua or special.lua script by holding the ENT button, then select Execute.
To access the menu on Horus, press the buttons in the following way:
- Press the < button for 1 second.
- Click the PAGE UP button to reach the SD CARD page.
- By rotary manipulator move to the „Spirit-2.3.0“ (or „Spirit-Aero-1.1.0“ for Aero) directory.
- Click the manipulator button to enter.
- Execute the basic.lua or special.lua.
4 Integration Preview
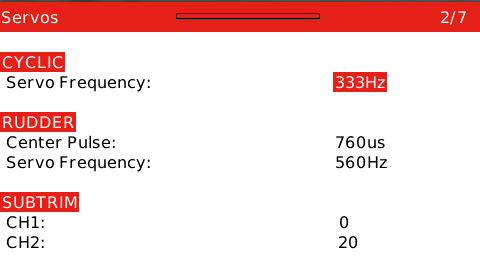
FrSky Taranis integration:
FrSky Horus integration:
5 Troubleshooting
- If the Menu will not load any parameter value, it is likely that the integration cable is connected improperly. If you use any Telemetry sensor, we recommend to disconnect it (at least from signal line) and verify again.
- If you will see the Lua script error: Script syntax error - attempt to call global function sportTelemetry, then the OpenTX firmware in your transmitter is 2.1 or earlier. Please check the OpenTX 2.2 page for update instructions.
6 Telemetry data
With this connection the Spirit will not only offer the Integration, but also a various telemetry data. These data can be displayed on your main screen and even logged during flight.
Firstly, it is necessary to scan for the new sensors. Go to MENU - Page 13/14 - TELEMETRY and press Discover new sensors. When all variables are discovered, then stop discovery of the sensors.
To add the Telemetry data onto the main screen, go to MENU - Page 14/14 - DISPLAY. There you can add any variable you want to be displayed. Variables with +/- character are meant to be maximal/minimal measured values.
Finally, exit to the main screen and press the PAGE button for 1 second.
With the Spirit firmware 2.4 you are able to view:
- RPM [RPM] - Current RPM from the Governor.
- Fuel [%] - Vibrations of the model (Reported as Fuel)
- RB1V [V] - Main Battery Voltage
- RB1A [A] - Main Battery Current
- RB1C [mAh] - Main Battery Consumed Capacity
- RB2C [V] - BEC Voltage (10x) - set Ratio 25.5
- Tmp1 [°C] - ESC Temperature
7 Usage
Whenever you want to configure a parameter, start the according Lua script. There the Menu Layout is similar with the PC software to have easy navigation.
It is working in the same way as when the PC software is connected. This mean that when the Integration menu is opened, you can change even the basic parameters that could affect the helicopter significantly.
When using the Bank Switching or Real-Time tuning features the menu will take full control of it. The unit will not react to a Switch position changes. For the Bank Switching there is Banks option where you can manually change the banks. Whenever you will change the Bank the configuration will be saved to not loose the current settings.
When Bank is 1 or 2, some parameters are hidden. In that case some pages appear to be blank.
Do not forget to click the Save Settings when you want to save a changes permanently.
Enjoy the integration!


