OpenTX Integráció
| ◦ | Beállítások közvetlenül az adóban |
| ◦ | Az egység konfigurálása |
| ◦ | Nincs szükség számítógépre |
| ◦ | Minden gyorsan elérhető |
| ◦ | OpenTX 2.2 Lua support-al |
| ◦ | Vevő S.Port-al |
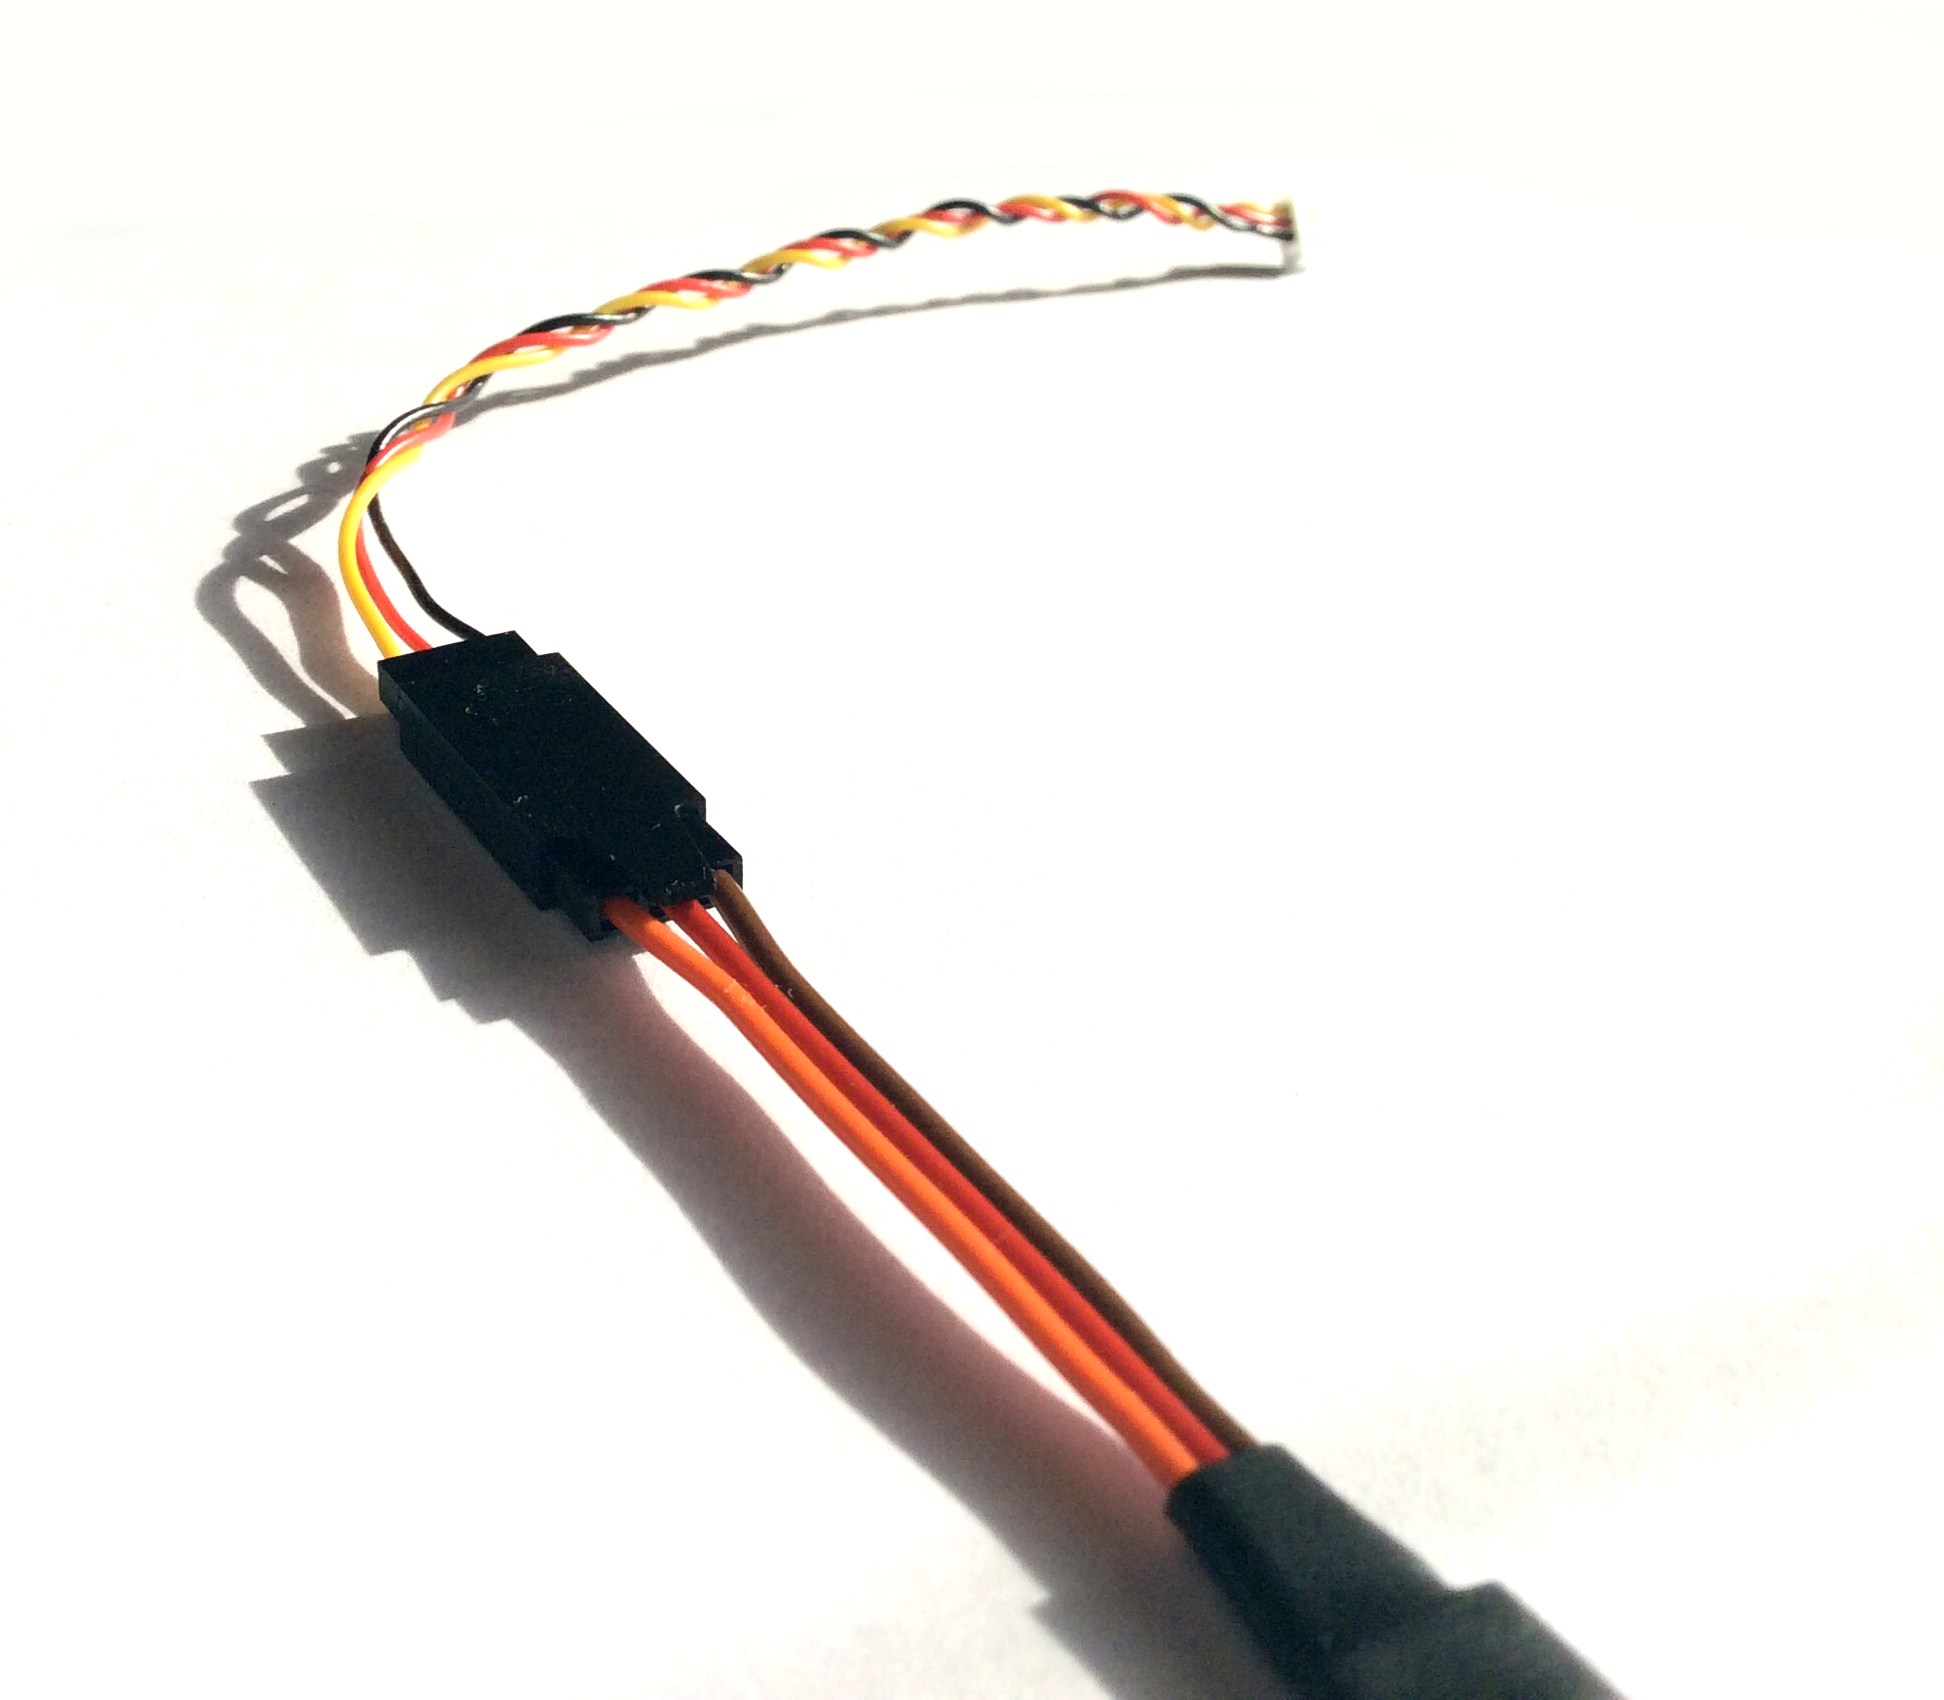
| ◦ | Integrációs kábel az S.Port-hoz |
Contents
1 Bekötés
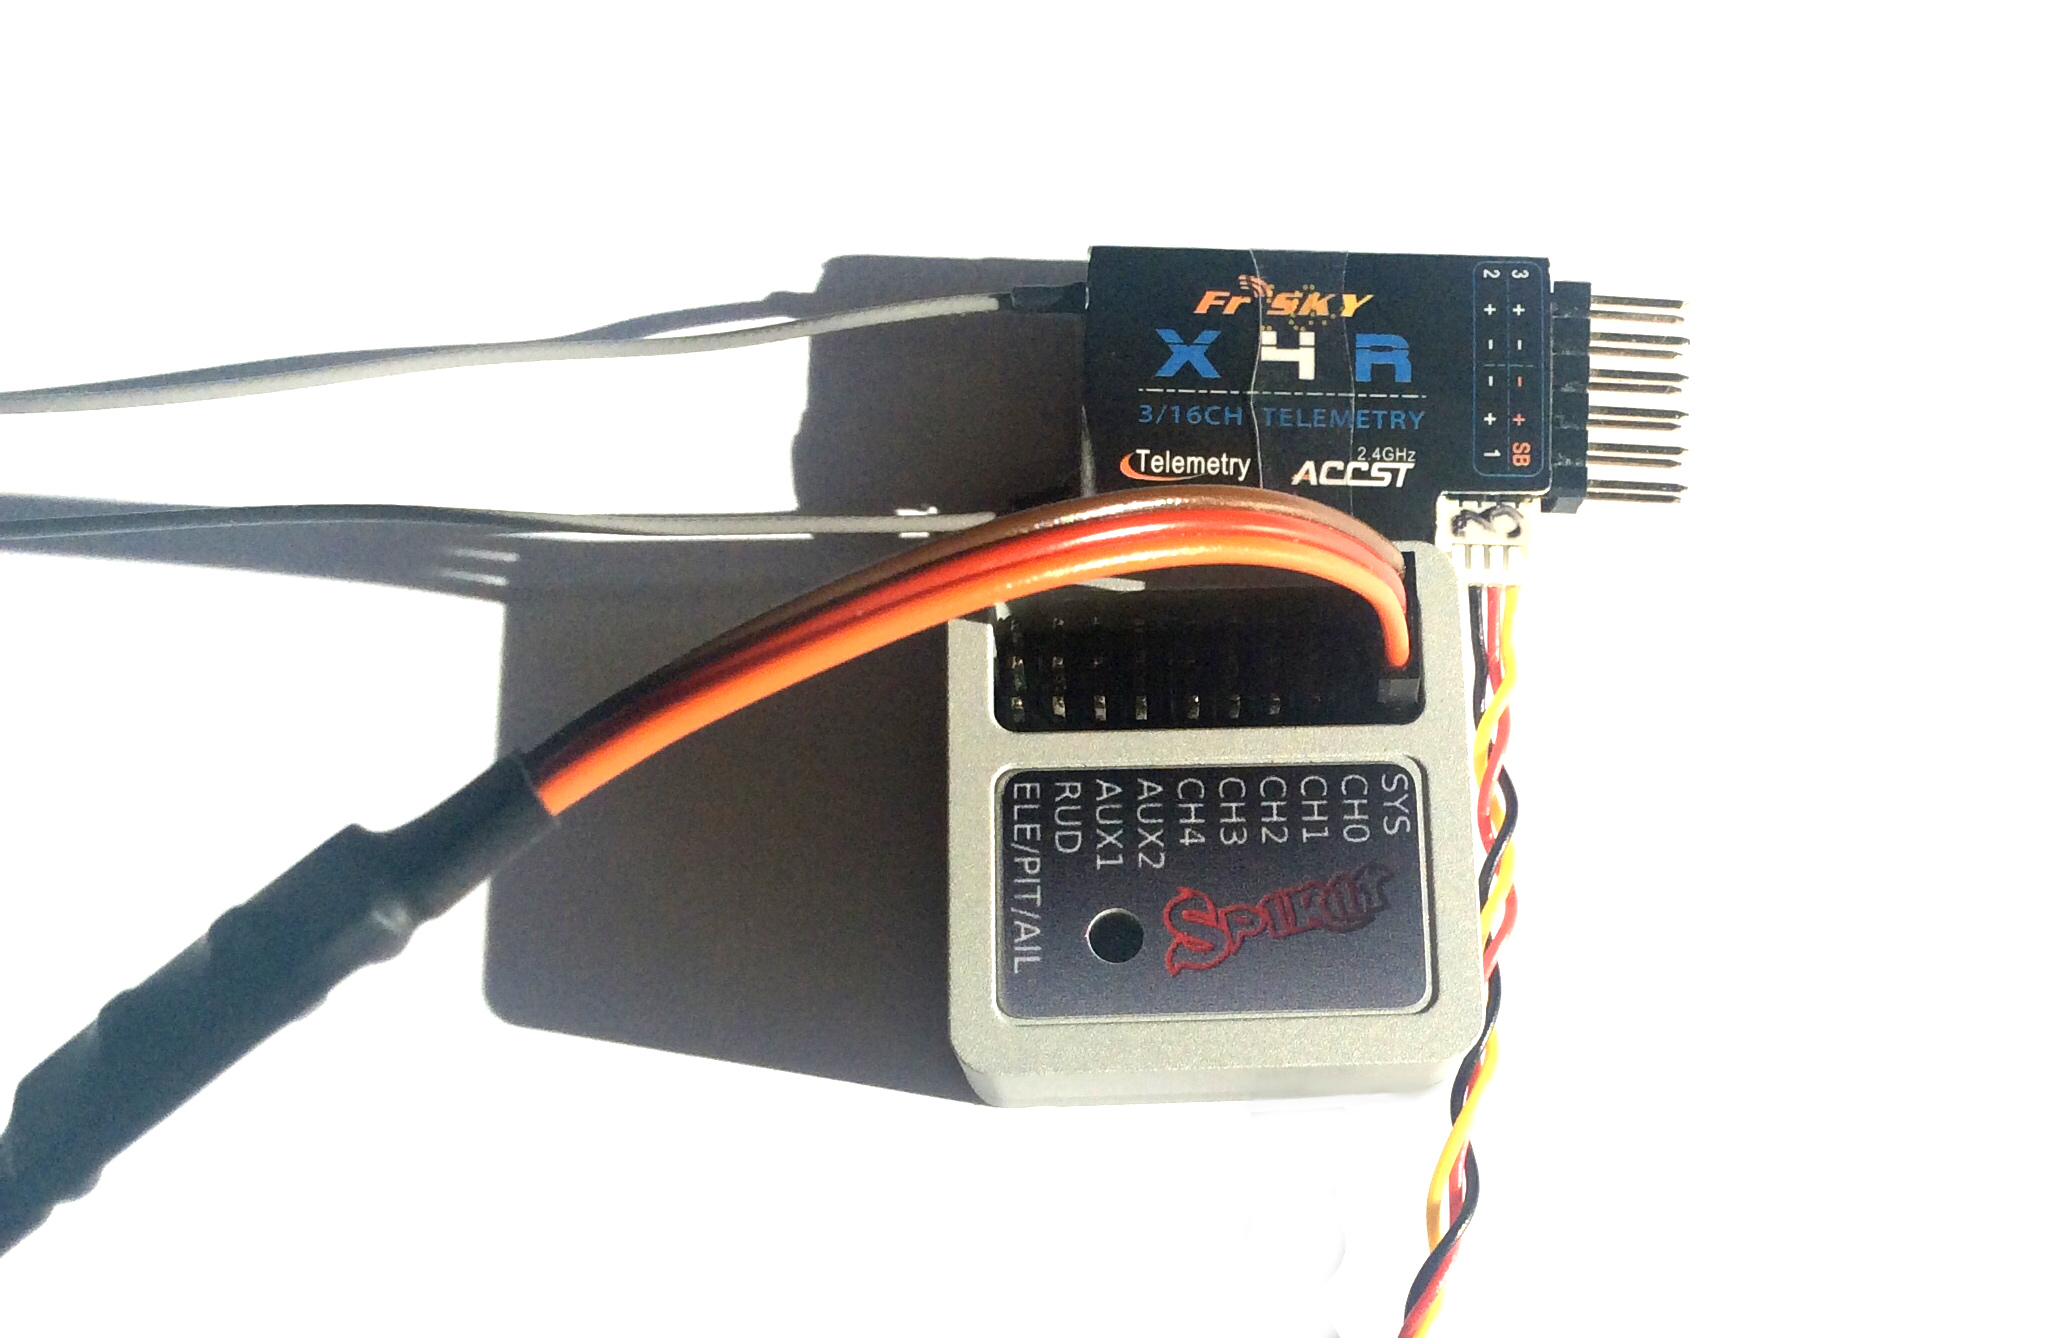
Az Integráció eléréséhez, az alábbi séma szerint kell csak csatlakoztatnia a vevőt. Ehhez speciális vezetékre lesz szüksége, ez az áruházunkból rendelhető.
So you will need to connect:
- FrSky Integration cable
- S-Bus, PPM or PWM connection to the receiver (same that you used without the integration).
A rövidebb szakasza a vezetéknek vevő - S.Port A hosszabb szakasza a vezetéknek egység - SYS port
Az integrációs vezeték két irányú adatátvitelt tesz lehetővé az egység és a vevő illetve az adó között. Tartalmazva a telemetriai adatokat és az összes paraméter konfigurálását közvetlenül az adójával.
Teljes mértékben el van választva az alap vevőtől, amely a csatorna adatokat továbbítja. Így nem érinti a vevővel fennálló kapcsolatot. PWM, PPM és SBus típusú csatlakozással működik.
Azon vevőkhöz, amelyeknek Molex-csatlakozója van az S.Port-hoz (például X4R, X4RSB, XSR), kérjük, használja a mellékelt csatlakozót és csapokat, hogy könnyen csatlakoztathassa azt a szervó csatlakozóhoz.
Az S.Port kapcsolat önmagában nem fog működni - csak a konfigurációhoz használható. A csatornaadatokat olyan hagyományos protokollal kell továbbítani, mint például a PWM, PPM vagy SBus.
2 Telepítés
Az egység konfigurációja végrehajtható a Lua szkriptek segítségével. Ezeket a szkripteket a Spirit System alakította ki, hogy lehetővé tegyék a teljes integrációt az egységgel. Ezzel az integrációval elérheti az összes menüt, és bármikor beállíthat paramétereket.
Annak érdekében, hogy működjön, le kell töltenie és lemásolnia a szkripteket az internetről.
| Letöltött Heli szkript | |
| All FrSky Taranis and Horus radios - ENGLISH: | http://www.spirit-system.com/dl/opentx/Spirit-2.7.0-en.zip |
| All FrSky Taranis and Horus radios - ČESKY: | http://www.spirit-system.com/dl/opentx/Spirit-2.7.0-cs.zip |
| Aero szkript-ének letöltése. | |
| FrSky Taranis X9D/X9D+/X9E: | http://www.spirit-system.com/dl/opentx/Spirit-Aero-1.2.0-Taranis-x9.zip |
| FrSky Taranis Q X7: | http://www.spirit-system.com/dl/opentx/Spirit-Aero-1.2.0-Taranis-x7.zip |
| FrSky Horus: | http://www.spirit-system.com/dl/opentx/Spirit-Aero-1.2.0-Horus.zip |
Then unzip the file and copy the „Spirit-2.6.0“ (or „Spirit-Aero-1.3.0“ for Aero) directory to SD Card of your transmitter.
3 How to open the Menu
You can access the integration menu whenever you want to configure the unit. When it is opened, it behave similarly as when you start the PC software. This mean that for example Bank Switching will be performed in the menu, not with assigned switch. When script is closed, everything returns to the flight regime.
To access the menu on Taranis, press the buttons in the following way:
- Press the MENU button for 1 second.
- Click the PAGE button.
- By clicking + and – buttons move to the „Spirit-2.3.0“ (or „Spirit-Aero-1.1.0“ for Aero) directory.
- Click the ENT button.
- Start the basic.lua or special.lua script by holding the ENT button, then select Execute.
To access the menu on Horus, press the buttons in the following way:
- Press the < button for 1 second.
- Click the PAGE UP button to reach the SD CARD page.
- By rotary manipulator move to the „Spirit-2.3.0“ (or „Spirit-Aero-1.1.0“ for Aero) directory.
- Click the manipulator button to enter.
- Execute the basic.lua or special.lua.
4 Integration Preview
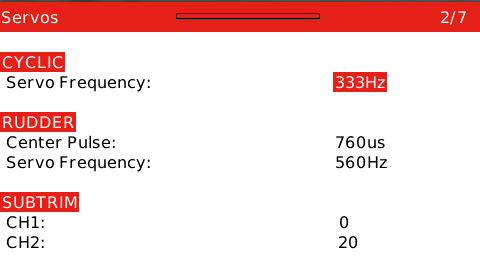
FrSky Taranis integration:
FrSky Horus integration:
5 Troubleshooting
- If the Menu will not load any parameter value, it is likely that the integration cable is connected improperly. If you use any Telemetry sensor, we recommend to disconnect it (at least from signal line) and verify again.
- If you will see the Lua script error: Script syntax error - attempt to call global function sportTelemetry, then the OpenTX firmware in your transmitter is 2.1 or earlier. Please check the OpenTX 2.2 page for update instructions.
6 Telemetry data
With this connection the Spirit will not only offer the Integration, but also a various telemetry data. These data can be displayed on your main screen and even logged during flight.
Firstly, it is necessary to scan for the new sensors. Go to MENU - Page 13/14 - TELEMETRY and press Discover new sensors. When all variables are discovered, then stop discovery of the sensors.
To add the Telemetry data onto the main screen, go to MENU - Page 14/14 - DISPLAY. There you can add any variable you want to be displayed. Variables with +/- character are meant to be maximal/minimal measured values.
Finally, exit to the main screen and press the PAGE button for 1 second.
With the Spirit firmware 2.4 you are able to view:
- RPM [RPM] - Current RPM from the Governor.
- Fuel [%] - Vibrations of the model (Reported as Fuel)
- RB1V [V] - Main Battery Voltage
- RB1A [A] - Main Battery Current
- RB1C [mAh] - Main Battery Consumed Capacity
- RB2C [V] - BEC Voltage (10x) - set Ratio 25.5
- Tmp1 [°C] - ESC Temperature
- 5120 [μs] - Throttle PWM Value
7 Usage
Whenever you want to configure a parameter, start the according Lua script. There the Menu Layout is similar with the PC software to have easy navigation.
It is working in the same way as when the PC software is connected. This mean that when the Integration menu is opened, you can change even the basic parameters that could affect the helicopter significantly.
When using the Bank Switching or Real-Time tuning features the menu will take full control of it. The unit will not react to a Switch position changes. For the Bank Switching there is Banks option where you can manually change the banks. Whenever you will change the Bank the configuration will be saved to not loose the current settings.
When Bank is 1 or 2, some parameters are hidden. In that case some pages appear to be blank.
Do not forget to click the Save Settings when you want to save a changes permanently.
Enjoy the integration!


